Configuration in Azure Portal for Azure Service Bus account
Overview
Azure Service Bus Snaps use the Azure Service Bus Account to access the Azure Service Bus application. The Azure Service Bus account requires a Namespace and a Connection String that you must create and configure.
Creating a Namespace
-
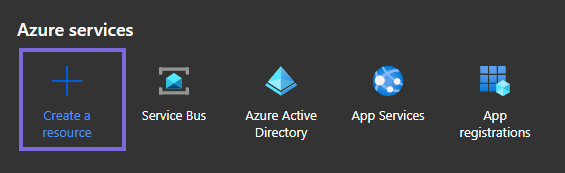
Under Azure services, click Create a resource.
-
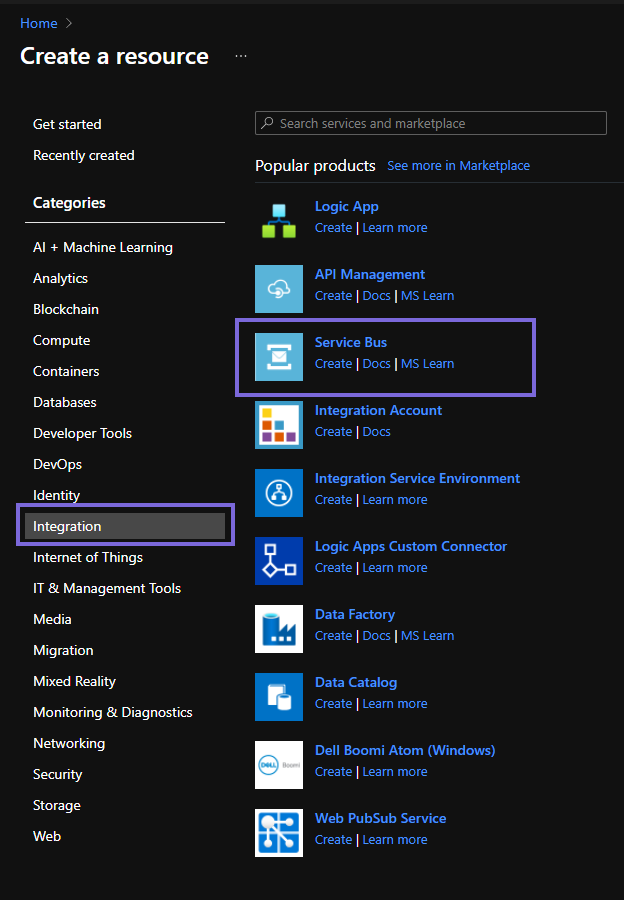
Navigate to Integration > Service Bus.
-
On the Basics tab of the Create namespace page, enter the following details for the namespace:
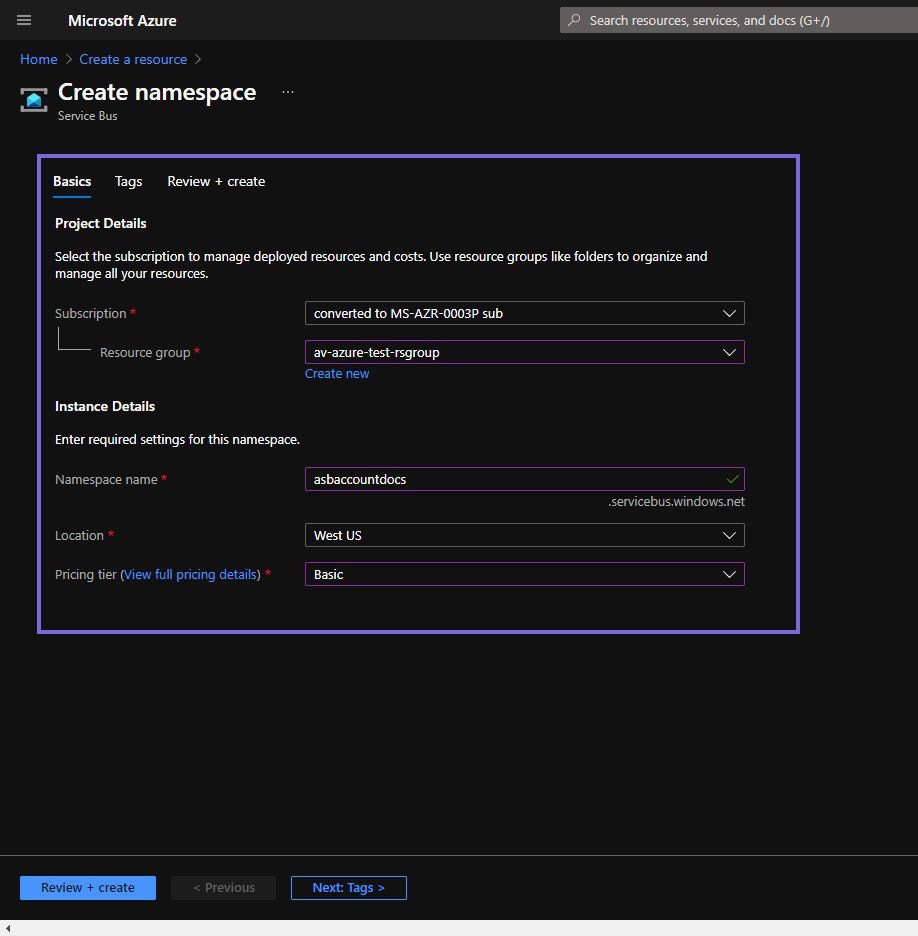
- In the Subscription list, choose an Azure subscription in which to create the namespace.
- In the Resource group list, choose a group or create a new resource.
- Specify a unique Namespace name to use in the Azure Service Bus account.
- In the Location list, choose a location where your Namespace should be hosted.
- In the Pricing tier list, choose a pricing tier for the Namespace.
Viewing the Namespace details
-
On the deployment page, click Go to resource.
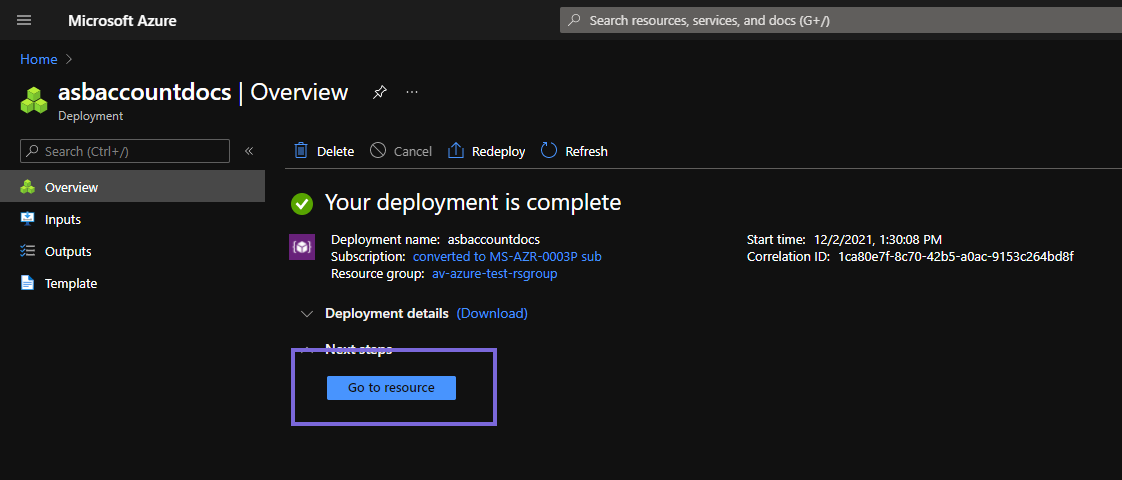
-
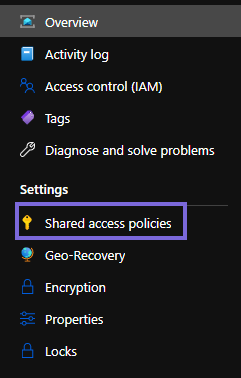
In the left navigation pane of the resource details page, click Shared access policies.