Enable a subscription with a JWT

  • A valid tested Service in the Unpublished or Testing status.
  • A private and public key generated by any tool in one of the following formats:
    • RSA
    • HSA (HMAC SHA)
    • ECDSA
  1. Open a version of the Service.
  2. Click Subscription settings.
    The Subscription settings panel opens:
    Subscription settings panel

  3. Select whether the subscription configuration should apply to all versions of the Service or only the current version.
  4. For the subscription Expiration, enter a numeric value ≥ 1.
  5. To automate approvals, click the Automatically approve requests toggle.
  6. For Key type, click JWT.
  7. For Maximum token TTL enter the value and select the unit of time. Typically, JWTs are short-lived.
    The following shows the previous settings:
    Subscription settings for a JWT

  8. For Signing algorithm, select RSA, HSA (HMAC SHA), or ECDSA.
  9. Paste the cryptographic (private) key in the Signing key field.
  10. For Verifier format, select Raw text or URL.
  11. Paste the public key to verify the digital signature in the Verifier key field.
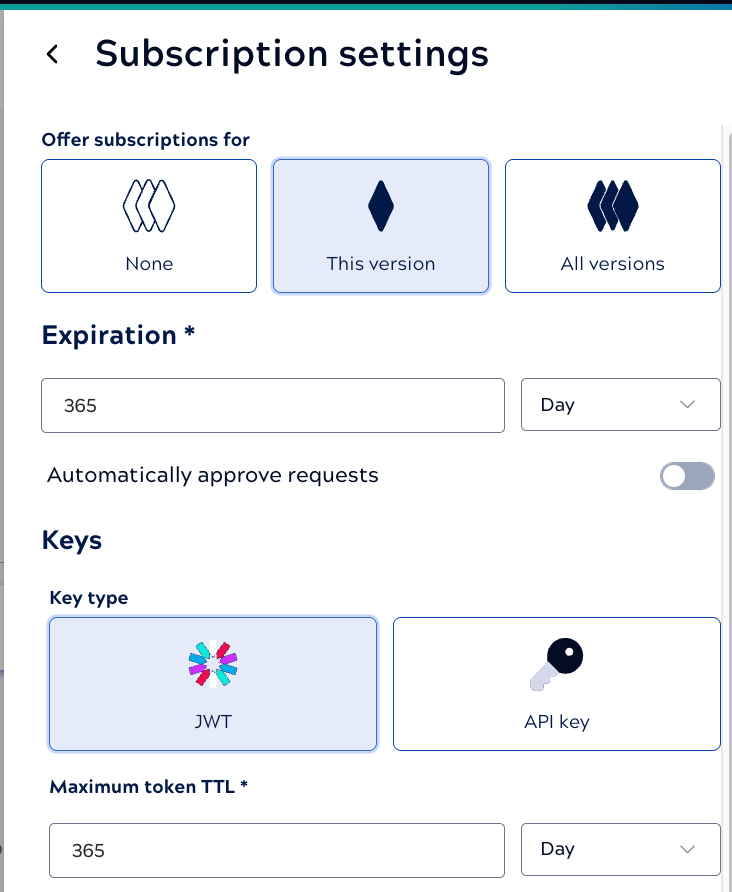
  12. For Authentication scheme leave the value bearer.
    The following shows the key settings for an RSA example of private and public keys:
    Subscription key settings for a JWT

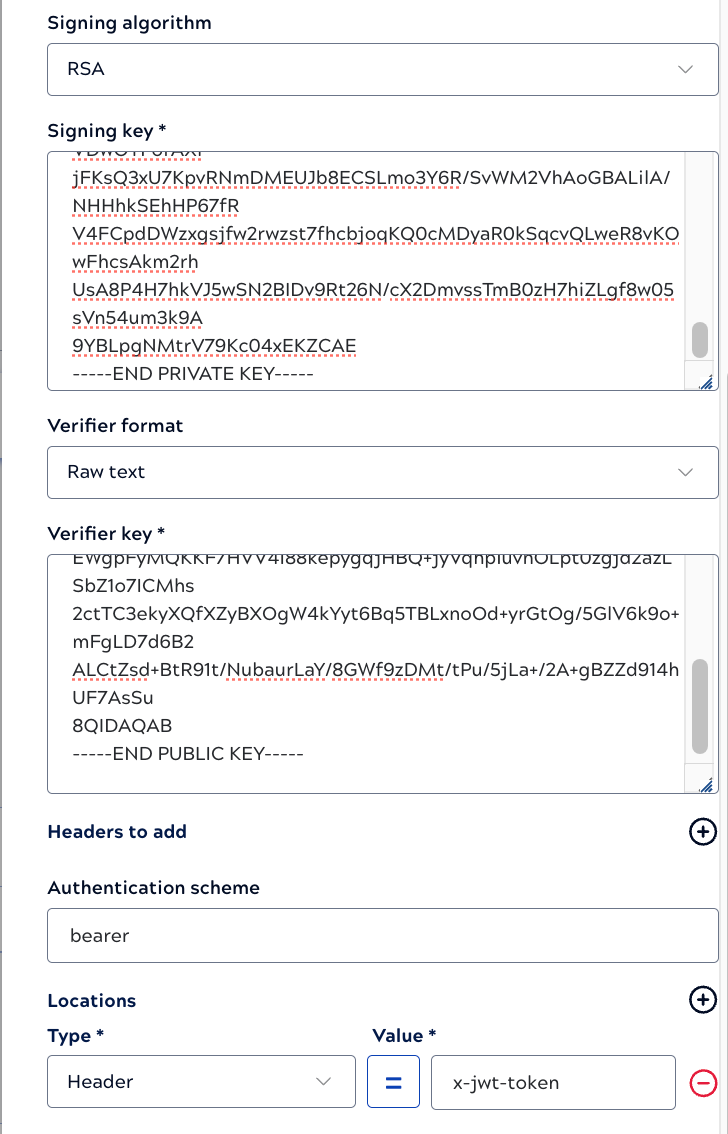
  13. Click Validate & save.
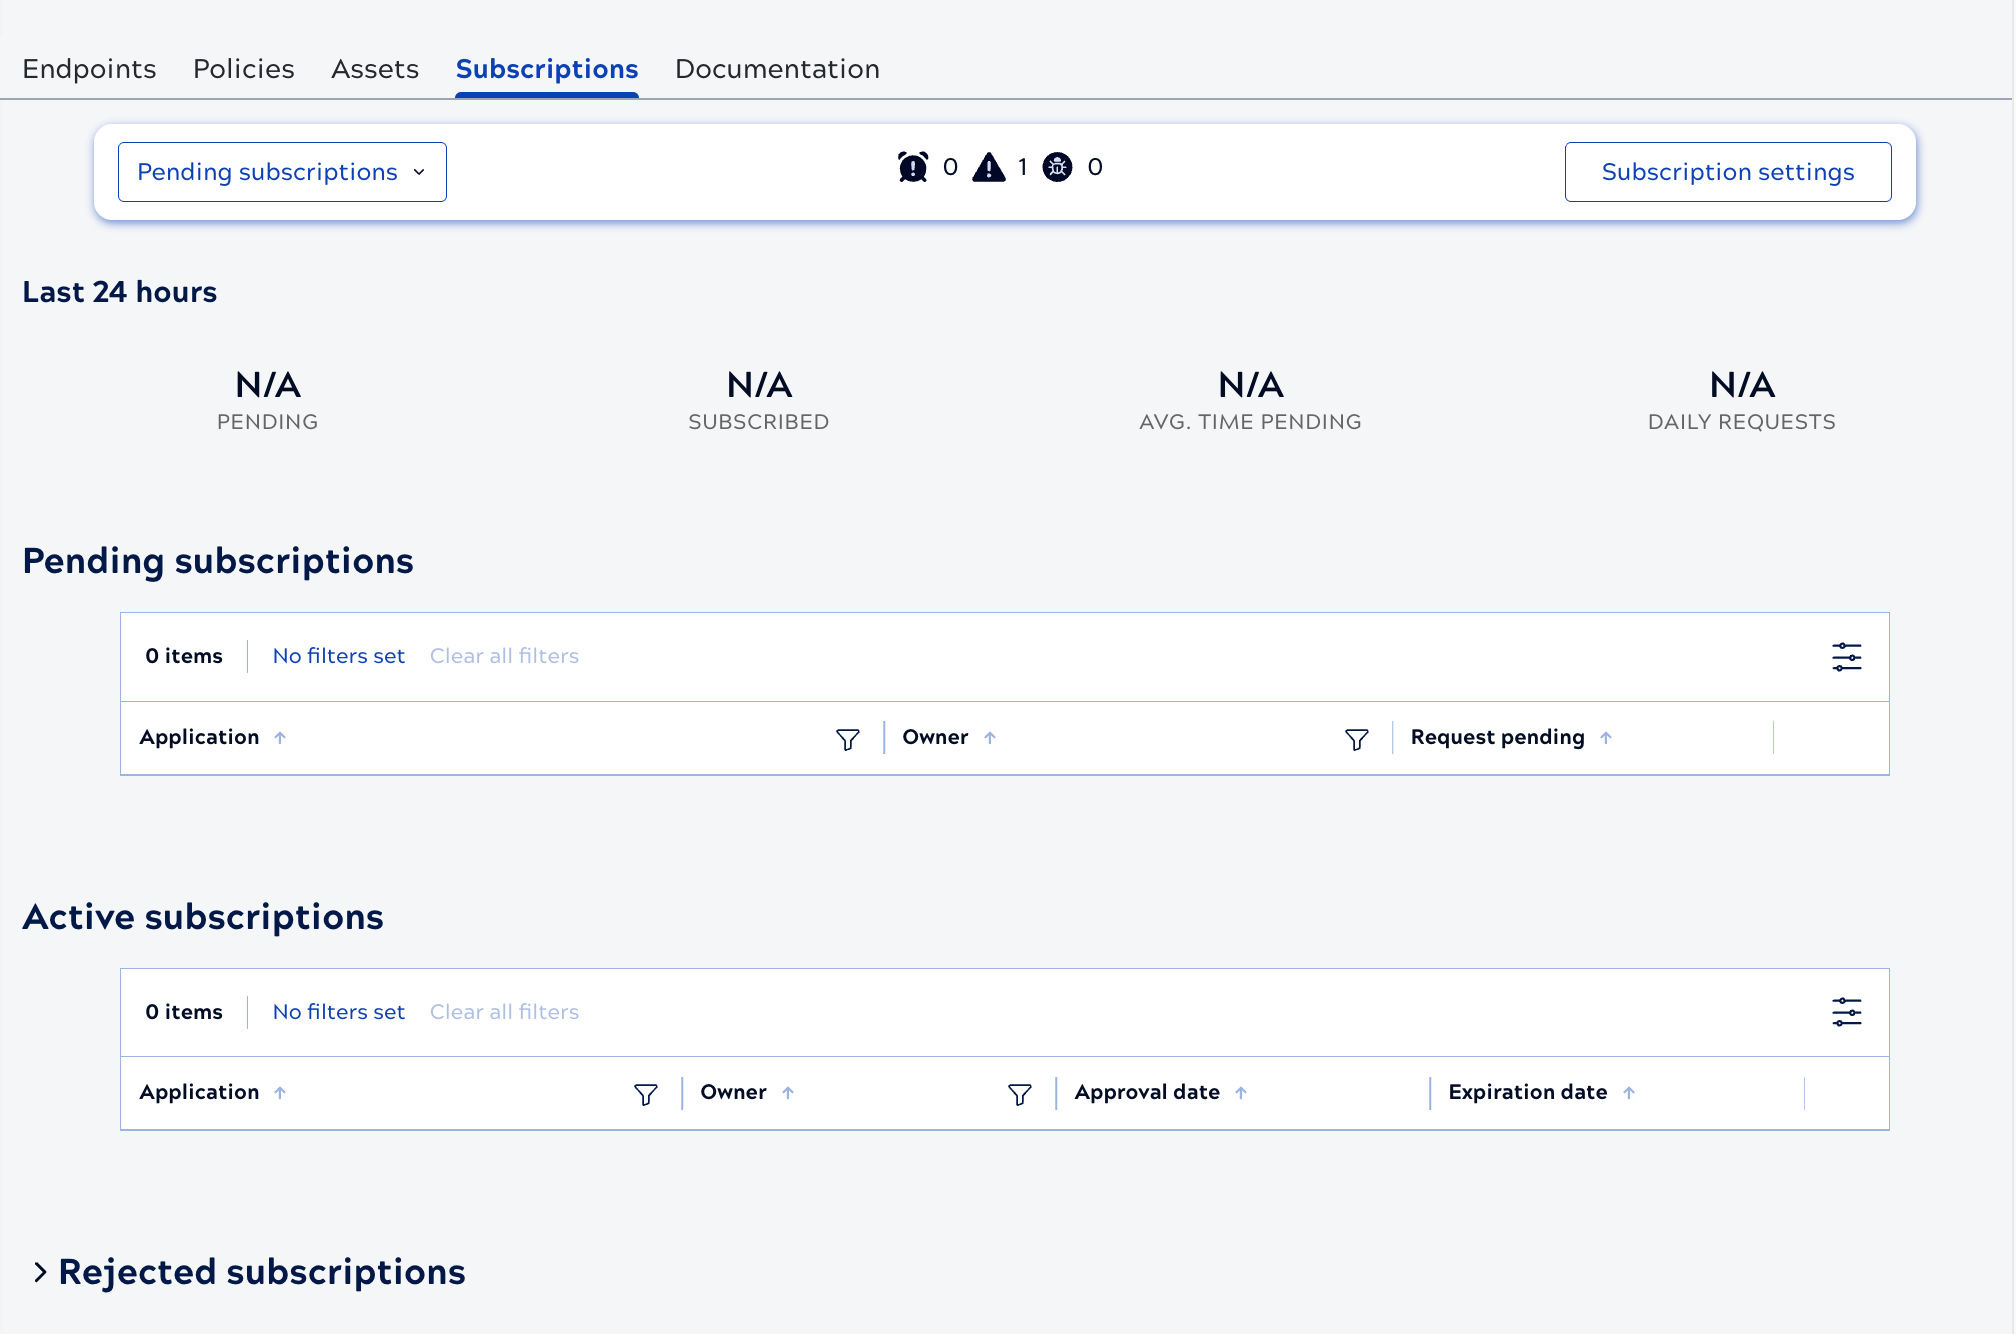
    The Subscriptions tab now provides information on pending, active, and rejected subscriptions:
    Subscriptions tab with an active subscription

Next, test the subscription. Manage subscription requests describes how to approve or reject subscriptions.