


Create Tools for your Agents
Tools perform services for the Agent — each tool pipeline represents a discrete capability, such as reading a database, calling a web service, or performing a calculation, that the Agent pipeline invokes based on the LLM's reasoning. Tool pipelines can be built around any Snap that performs the required operation: an HTTP Client Snap for external web services, or a system-specific Snap — such as a MySQL Snap — for operations against a particular data source. You can create tool pipelines in Designer from scratch or by importing a pattern from the Public Pattern Library.
Tool output requirements
Each tool pipeline must return exactly one output document per invocation. The Agent Snap expects a 1:1 mapping between a tool call and its result document.
For pipelines that return multiple records — for example, a Database Query Snap returning multiple rows — add a Gate Snap or similar aggregation logic before the output view to consolidate the records into a single output document.
- Familiarity with building pipelines in Designer.
- Feature subscription to AgentCreator.
-
Select one of the following methods for building your tool:
- Build a tool from scratch in a blank Designer canvas.
- Import a tool from the Public Pattern Library
To import a prefabricated tool, follow the steps below. To create a tool in a blank Designer canvas, go to step 2.-
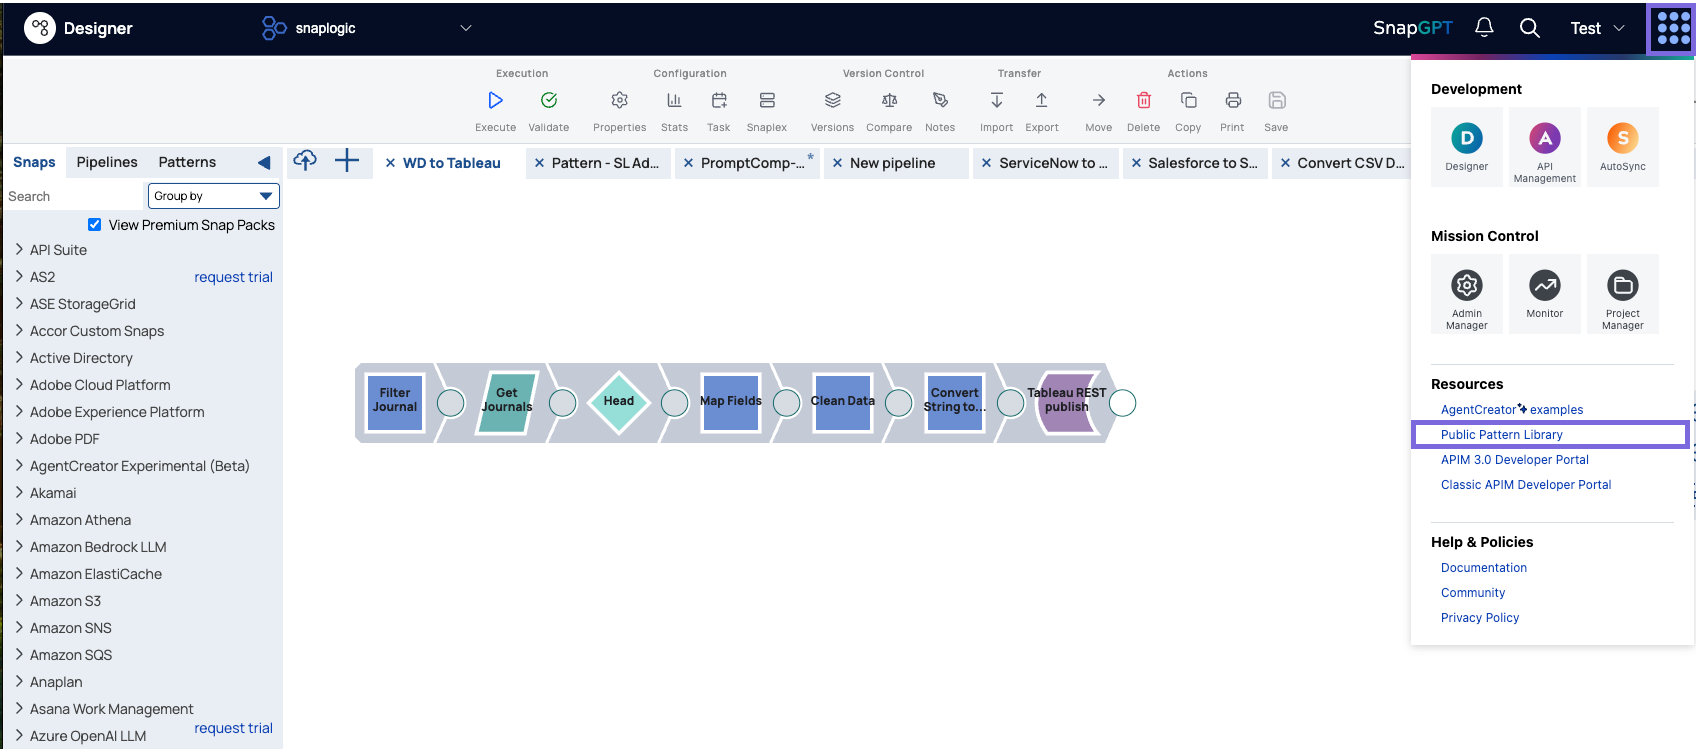
Navigate to the Public Pattern Library via the Waffle menu.
-
Click the AgentCreator pill button, then select a pattern that has the tool label.
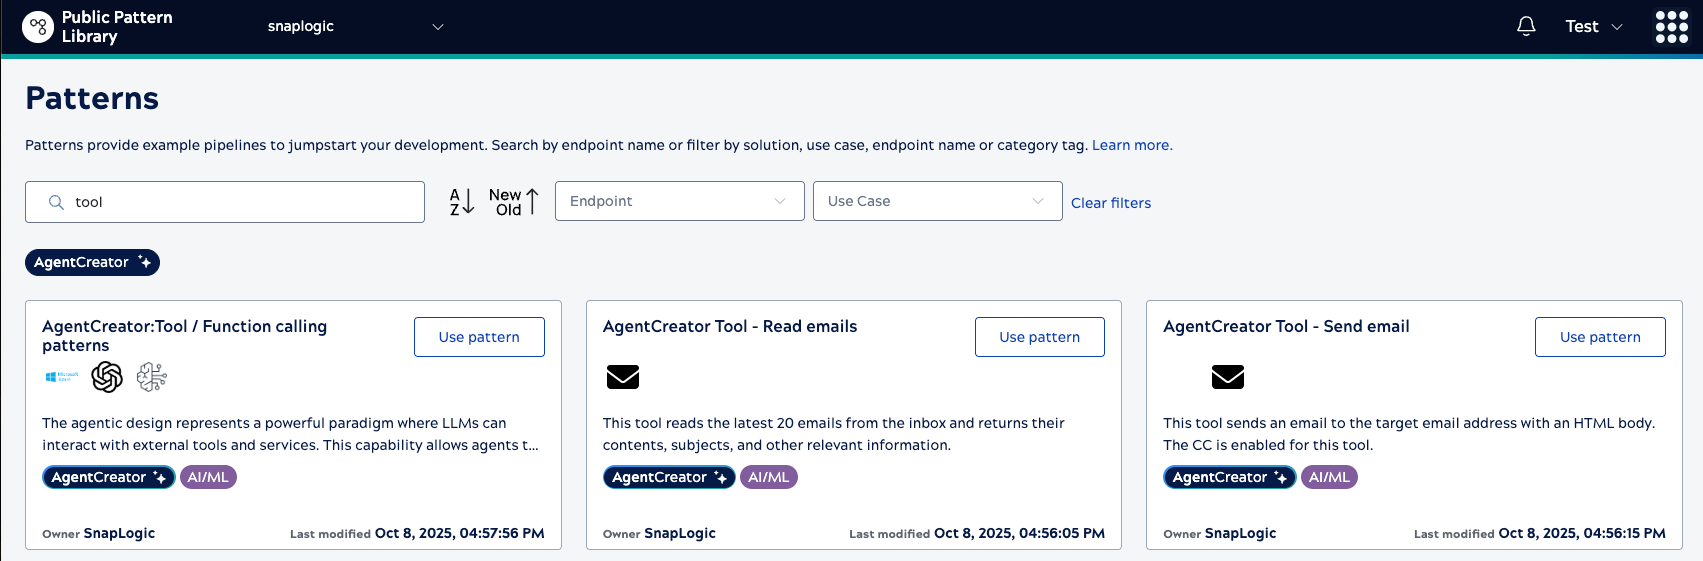 Tip: Enter tool in the Search field to narrow the results to only tool pipeline patterns.Alternatively, you can click any of the tools listed below. When you are logged into SnapLogic, clicking the link will redirect you to that pattern.
- AgentCreator Tool - Read emails
- AgentCreator Tool - Send email
- AgentCreator Tool - Serper search
- AgentCreator Tool - Get events from Google Calendar
- AgentCreator Tool - List all spreadsheets from Google sheets
- AgentCreator Tool - Read worksheet from Google Sheets
- AgentCreator Tool - OpenAI - PostgreSQL Query Agent
- AgentCreator Tool - OpenAI - PostgreSQL Execution Agent
- AgentCreator Tool - Amazon Bedrock - PostgreSQL Execution Agent
-
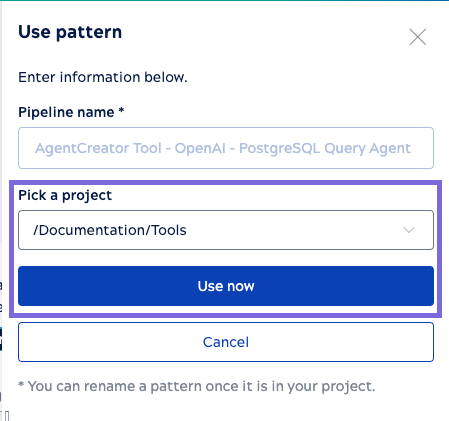
Select the destination Project, and click Use Pattern.
-
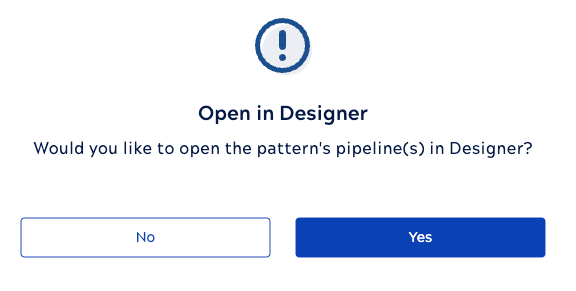
In the next popup, select Open in Designer.
-
Click
 to open the Pipeline Properties dialog:
-
Click the Tool tab, then turn on the Expose
this pipeline as a tool toggle.
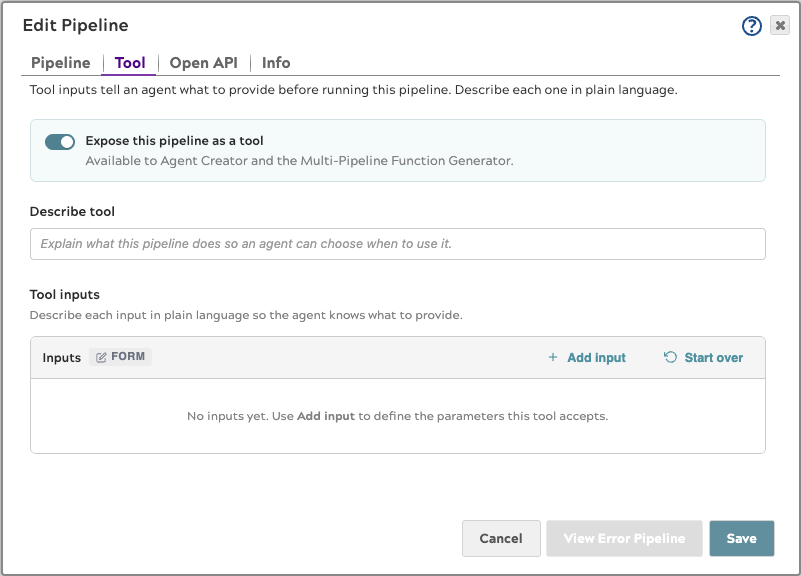
-
Under Tool inputs, choose an editor mode and define the
parameters the LLM must supply when calling this tool:
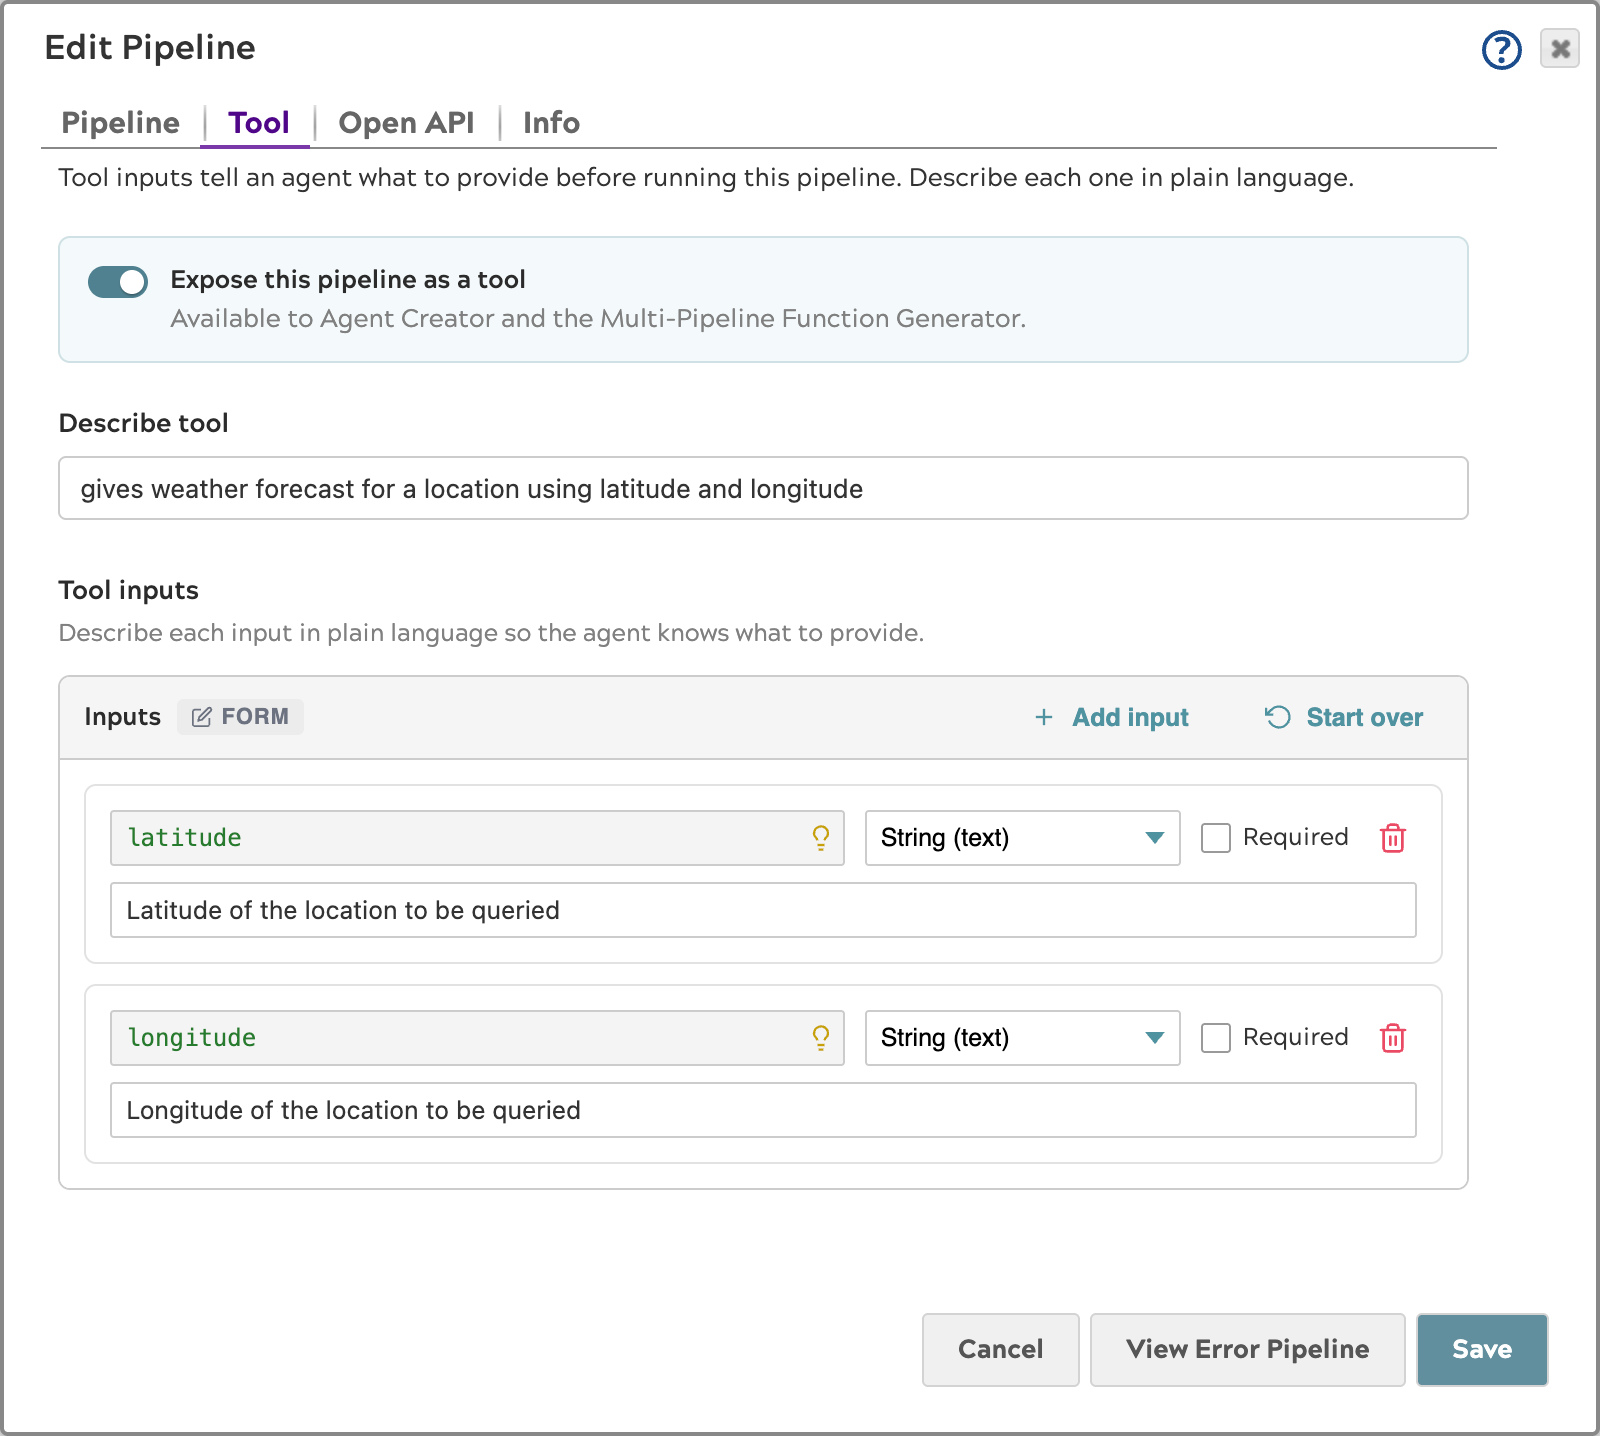
- Choose Build with a form to add inputs one at a time
(name, type, description, required).
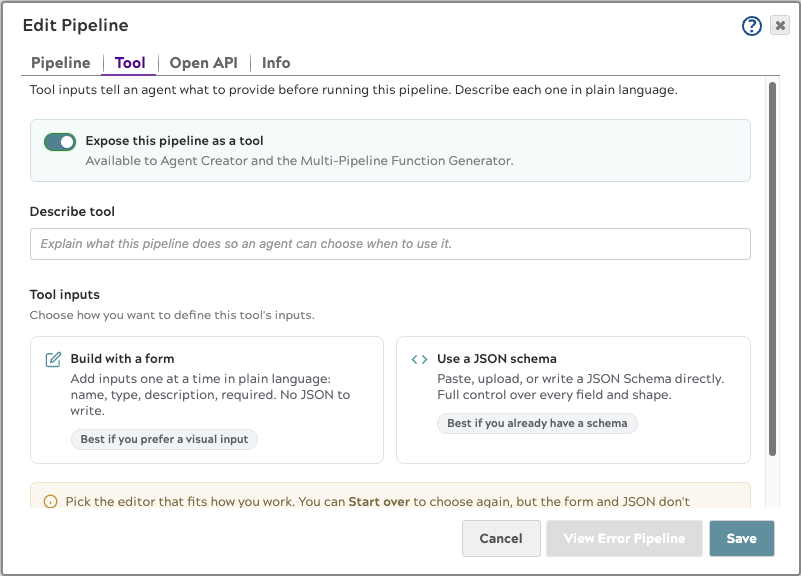
- Choose Use a JSON schema to paste or upload a raw JSON
Schema.
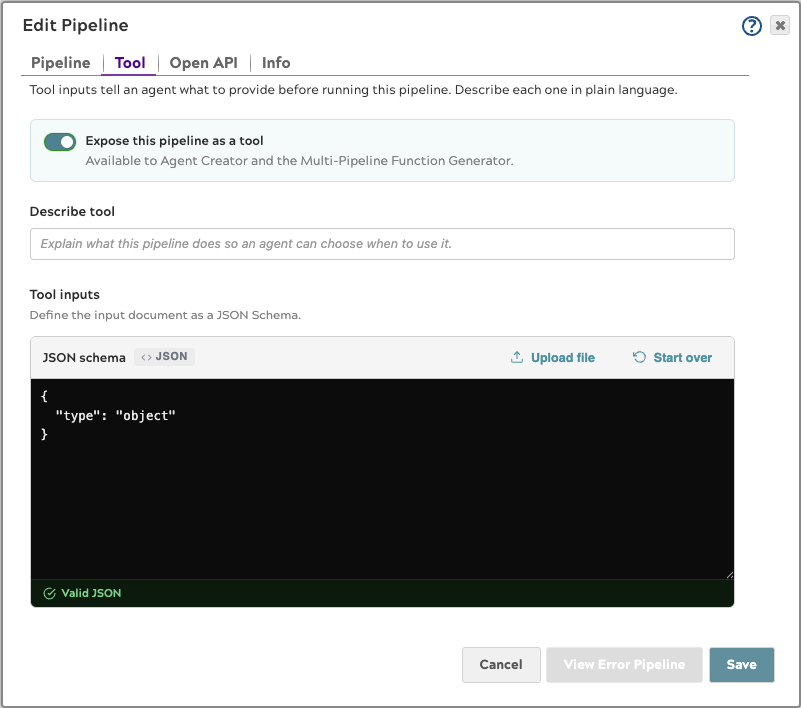
In your pipeline, reference these inputs using
$paramNamenotation. Tool inputs are separate from Pipeline Parameters (_paramName), which are used for static configuration values passed at execution time.For more details, see Tool tab in Pipeline Properties.
- Choose Build with a form to add inputs one at a time
(name, type, description, required).
-
Click the Tool tab, then turn on the Expose
this pipeline as a tool toggle.
The following video describes how to build a tool pipeline in SnapLogic Designer using AgentCreator Snaps.