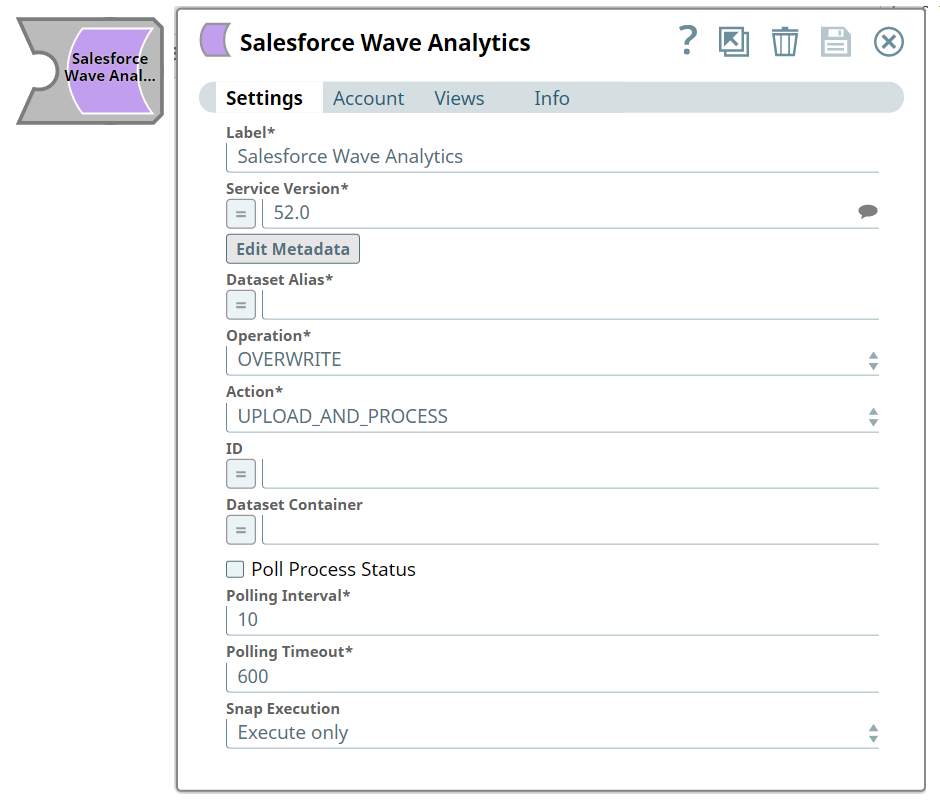
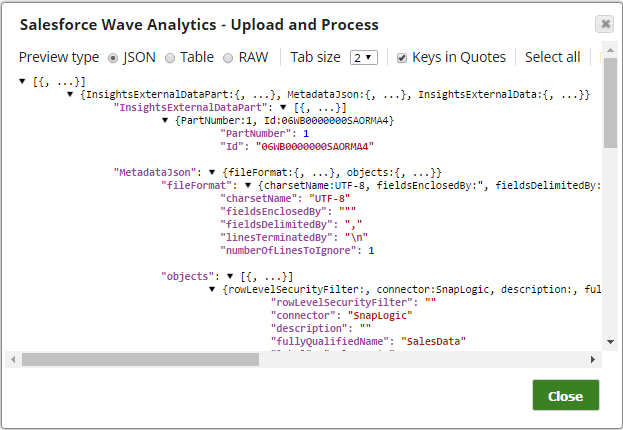
The list of map data at "fields" is initially empty, which is a place for CSV column metadata. If the Action property is set to "PREVIEW", the Snap tries to generate the CSV metadata automatically and writes it to the output view. You can copy and paste it into the Edit metadata field.
If the list of map data at "fields" is not empty, the content of the Edit property overrides what is generated automatically. Therefore, you can use the Edit metadata property to fine-tune the CSV column metadata.
For "Date" type, use the Java date format string as defined in Java SimpleDateFormat documentation.
The Snap takes four types of joda data/time java objects (DateTime, LocalDateTime, LocalDate and LocalTime) and automatically converts them to strings with formats: "yyyy-MM-dd'T'HH:mm:ss.SSSZZ", "yyyy-MM-dd'T'HH:mm:ss.SSS", "yyyy-MM-dd", and "HH:mm:ss.SSS" correspondingly.
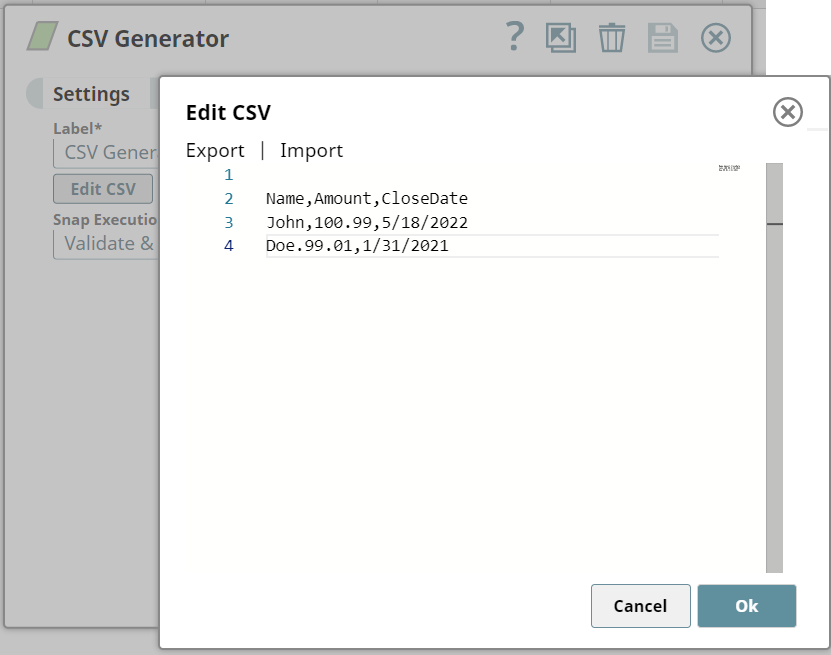
The currency data type is not automatically detected by the Snap. You should make sure the input data is string and edit the "type", "precision", "scale" and "format" fields. Note: "##" should be edited as "#\#" because the editor in the Edit metadata property uses "##" as a comment. If the second '#' is not escaped, the remaining string is not passed from the editor to the Snap, which will cause it to fail to upload data.