Overview
Snaps in the NetSuite REST Snap Pack use the NetSuite REST M2M OAuth2 Account to access the NetSuite application.
For the M2M OAuth2 account to function without any issue, ensure to create and configure an OAuth app corresponding to the account as explained in the procedure below.
This procedure also contains the steps required to create M2M OAuth2 account for using this Snap Pack.
-
Log in to the NetSuite portal.
-
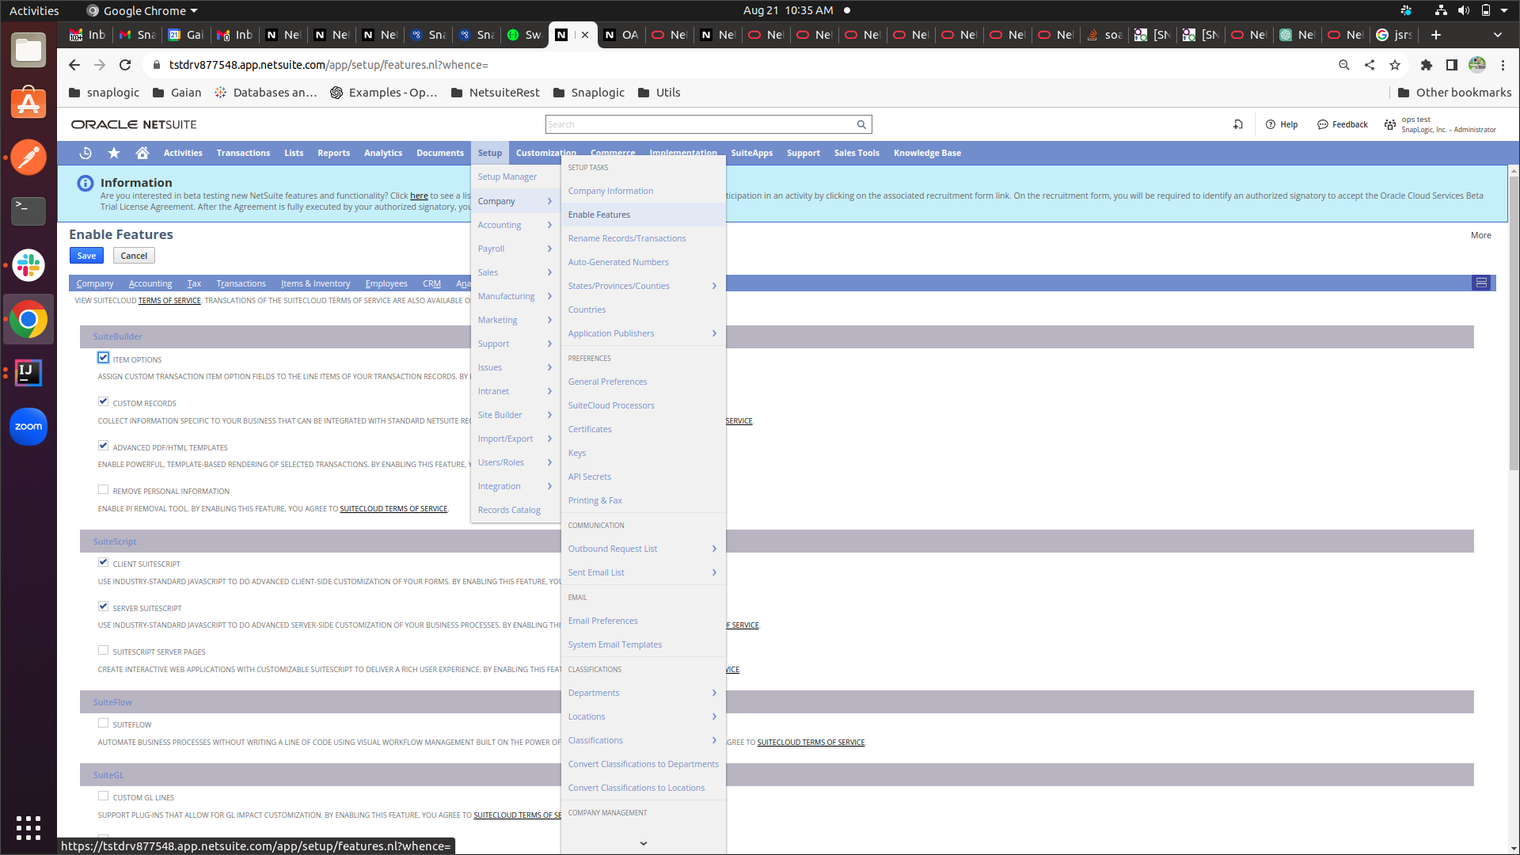
Enable the Token-based Authentication Feature.
- Click on as shown below:
- Click the SuiteCloud tab.
-
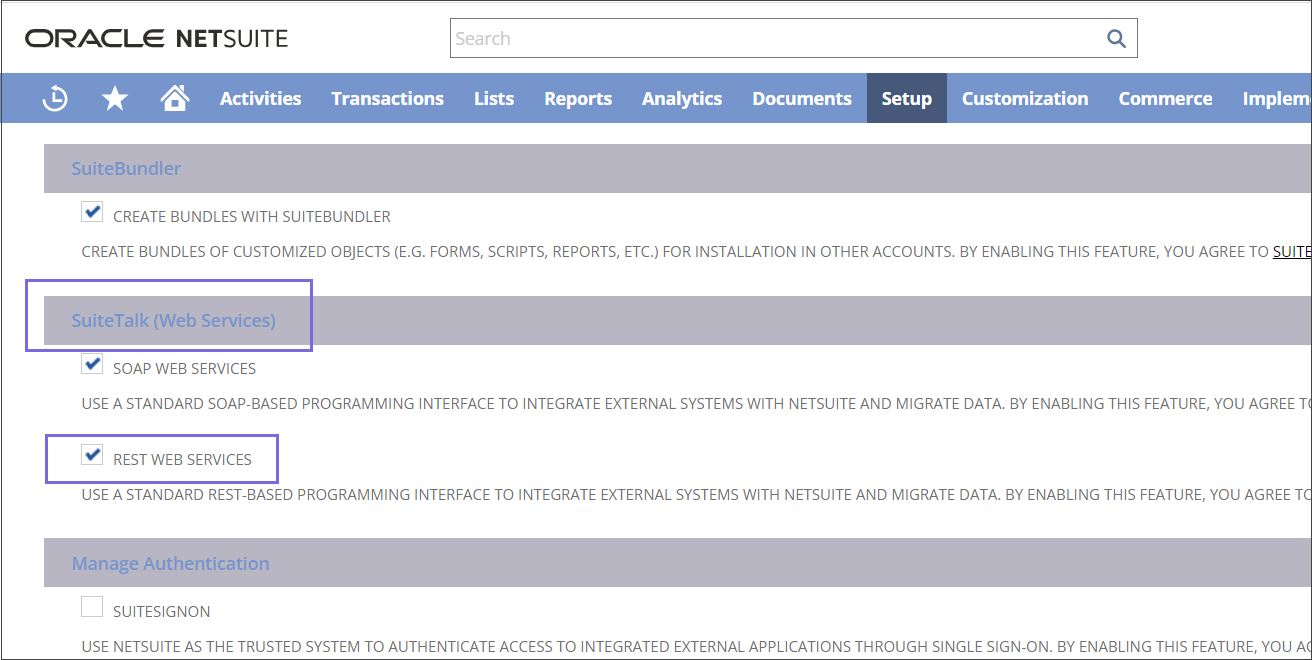
In SuiteTalk (Web Services), select REST WEB SERVICES.
-
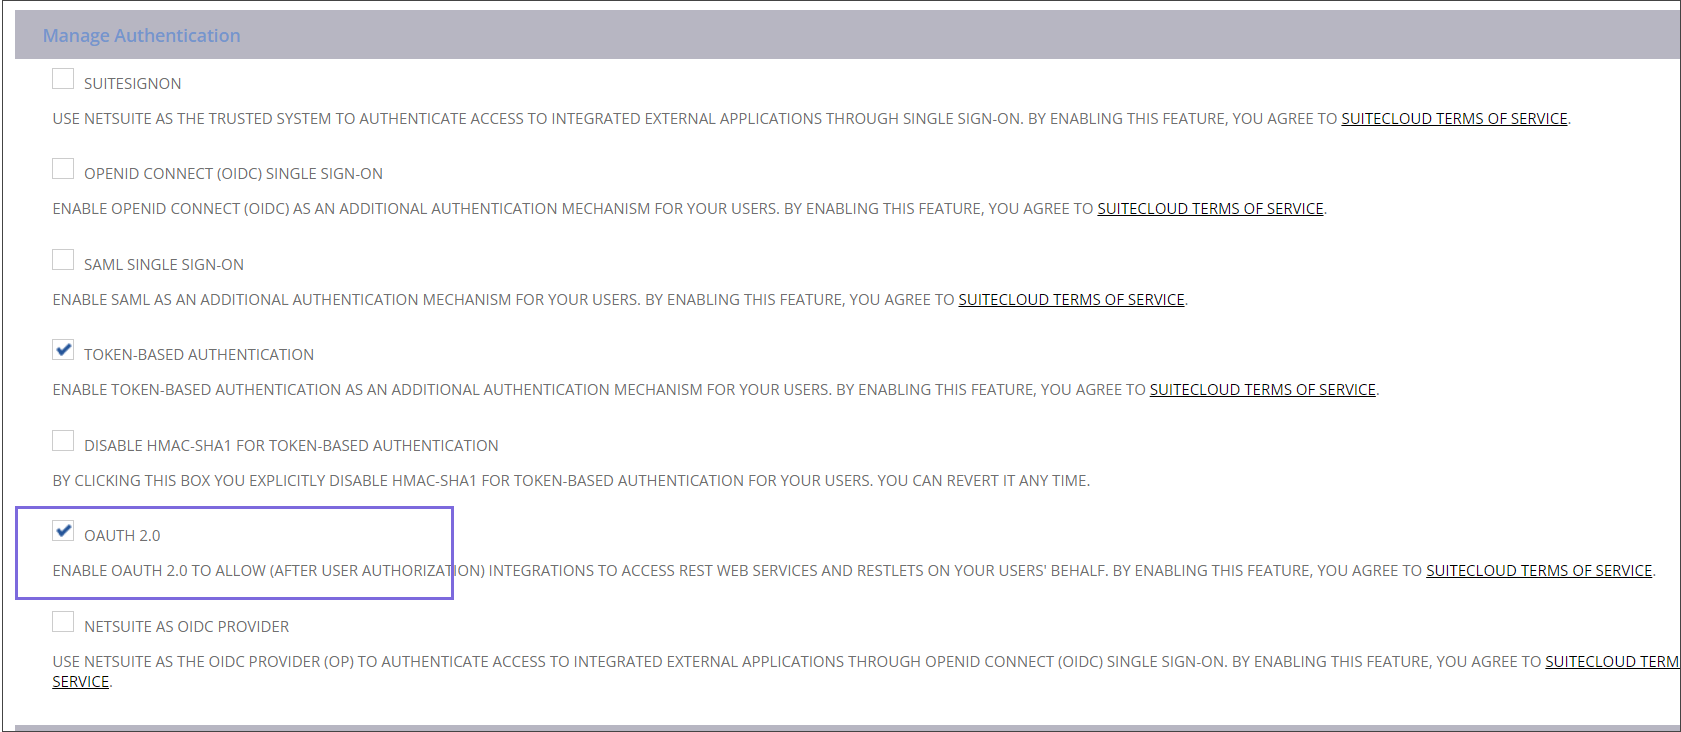
In the Manage Authentication section, select the OAUTH2.0 checkbox.
-
Go to the SuiteCloud Terms of Service page and click on I Agree button if you agree to the terms and conditions.
-
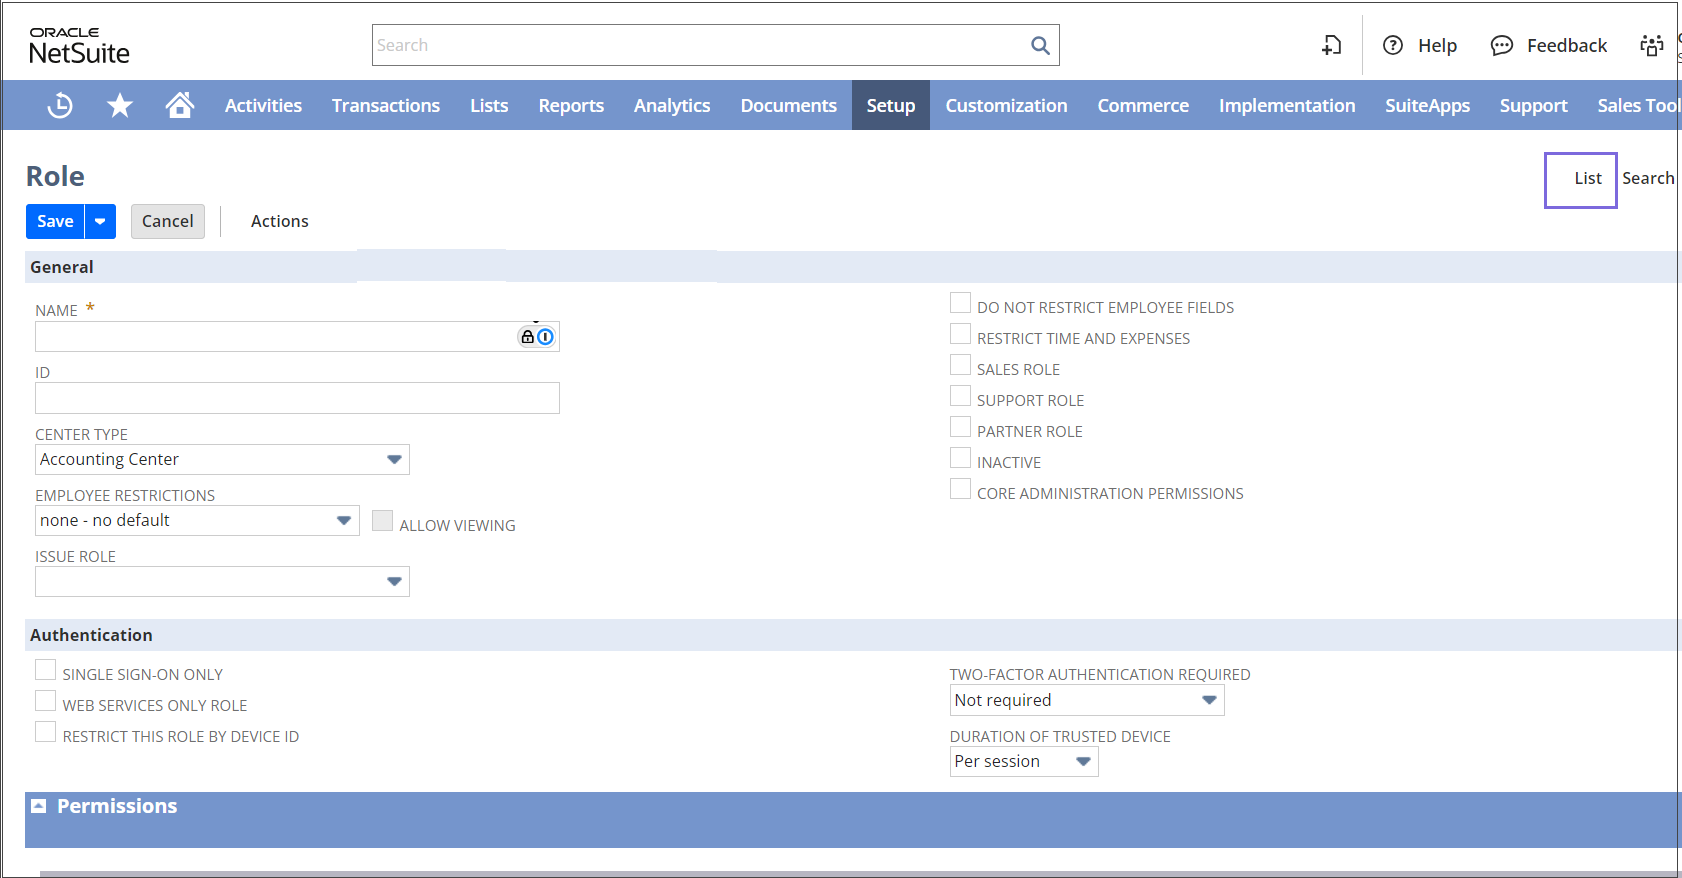
Set Up OAuth 2.0 Roles.
- Click on .
-
Locate the role you want to modify from the List.
-
Click on Edit.
-
Update the permissions:
- Navigate to the Permissions tab.
- Select the Lists sub-tab.
-
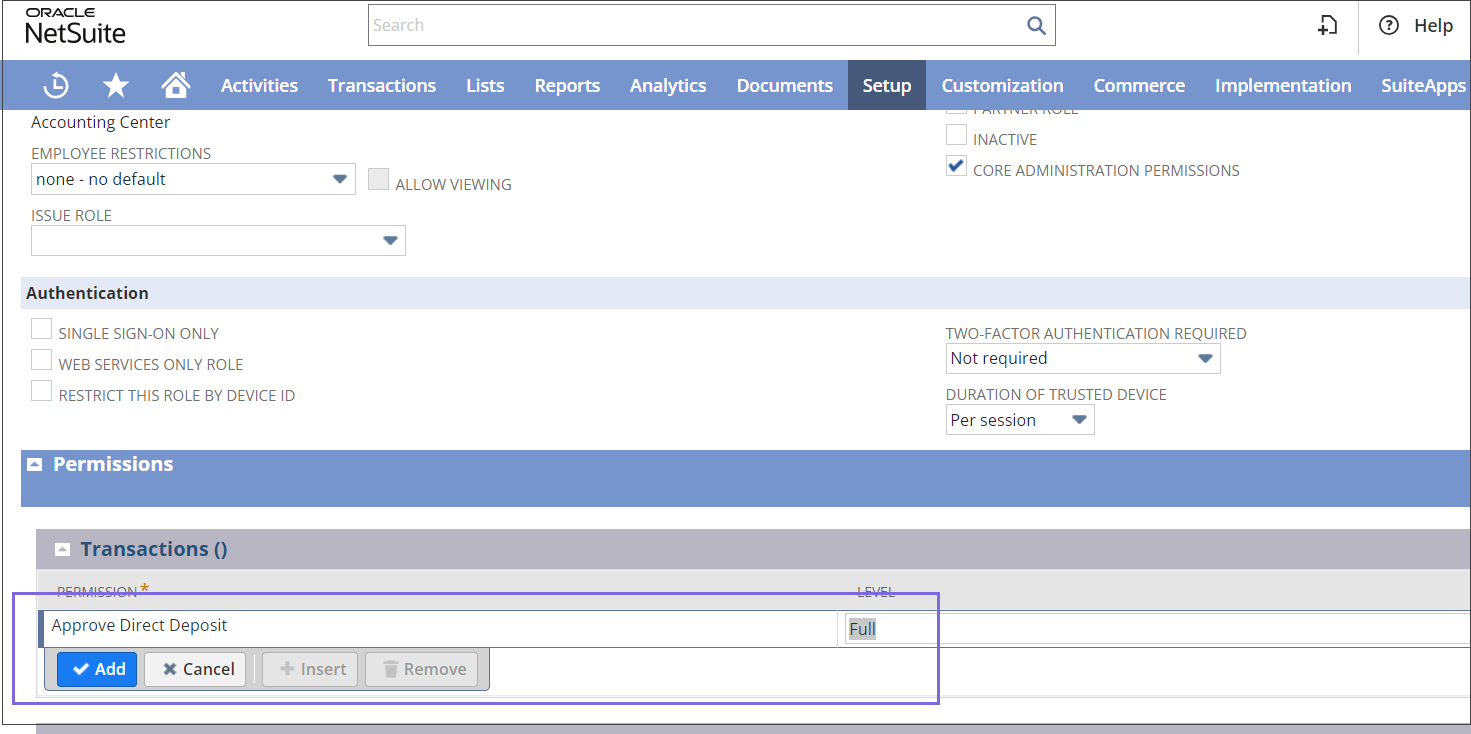
Add or update the required permission to Full to perform full CRUD operations. For example, enable the Customers object with full permissions to perform CRUD operations.
-
Ensure that the role has the necessary permissions for web services and other related objects.
-
Go to the Setup sub-tab and ensure full Web Services for Access Token Management, Log in using OAuth 2.0 Access Tokens, OAuth 2.0 Authorized Applications Management.
-
Verify any additional permissions under the Transactions and Setup sub-tabs that might be required for full CRUD operations.
- Click Save to confirm and apply the changes.
-
Assign Users to OAuth 2.0 Roles.
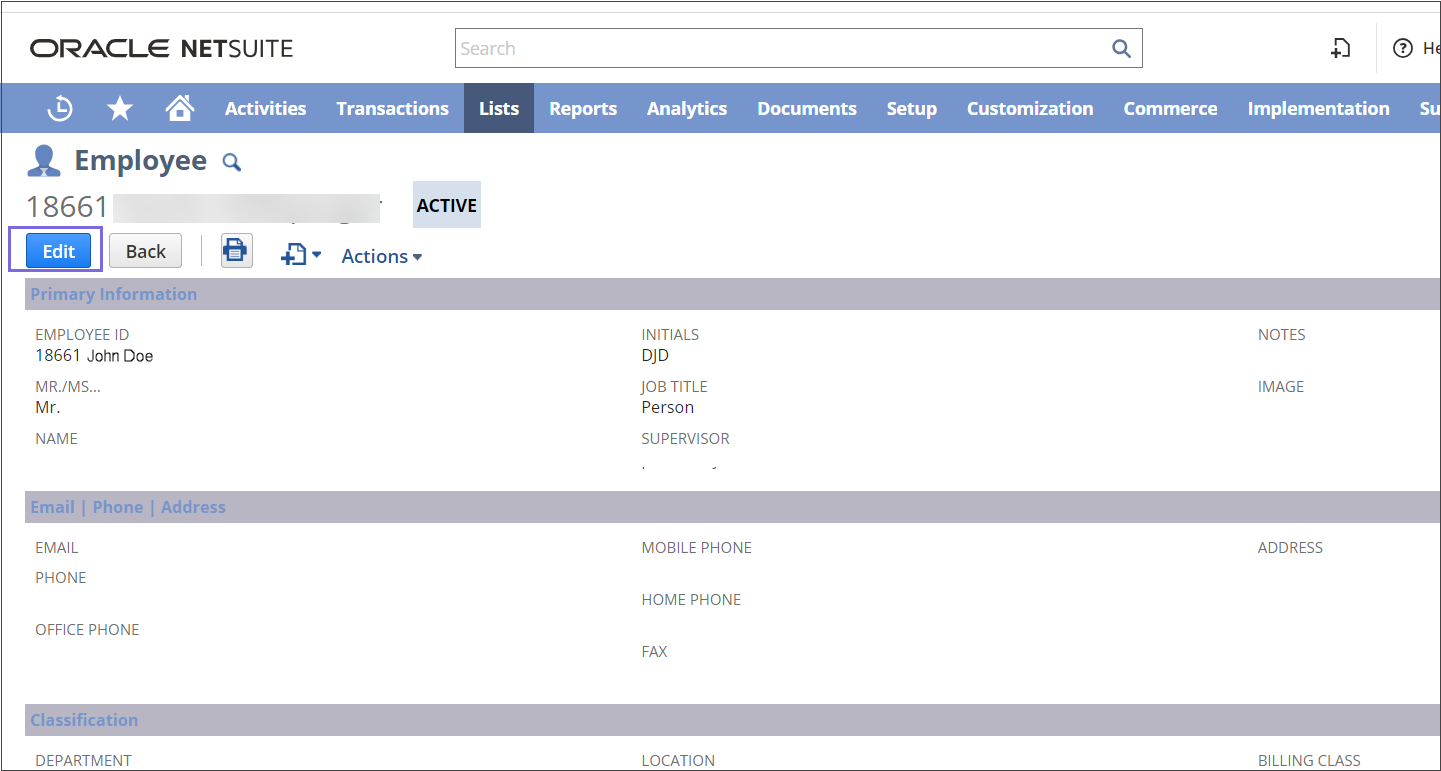
- If the user is an employee, click on .
-
Click Edit to assign the token-based authentication role that you created.
-
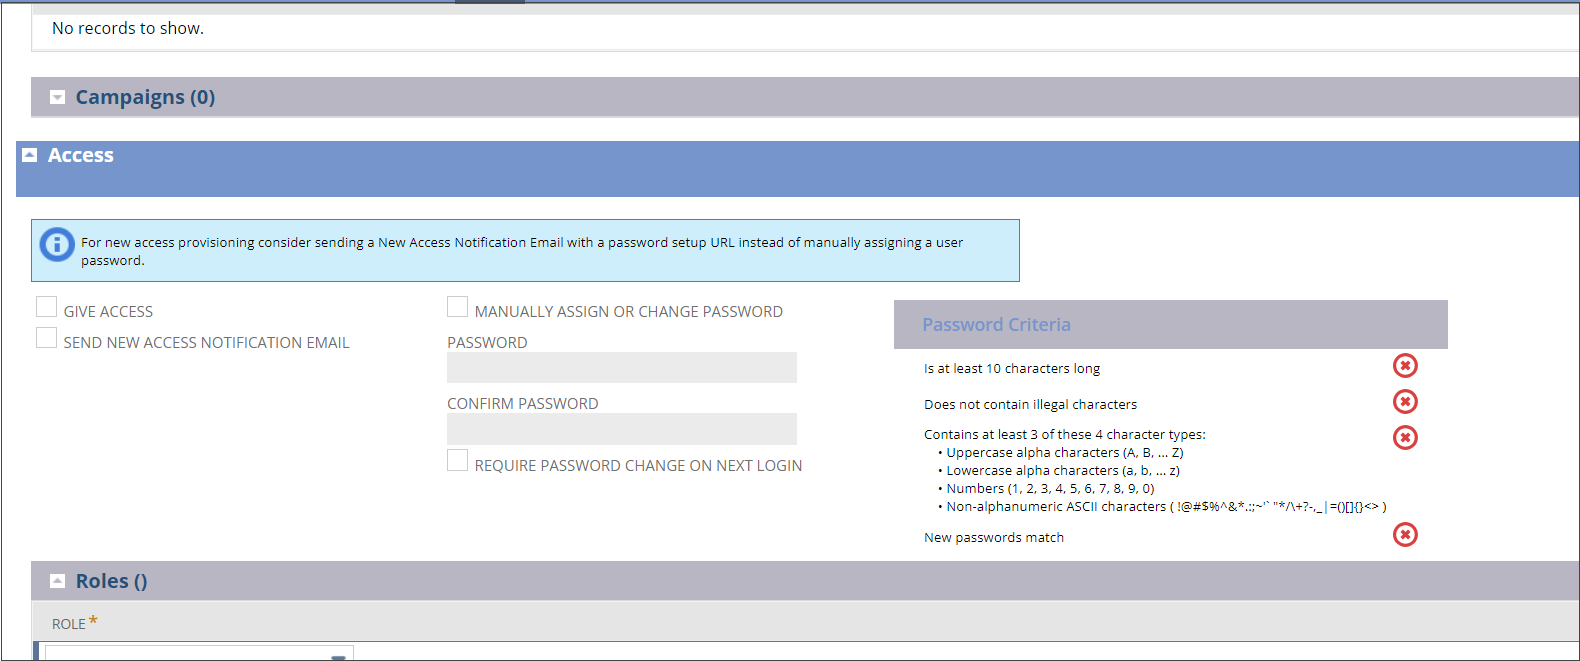
Click the Access tab.
-
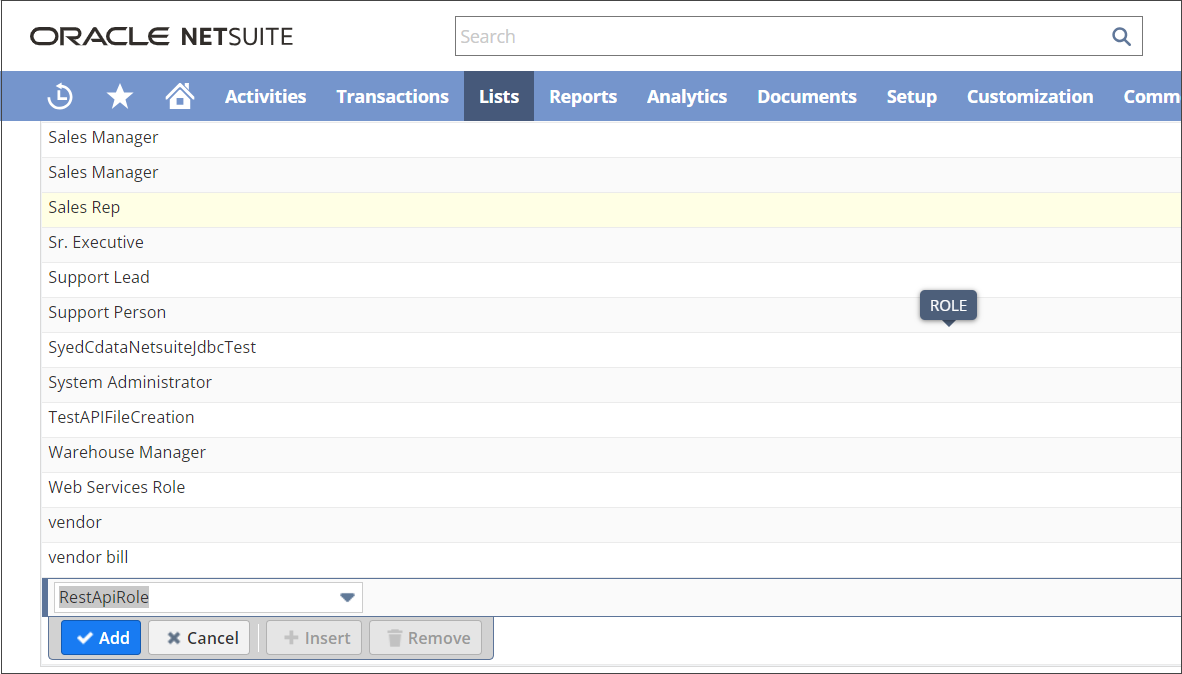
In the Role field, select the role for this user.
- Click Add and Save.
-
Create Integration Records for Applications to Use OAuth 2.0.
- Go to .
- Click .
-
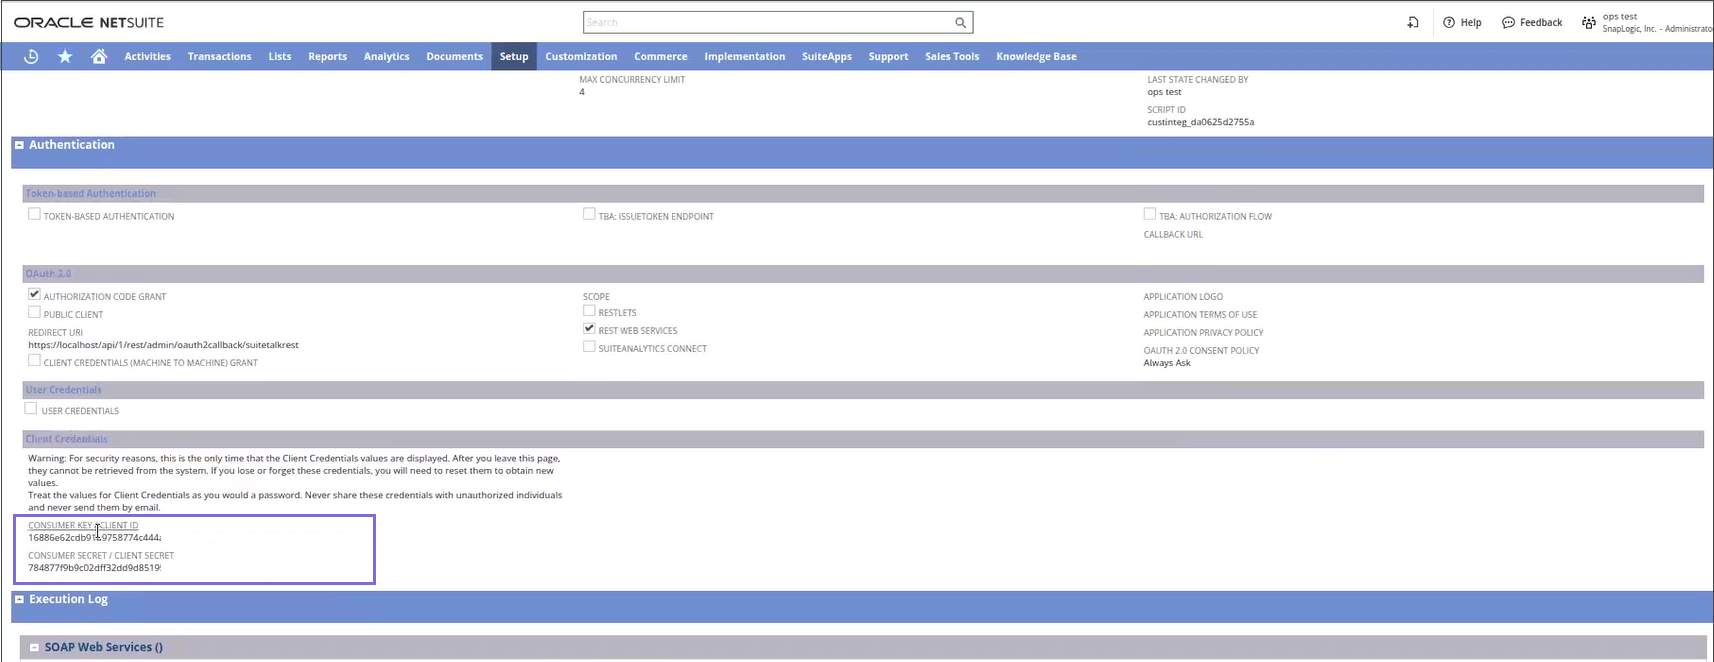
Select AUTHORIZATION CODE GRANT, CLIENT CREDENTIALS (MACHINE TO MACHINE) GRANT, and REST WEB SERVICES checkboxes.
-
Specify the REDIRECT URI.
-
The Client ID and Client Secret are generated.
Note: The Client ID and Client Secret once created must be saved for easy access because you cannot retrieve these details in future.
-
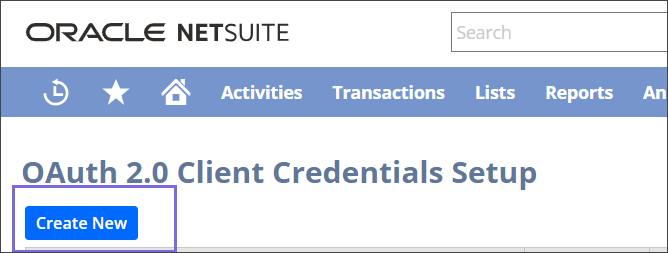
OAuth 2.0 Client Credentials Setup.
-
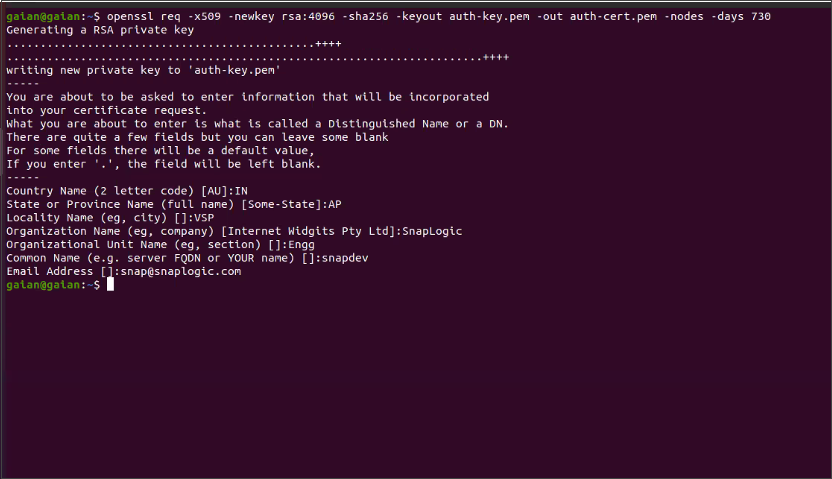
Generate key and certificate using the following command in Linux.
openssl req -x509 -newkey rsa:4096 -sha256 -keyout auth-key.pem -out auth-cert.pem -nodes -days 730
- Click on .
-
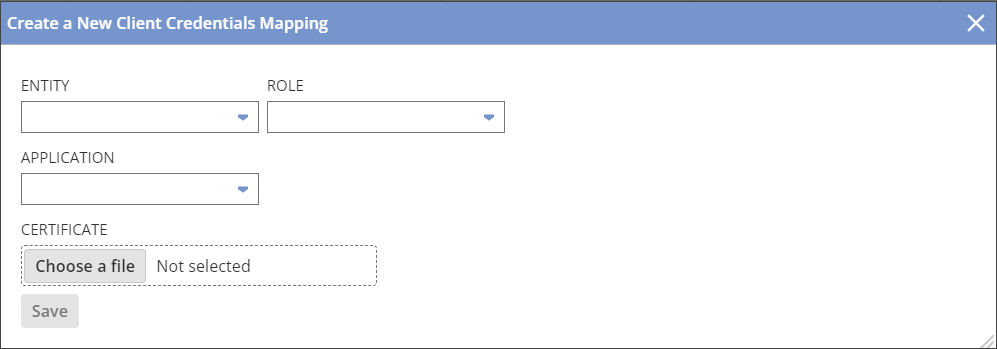
Click on Create New button.
-
Update auth-cert.pem obtained from the command line and add other properties as required and click Save.
-
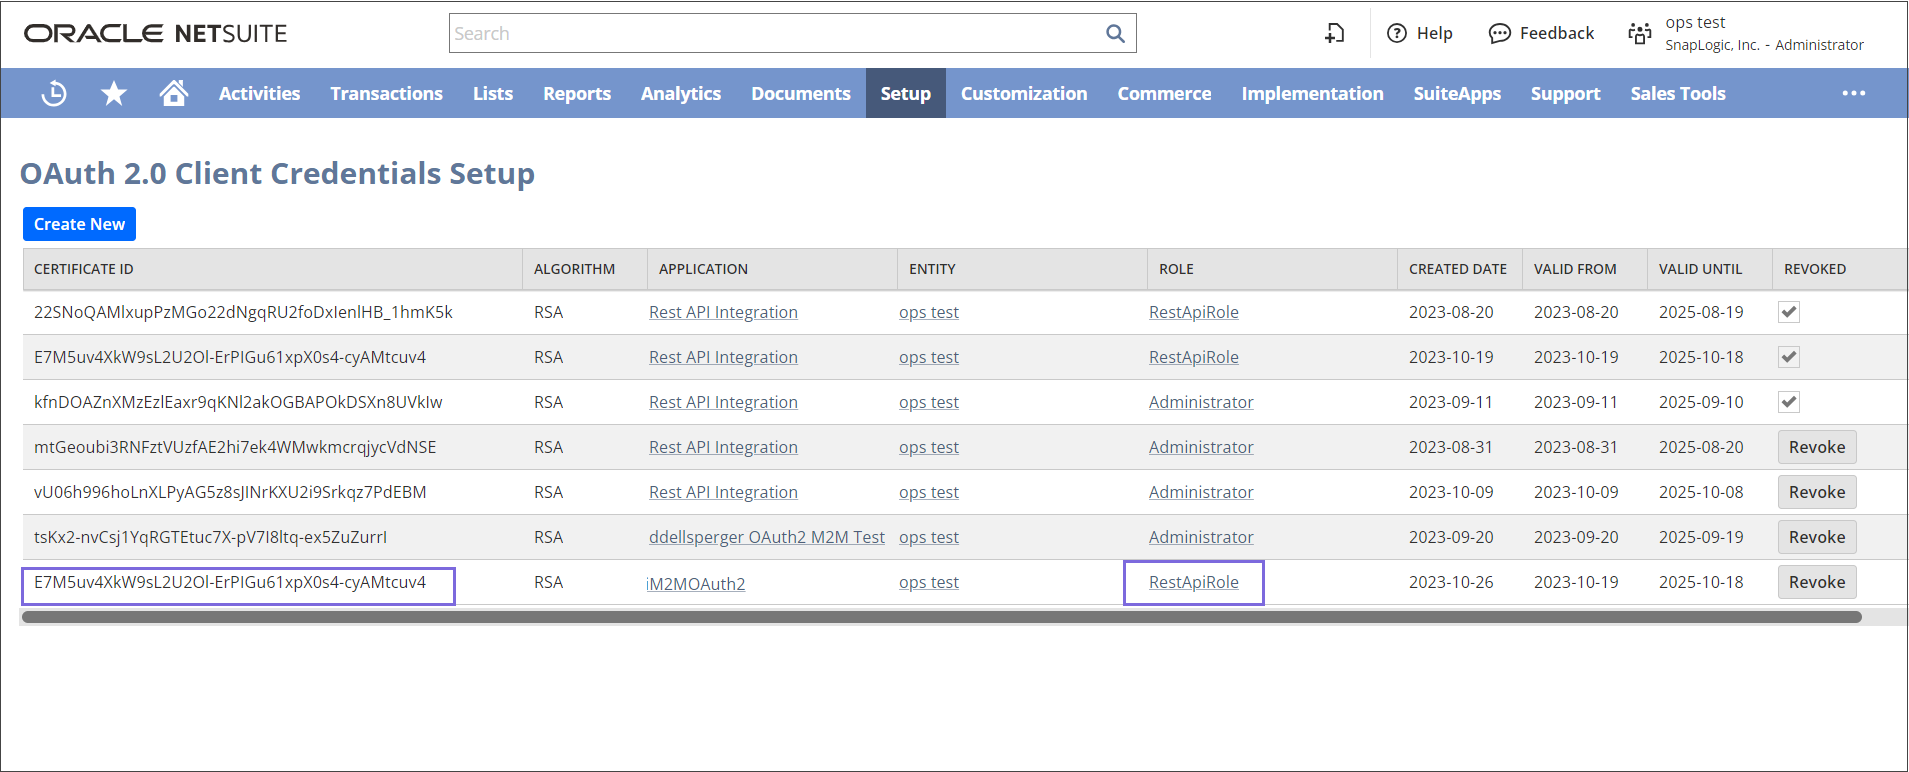
The Certificate ID is generated and listed as shown below:
Specify the credentials and authorize the Snap account
To authorize your account in the SnapLogic® Platform, you must have the following:
-
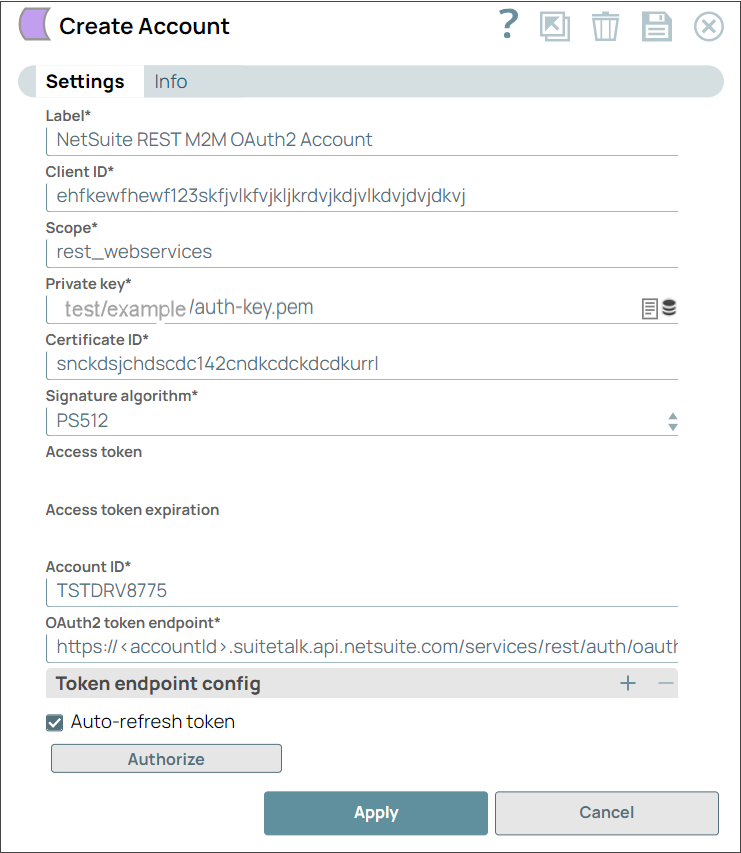
Navigate to the NetSuite REST Snap of your choice and configure the NetSuite REST M2M OAuth2 Account with the details from the NetSuite portal.
- Click Authorize. The access token is auto-populated in the Access token field.
- Click Apply to save the account.
