


Transform data into Hyper Format and publishing the datasource
This example pipeline demonstrates how to transform data into hyper extract format and publish the data source in the Tableau server.
Publishing a data source in the Tableau server is essentially a four-step process:
- Transform data into hyper extract
- Initiate file upload
- Append file upload
- Publish data source
We have three Tableau REST Snaps in this pipeline, each calling these three APIs:
- initiate_file_upload
- append_file_upload
- publish_datasource

Initially, we pass the following parameters in the pipeline as key-value pairs:
| Key | Value |
|---|---|
| siteid | b3013847-c198-4a1e-8650-9f43f9d5e9f2 |
| projectid | 87473786-9edd-495d-9820-c9ecbc928fe1 |
| hyperfilename | test.hyper |
-
Configure the JSON Parser to pass product information.
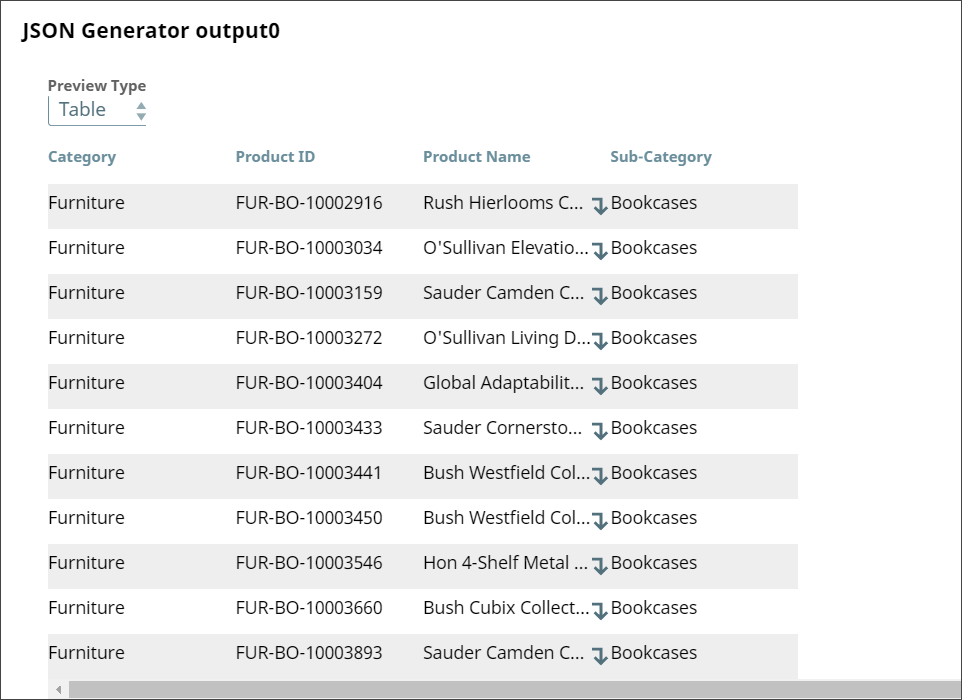
Use the following sub elements: Category, Product ID, Product Name, and Sub-Category. On validation, the Snap displays the generated JSON output.
JSON Generator Snap configuration JSON Generator Snap output 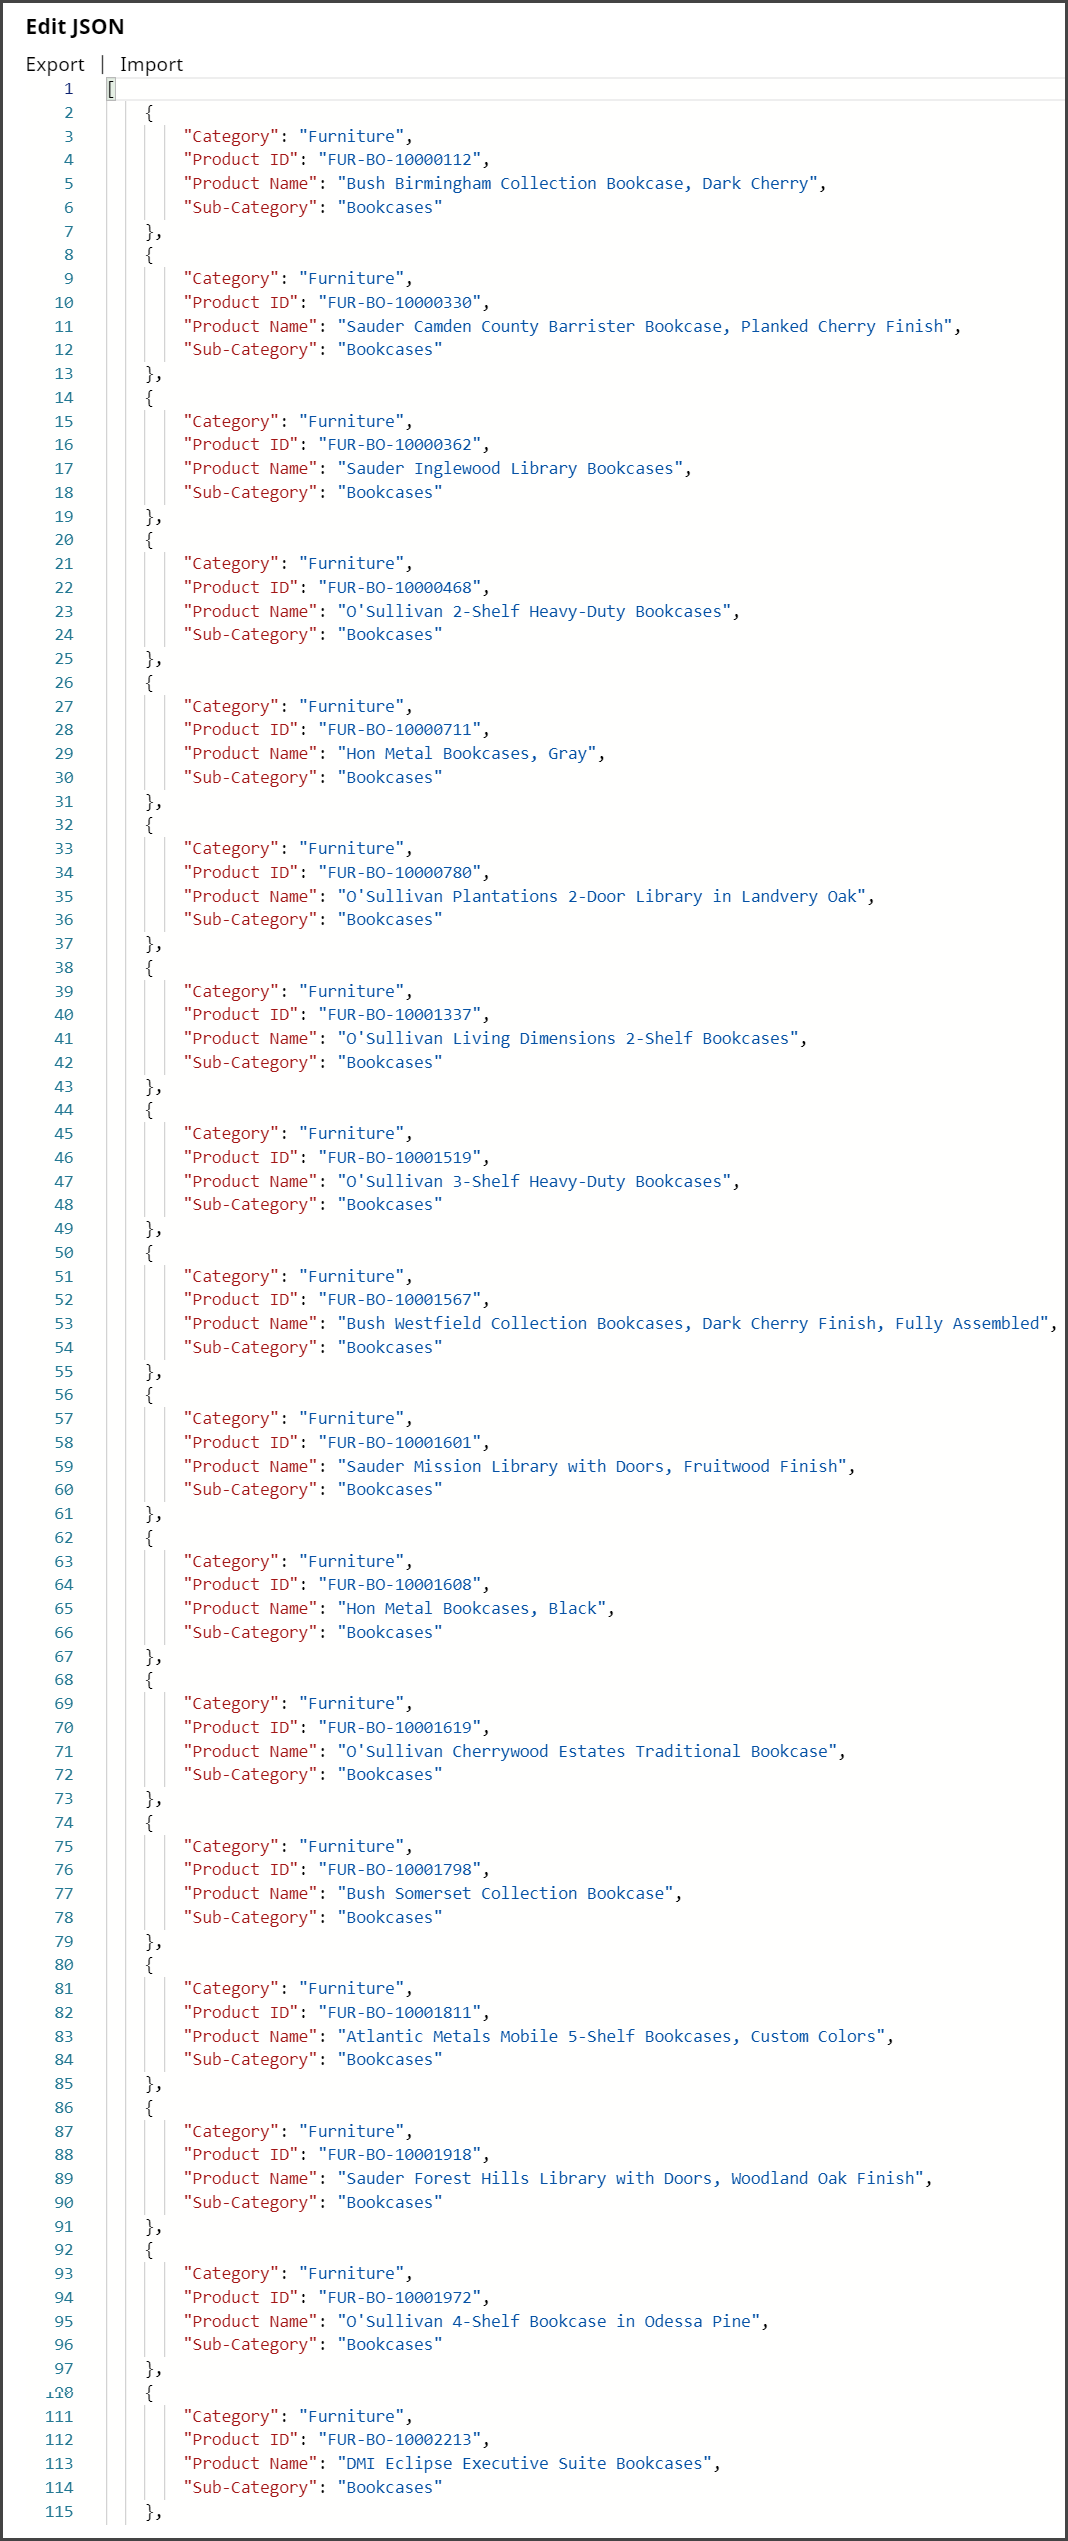
-
Configure the Hyper Formatter Snap to format the JSON data output into Tableau hyper format.
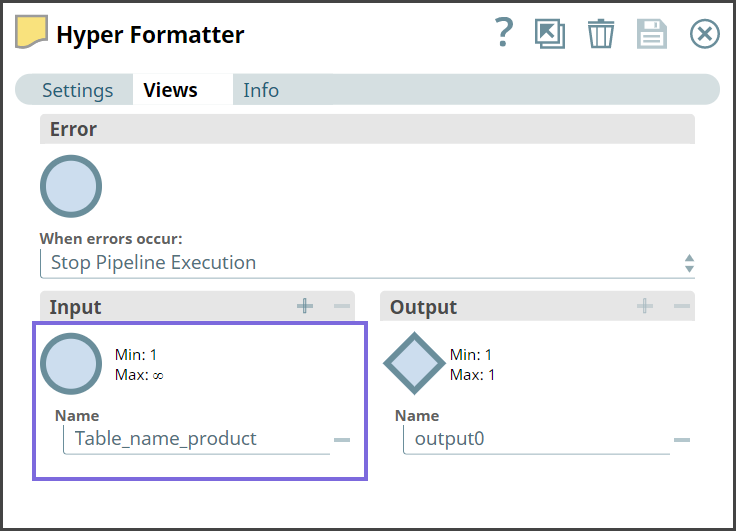
In the Views tab configure the views with one Input view: Table_name_product. This view label name is used as the table name in the hyper file in the output.
Hyper Formatter Snap configuration Hyper Formatter Views 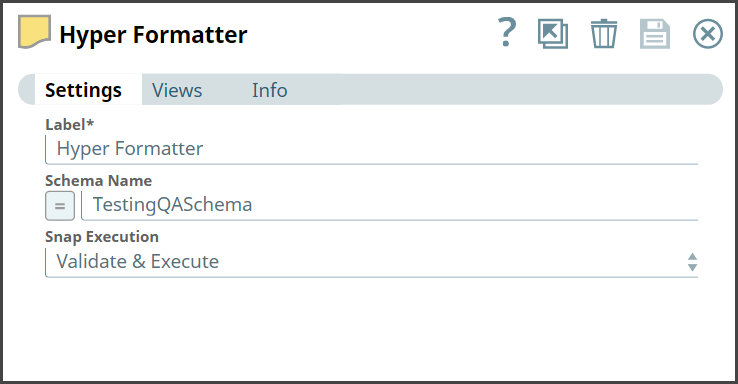
-
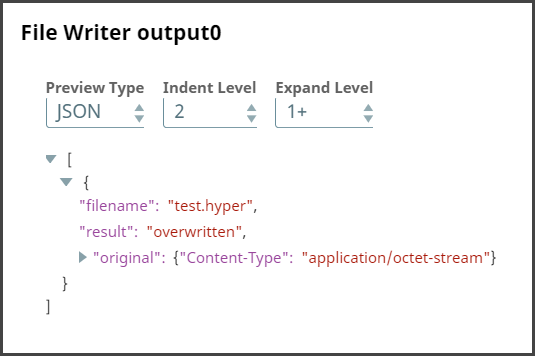
Configure the
File Writer
Snap to write the transformed hyper format data file,
test.hyper to the SL database. On validation, the Snap a confirmation message indicating that the hyper data file test.hyper is successfully overwritten in the SL database.
File Writer Snap configuration File Writer output 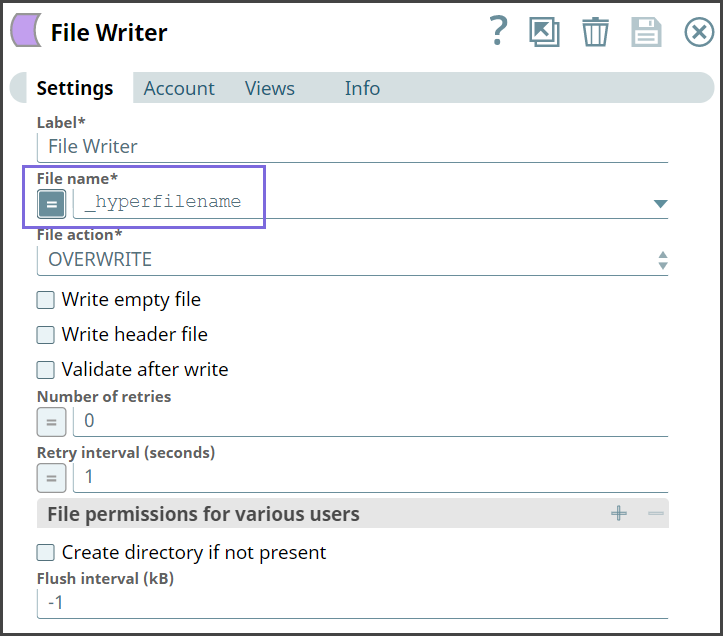
-
Configure the Mapper Snap to pass the data.
On validation, the Snap displays the output based on the specified input.
Mapper Snap configuration Mapper Snap output 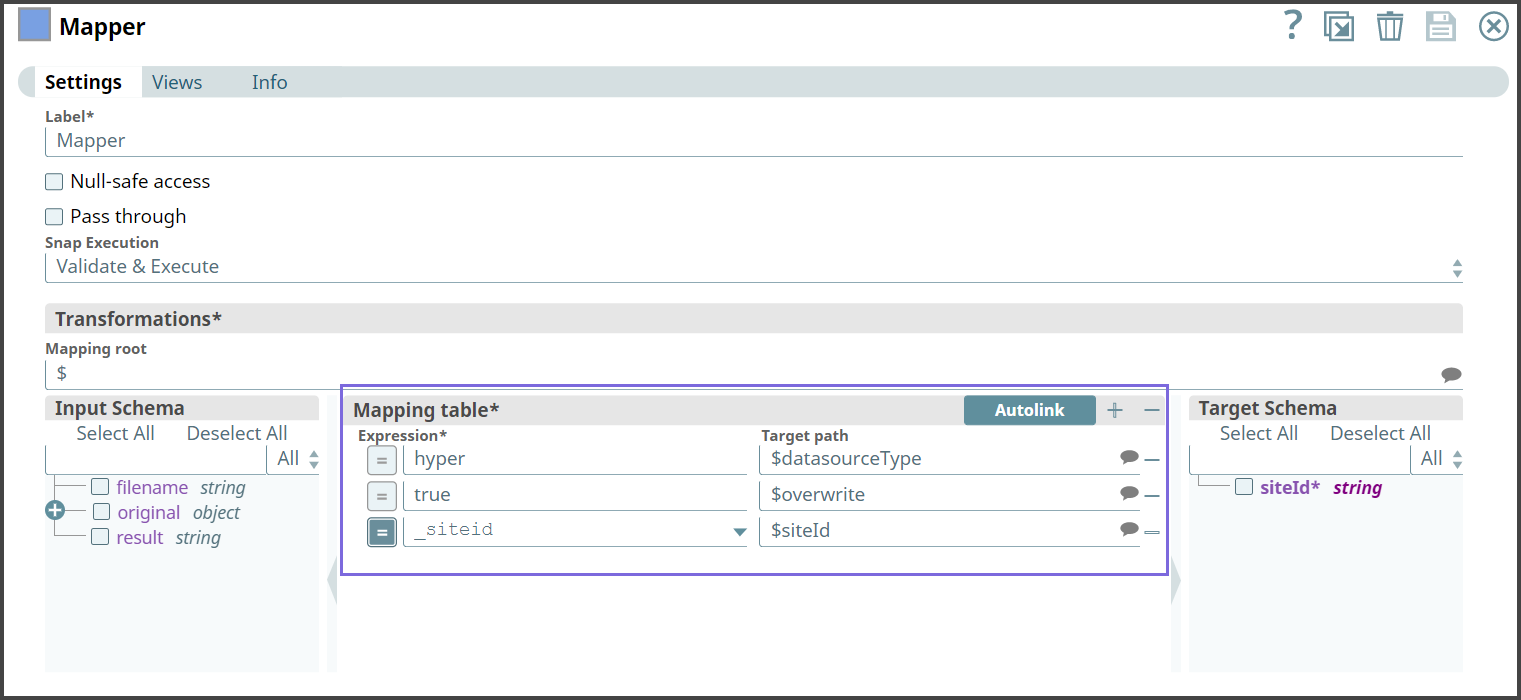

-
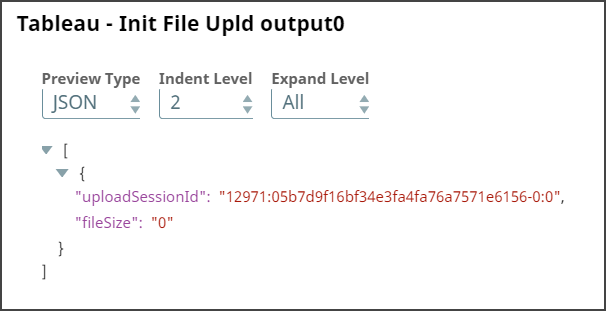
Configure the Tableau REST Snap to initiate the file upload operation using the REST operation.
The Snap establishes an upload session and creates a unique session ID. On validation, the Snap displays the preview of the output from the Tableau REST Snap. Since the file is not uploaded in this operation, the value of the $filezSize field is 0.
Tableau REST Snap configuration Tableau REST Snap output 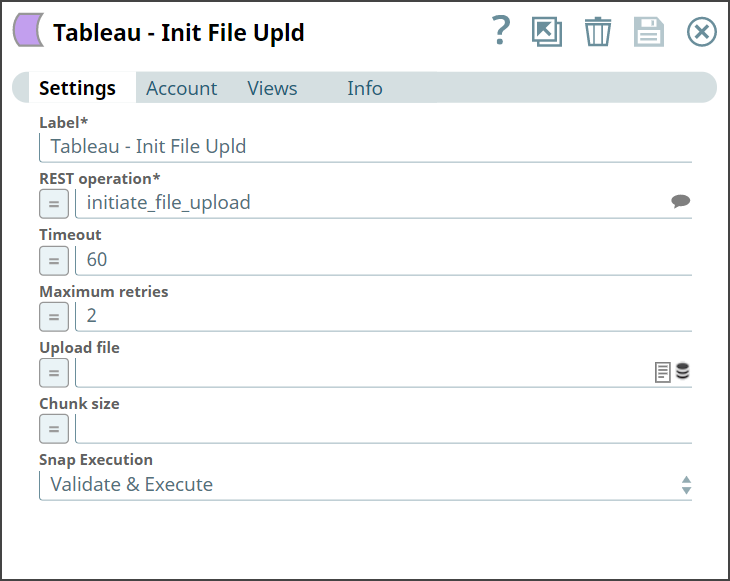
-
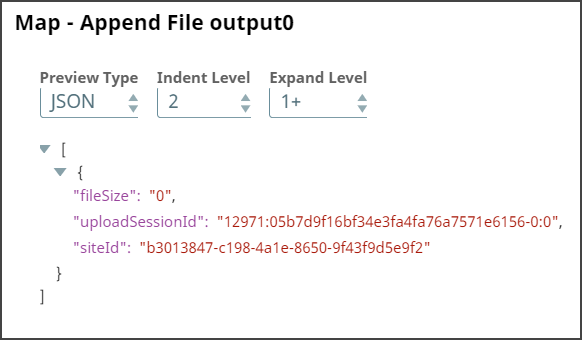
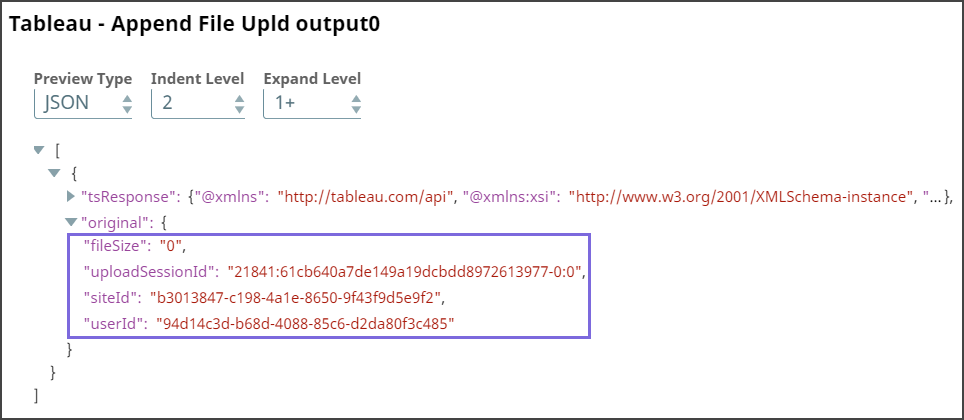
Configure the Mapper Snap to append the uploaded file.
We pass the fileSize, uploadSessionId, and siteId values to the downstream Tableau REST Snap. On validation, the Snap displays the output based on the specified input.
Mapper Snap configuration - Append File Mapper Snap - Append File output 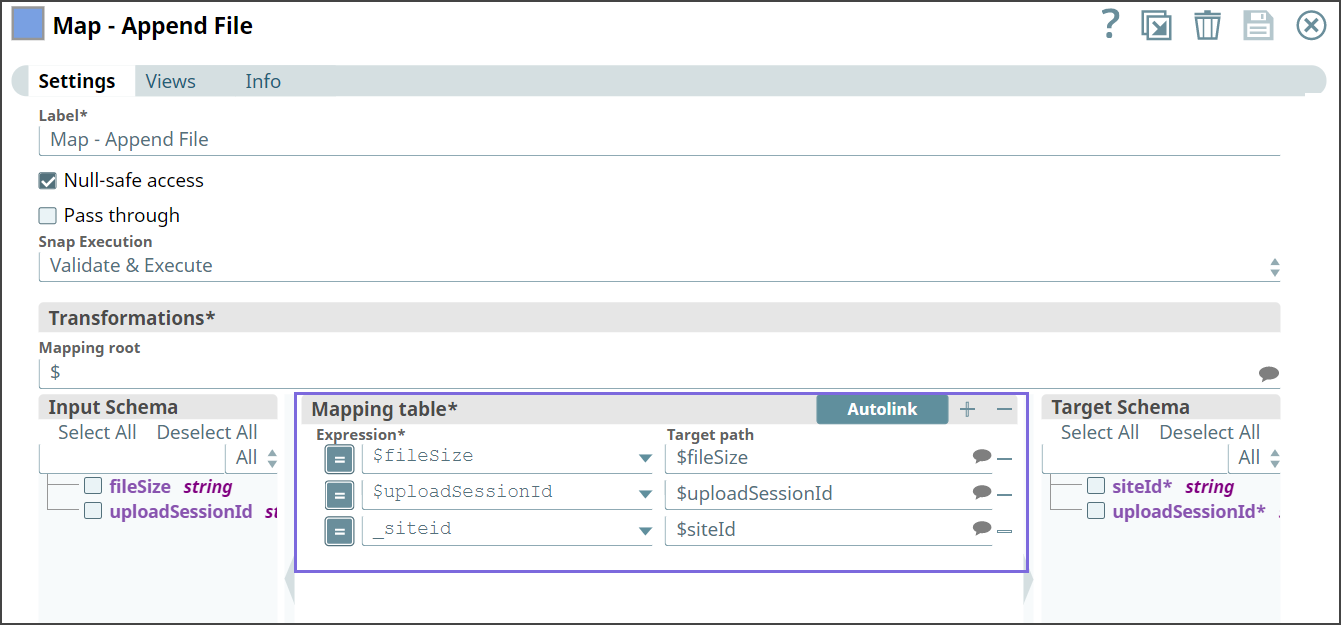
-
Configure the Tableau REST Snap to append the file to Tableau Online Site (repository/folder) in which the appended file will be placed.
We use the REST operation append_file_upload to append the test.hyper file and provide the target file’s name. This operation creates a resource location for the uploaded file (test.hyper). On validation, the Snap displays the output that the file is uploaded in chunks to the site (based on $siteId).
Tableau REST Snap configuration - Append File Tableau REST Snap - Append File output 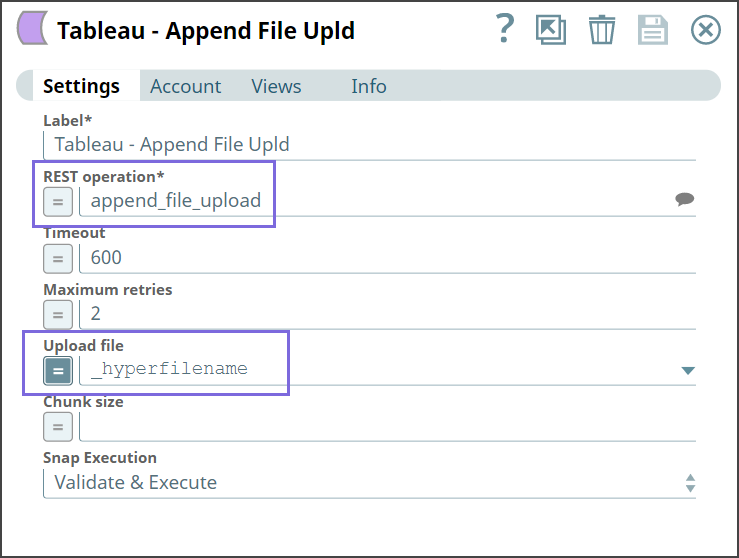
-
Configure the Mapper Snap to map the fields from the output of the second Tableau REST Snap to be used in the downstream Snap.
On validation, the Snap displays the output based on the specified input.
Note: uploadSessionId is an input from the previous REST operation, whereas the siteId, hyperfilename, and projectId are the values passed in the pipeline parameters.Mapper Snap configuration - Data Source Fields Mapper Snap - Data Source Fields 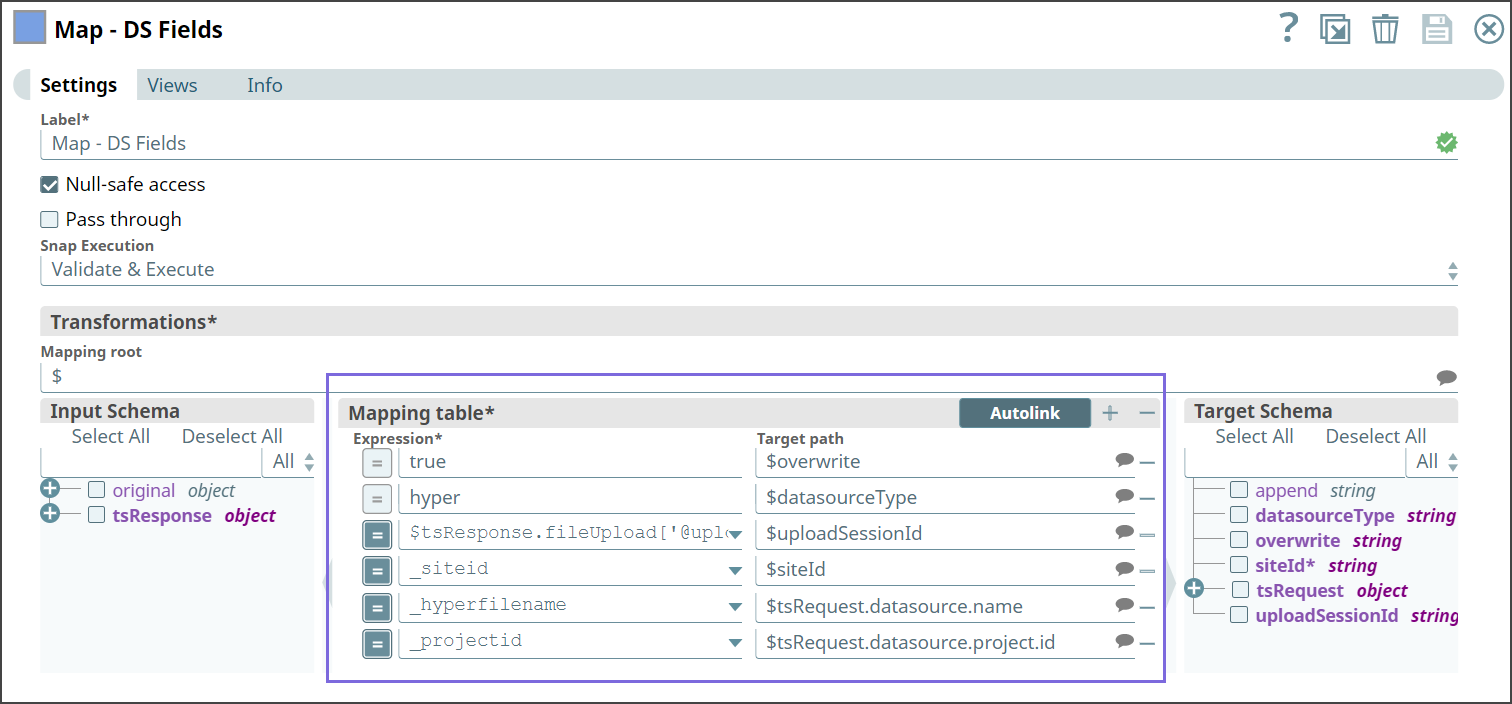

-
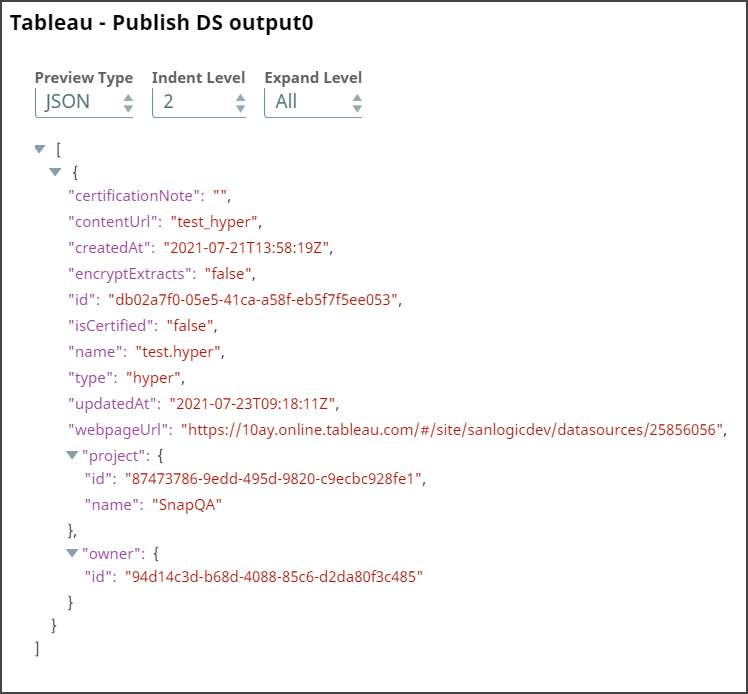
Configure the last Tableau REST Snap to publish the data source to Tableau instance.
This Snap uses the inputs from the upstream Snap to determine how to publish the file online. We use the REST operation publish_datasource to accomplish this task. On validation, the Snap displays the output of the successful operation.
Tableau REST Snap configuration - Publish DS Tableau REST Snap - Publish DS 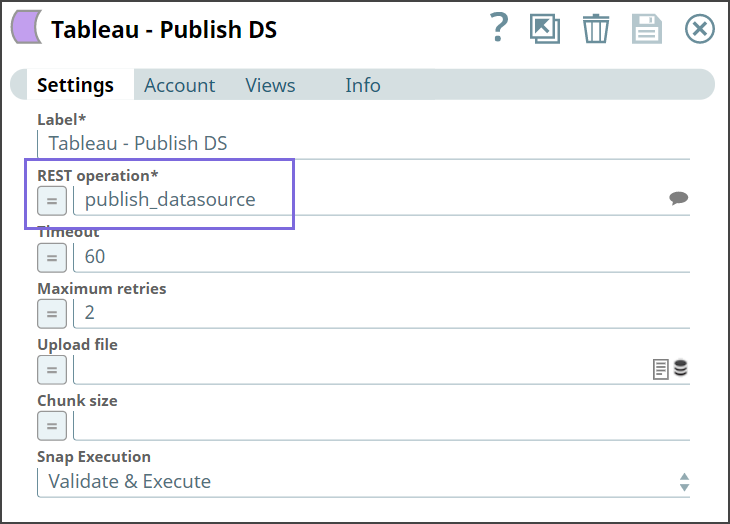
-
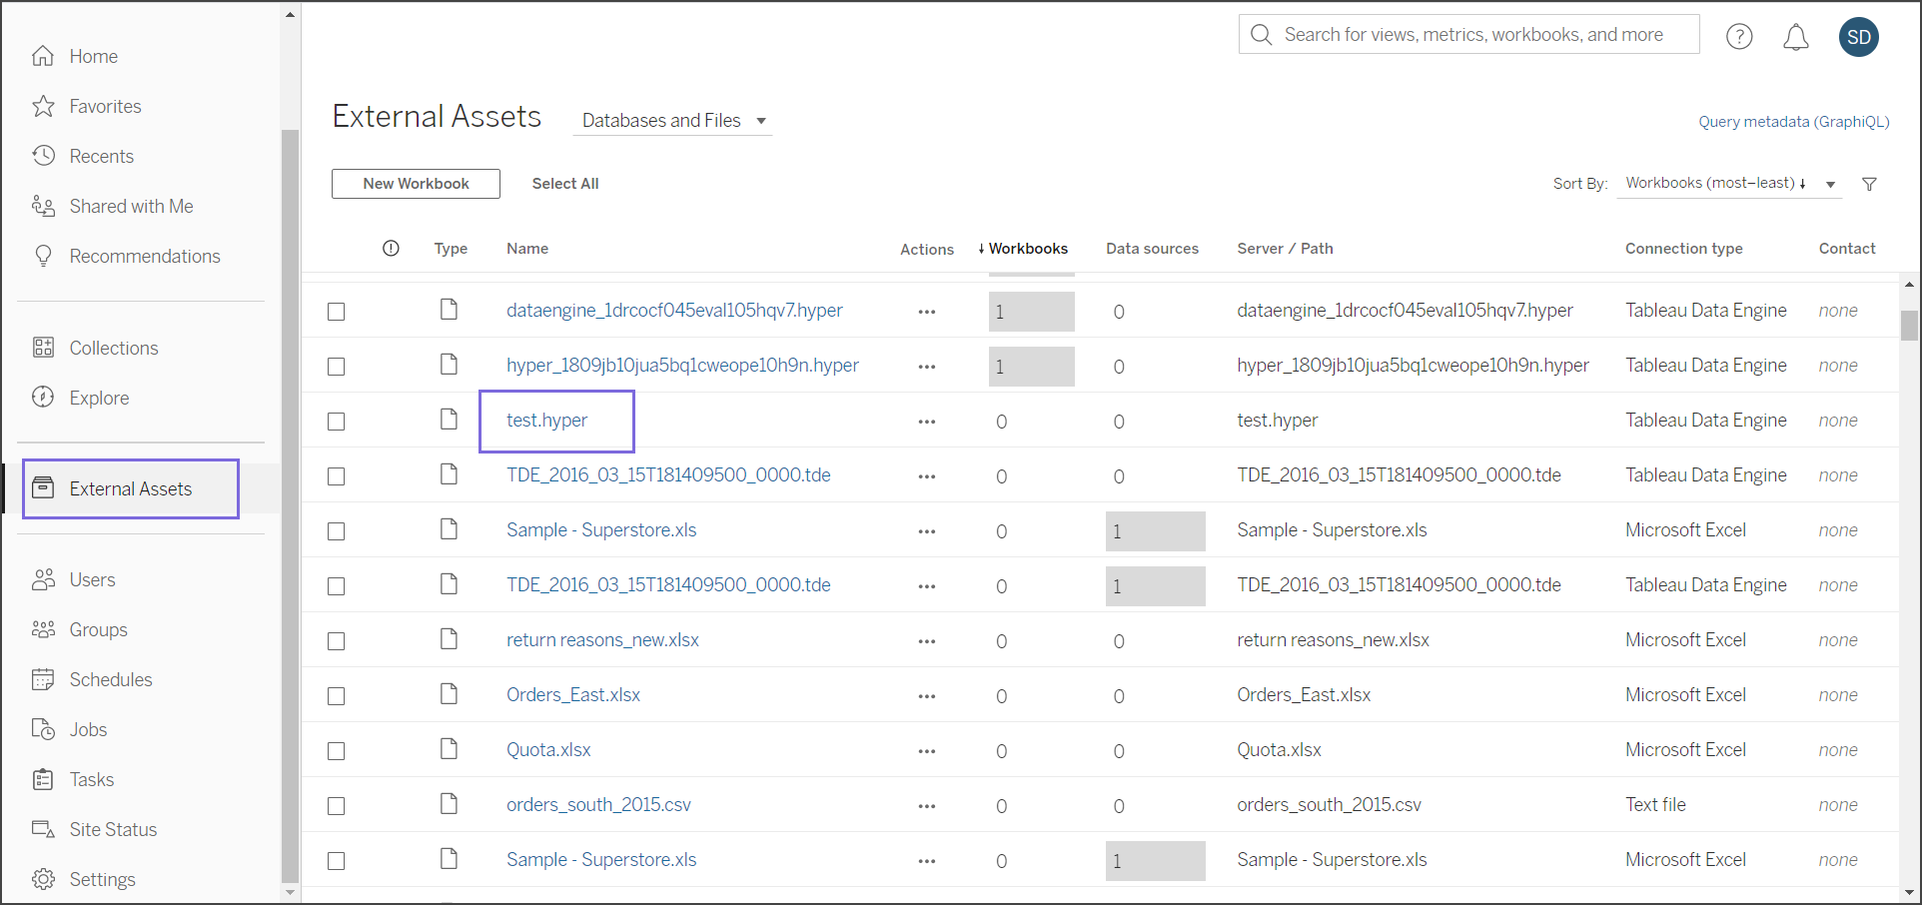
Upon execution of the pipeline, the hyper extract file test.hyper is uploaded to Tableau instance and stored under the External Assets group.
After the file is uploaded to Tableau, you can use this data for visualization of product information as graphs or pie charts.
- Download and import the pipeline into SnapLogic.
- Configure Snap accounts as applicable.
- Provide pipeline parameters as applicable.