Create a Policy

Policies contain rules that can validate, authorize, authenticate, and transform requests, and shape and transform responses. Inbound rules, Outbound rules, and Response rules describe the available rules.

It's good practice to understand the functionality of the Services to decide which rules to add and how to configure them. A good descriptive name is also important, especially if other Service developers can reuse the Policy.

  1. Navigate to the Policy Catalog.
  2. Click New Policy.
    The Policy builder opens with a Policy named New policy.
  3. Click the New policy title, and enter a name for your Policy.
  4. To add a rule:
    1. Click the plus icon for the category of rule to add:
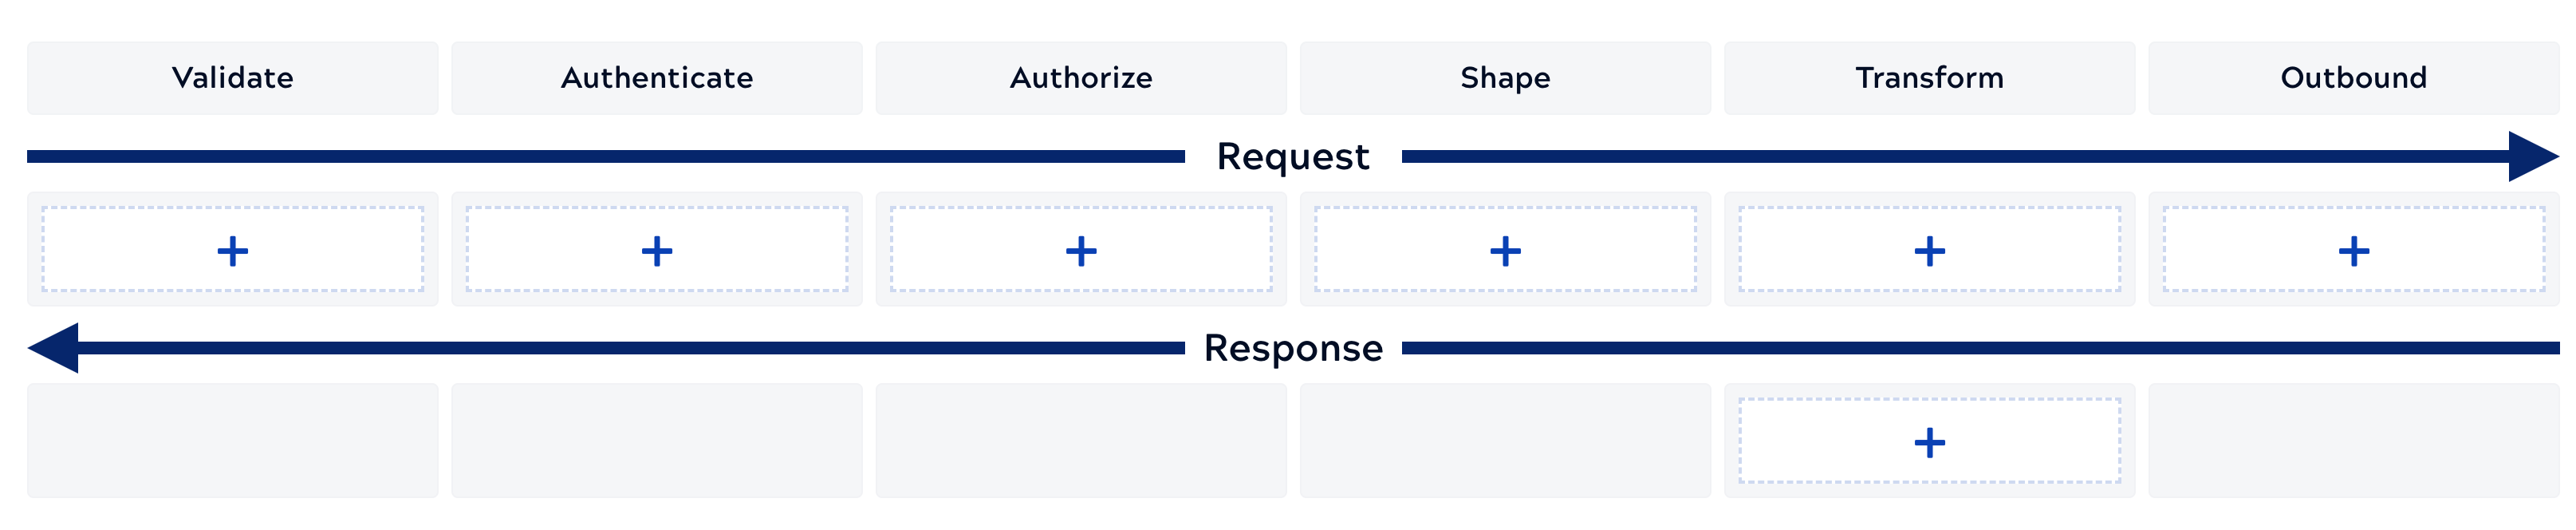
      Policy builder

      The category panel opens. For example, the following shows the available Validation rules:
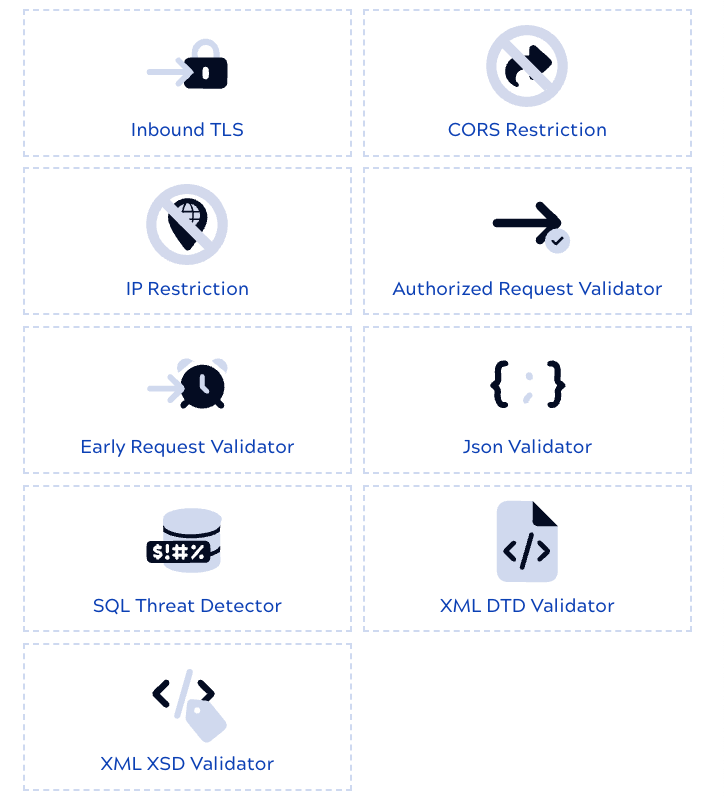
      Validation rules

    2. Click the rule to add.
      The rule settings panel opens. For example, the following shows Inbound TLS settings:
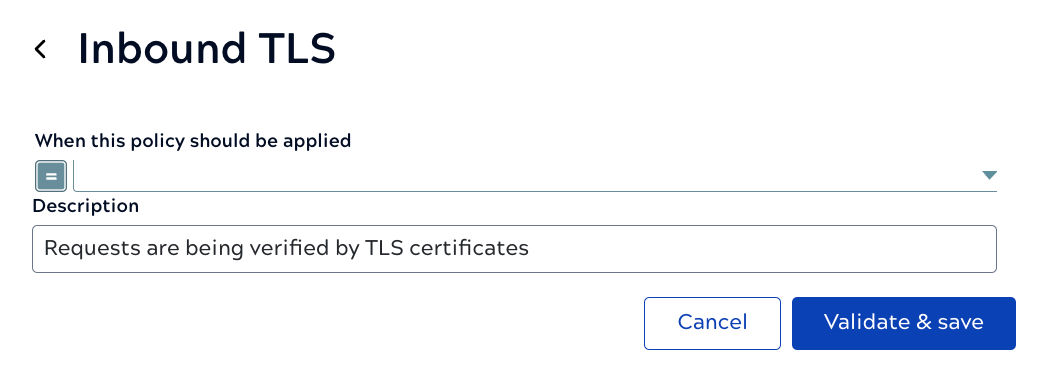
      Inbound TLS rule settings

    3. Optionally, in When this policy should be applied, enter an expression with the condition that must be true for the rule to apply. Without an expression, a rule applies to all requests.
      For example, the expression request.method == "GET" causes the rule to run only on GET requests.
    4. Configure the appropriate settings. Refer to Rule reference for explanations of the fields for each rule.
    5. Click Validate & save.
  5. Repeat the previous steps to add other rules to this Policy.
  6. Optionally, click Add account to create an account for an outbound rule, then click the account type.
    For the steps and the fields for each account type, refer to Create an account in the Policy builder. Creating an account doesn't associate it with a rule. To associate it, select the account on the rule's Account tab, as described in Associate an account with an outbound rule.
  7. When the Policy contains all required rules, click Save.
  8. Select the project in which to save the Policy.
  9. Click Save.