


Manage AutoSync users
Org admins manage SnapLogic AutoSync users from the following IIP Manager pages:
- From the User page, add a new AutoSync user or give an existing user access to AutoSync.
- From the AutoSync Manager page:
- View AutoSync user spaces, data pipelines, and endpoint credentials. View or modify permissions.
- Create User groups to share Accounts and credentials.
Tip: Admins can also manage users, groups, and roles from Admin
Manager. Learn more.
Add a new AutoSync user
From the IIP, add a new AutoSync user:
- Click the Manager tab.
- In the left navigation pane, click Users.
- In the toolbar, click the plus button.
The Create User dialog opens:
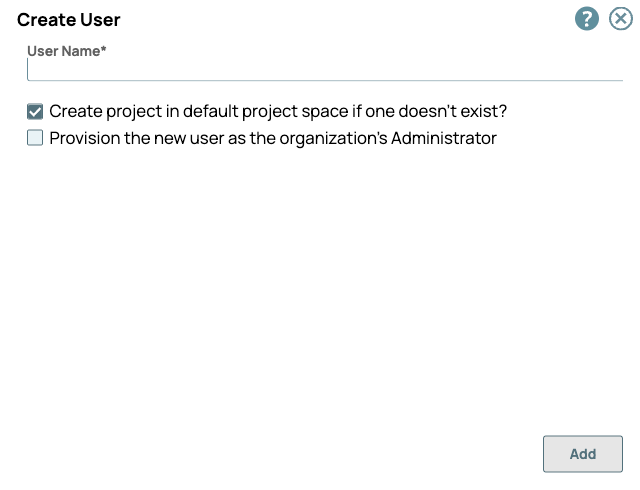
- In the User Name field, enter the new user's email address.
- Keep the default state of the checkboxes, the first checked and the second unchecked.
- Click Add.
- Enter the new user's first and last name.
- Keep the default state of the checkboxes, the first checked and the second unchecked.
- Click Next.
- For Application Access, select AutoSync and Intelligent Integration Platform (IIP).
Note: Currently, you must enable both the IIP and AutoSync for AutoSync users.
- Click Create.
New users receive an email with a generated password that expires in 24 hours. If the password expires, they can use the link to the login page and click Reset password.
Enable AutoSync for an existing user
From the IIP, select an existing user:
- Click the Manager tab.
- In the left navigation pane, click Users.
- Search for the user by email or by name.
- Select the AutoSync and the IIP checkbox for that user.
The next time the user logs in, they can use AutoSync.
Add Account credentials for a user
From the IIP, give a user access to endpoint credentials:
- Click the Manager tab.
- In the left navigation pane, click AutoSync Manager.
- In the User spaces tab, click a user.
- Click the Accounts and credentials tab.
- Click the toolbar plus button.
- In the Create Account dialog, select the type of endpoint. If the endpoint supports multiple Account types, select the type.
- Click Create.
- Enter the properties required to connect to the endpoint.
- Click Save and Validate.
The Account becomes available to the user.