


Start or stop a Groundplex on Linux
Steps to start or stop a Groundplex on Linux
Overview
You can use either the systemd or init.d utility to start and stop the Snaplex for Linux distributions such as Red Hat, Fedora CoreOS, CentOS, and SuSE.
The procedures vary depending on which Linux distribution is installed on the Snaplex host.
Prerequisite
- Before you begin start or stop the snaplex, refer to the Groundplex installation on Linux document
Steps
Start and stop the Groundplex using the init.d utility with this procedure for Red Hat-like Linux distributions such as Red Hat, Fedora CoreOS, CentOS, and SuSE.
To add the Snaplex as a service:
- Log in to the host as a root or sudo user.
- Create the startup service file:
touch/etc/systemd/system/snaplogic.service - Change the permissions on the file:
This change provides read and write permissions for the owner and group, and read permission for others.chmod 664 /etc/systemd/system/snaplogic.service - Open the file with a text editor. For example, using a vim editor:
vim /etc/systemd/system/snaplogic.service - Add the following text to the file:
[Unit] Description=SnapLogic JVM After=network.target [Service] Type=forking ExecStart=/etc/snaplogic/bin/jcc.sh start ExecReload=/etc/snaplogic/bin/jcc.sh restart ExecStop=/etc/snaplogic/bin/jcc.sh stop [Install] WantedBy=default.target - Save and exit the file.
- Enable the service by running the following command:
The service will start automatically when the host reboots.systemctl enable snaplogic.service - Start the service:
systemctl start snaplogic.service - To stop the Snaplex as a service, run the following command:
systemctl disable snaplogic.service
Steps
Start and stop the Groundplex using the init.d utility with this procedure for Red Hat-like Linux distributions such as Red Hat, Fedora CoreOS, CentOS, and SuSE.
- Red Hat, Fedora CoreOS, CentOS, and SuSEgit
- Debian or Ubuntu
- Log in to the Linux machine as root.
- Change directories:
cd /etc/init.d/ - Create a softlink to the jcc.sh file:
ln -s /opt/snaplogic/bin/jcc.sh snaplex - Add the softlink to chkconfig management:
chkconfig --add snaplexNote: We recommend that you reboot the machine to verify if the Snaplex service is restarting automatically on machine reboot. Under some conditions, the symlink resolution might fail when the machine is starting up. In this case, you can change the Snaplex startup script to be a file instead of a symlink. Run the following commands a root user:rm /etc/init.d/snaplex cp /opt/snaplogic/bin/jcc.sh /etc/init.d/snaplex echo "export SL_ROOT=/opt/snaplogic" >> /etc/sysconfig/jcc - To delete the Snaplex as a service, remove the service from the chkconfig management:
chkconfig --del snaplex
- Log in to the Linux machine as root.
- Change directories:
cd /etc/init.d/ - Create a soft-link to the
jcc.shfile:ln -s /opt/snaplogic/bin/jcc.sh snaplex - Install the service using update-rc.d. For example:
sudo update-rc.d snaplex defaults 98 02Important:Troubleshooting if the machine reboot fails.
We recommend that you reboot the machine to verify whether the Snaplex service is restarting automatically on machine reboot. Under some conditions, the symlink resolution might fail when the machine is starting up. In this case, you can change the Snaplex startup script to be a file instead of a symlink. Run the following commands a root user:
rm /etc/init.d/snaplex cp /opt/snaplogic/bin/jcc.sh /etc/init.d/snaplex echo "export SL_ROOT=/opt/snaplogic" >> /etc/sysconfig/jccOn a Debian system, the /etc/sysconfig directory would need to be created if not already present.
Manage disk volumes for Groundplex nodes
- Commission the JCC nodes with two separate disk volumes to ensure that the operating
system and pipeline execution workspace remain segregated.
- The JCC is installed in
/(root)volume, and the workspace is separated in the bind mounts. - The second disk volume is mounted on
/workspace, and bind mount directories are created.
sudo su mkdir /workspace - The JCC is installed in
- Create subdirectories in
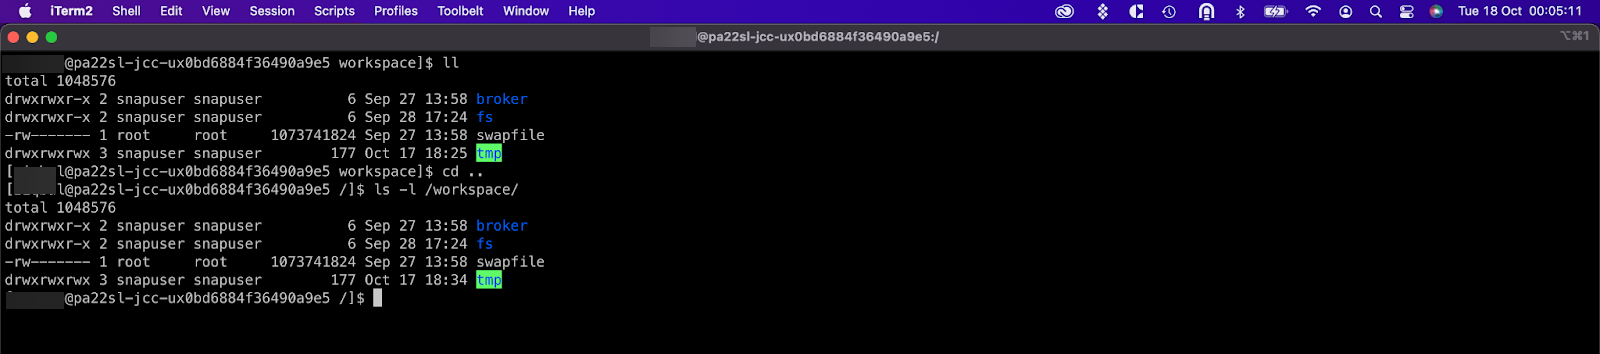
/workspaceand/opt/snaplogic/rundirectories using the commands specified below:mount /dev/nvme2n1 /workspace #(replace nvme2n1 with the device name) mkdir -p /workspace/{fs,broker,tmp} mkdir -p /opt/snaplogic/run/{fs, broker} chown -R snapuser:snapuser /workspace && chmod -R 0755 /workspaceThe
/workspace/tmp,/workspace/fs, and/workspace/brokerdirectories are created to separate temporary data, file system state, and internal message broker queues onto a dedicated disk volume to ensure system stability and prevent disk-full errors. - Create the bind mounts using the commands specified below:
   mount --bind /workspace/fs /opt/snaplogic/run/fs
  mount --bind /workspace/broker /opt/snaplogic/run/broker
  mount --bind /workspace/tmp /tmp
| Workspace | Bind Mount | Ownership | Permissions |
|---|---|---|---|
| /workspace/fs | /opt/snaplogic/run/fs | snapuser:snapuser | 0775 |
| /workspace/broker | /opt/snaplogic/run/broker | snapuser:snapuser | 0775 |
| /workspace/tmp | /tmp | snapuser:snapuser | 0775 |
Example:
   /dev/nvme1n1 /workspace xfs noatime 0 0
  /workspace/fs /opt/snaplogic/run/fs none bind 0 0
  /workspace/broker /opt/snaplogic/run/broker none bind 0 0
  /workspace/tmp /tmp none bind 0 0