How to use AutoSync

SnapLogic® AutoSync data pipelines synchronize data between source and destination endpoints. Before creating a data pipeline:

  • Gather the credentials and connection information for each endpoint. This information might be stored in the SnapLogic platform already or you can enter it yourself. Learn more.
  • Decide which objects, tables, and files to load from source endpoints. Load all of the data required for your use case. Learn more.
  • Identify the destination schema. We recommend that you create a new schema in the destination for each AutoSync data pipeline to avoid naming conflicts.

Open the AutoSync dashboard

The AutoSync dashboard provides controls to create, edit, and view data pipelines. Open AutoSync from the Apps and Resources menu on the right side of the header:
Application menu

The AutoSync dashboard opens:
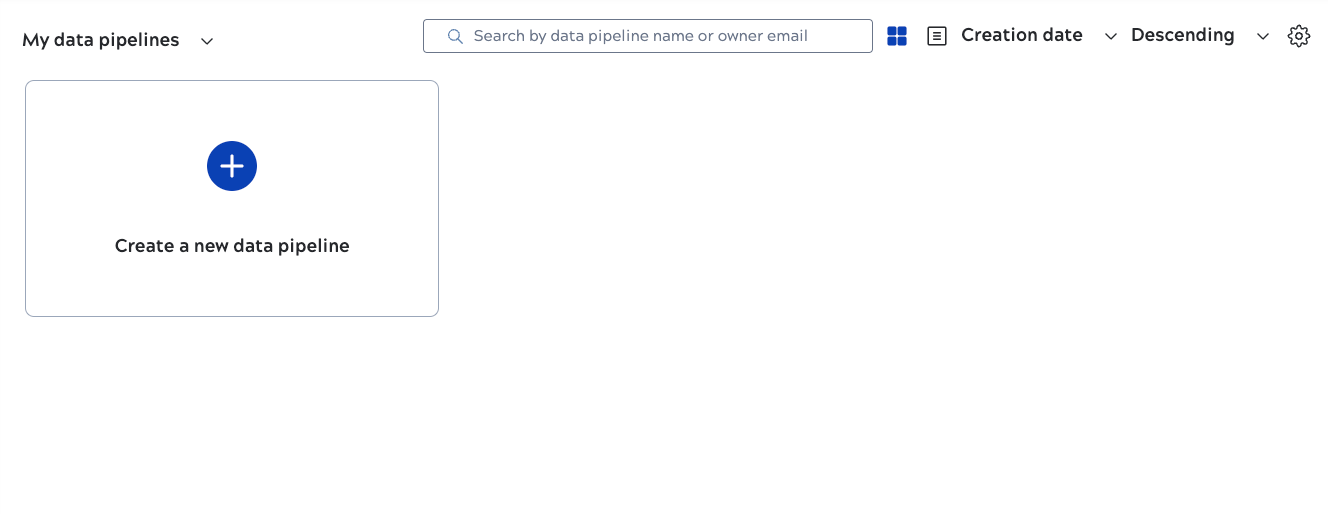
AutoSync dashboard

Use the wizard to create your first AutoSync data pipeline.

Create a data pipeline

To create an AutoSync data pipeline from the dashboard, click Create a new data pipeline:


AutoSync dashboard

In the wizard, the first screens ask questions about the purpose of the data pipeline. The wizard then prompts you to select the destination, the data source, optionally remove columns from synchronization, and how often to refresh the data. You can select up to five sources for one data pipeline. AutoSync loads the data from all sources into the destination schema that you select.

As you work through the wizard, a description builds dynamically in the right side panel. The description documents your choices and makes it easy to share the pipeline's purpose with others. For example:


Dynamic data pipeline description

When you add endpoint credentials, a link on the icon indicates the connection status. For example, the green link in the screenshot shows that AutoSync successfully connected to Snowflake:


Connection status

Note: Endpoint status indicators do not always update immediately. For example, if you successfully connected to an endpoint and then go back and enter invalid values, the status does not update until AutoSync attempts to reconnect.

After you select the source tables, the Filter column screen gives you the option to load a subset of each table. Tabs provide navigation to each table selected for a source. Column or field names display in the table with a data type indicator. Data displays in the table rows.


Filter columns

Click columns to remove them from synchronization. You cannot remove required columns such as key columns or columns that track the last modified date. The names of removed columns display below the table in pills. Click the X to add a column back to be synchronized.

Attention: In this release you can only filter columns from the integration when creating it, not after saving it.

Filter columns with columns removed

At the end of the wizard, you can schedule synchronization, save the data pipeline without running it, or run it immediately. After saving, AutoSync adds the data pipeline summary card to the dashboard. Environment admins (Org admins) can view all data pipelines in the Environment from the dashboard. Non-admin users can view data pipelines:

  • Created by them
  • Shared with them
  • When ownership is transferred to them

View the data pipeline summary

The AutoSync dashboard displays a summary card for each data pipeline:


Data pipeline card

Click the card to view the details panel. From the details panel:

  • View the full description.
  • Edit, delete, or run the data pipeline.
  • View the number of tables loaded and for the last run, the number of records processed, whether new, updated, or failed.

The following shows an example details panel:


Data pipeline execution details

Tip: If you disable Auto synchronize, the card displays a dash under Next run. You might want to view the saved schedule before enabling it again. To do this, click the card to open the details panel. The schedule displays under the Auto synchronize field:

Sychnronization schedule

Use the dashboard list view

In the AutoSync dashboard, click the list view button:


List view button

The list view opens:


AutoSync dashboard list view

From the list view, you can:

  • Filter data pipelines to include all, only yours, favorites, or shared.
  • Search.
  • Switch back to card view.
  • Access settings.
  • Create a new data pipeline.
  • View the details panel by clicking a data pipeline. From the details panel, you can edit or run the data pipeline and view statistics.
  • Edit a data pipeline by selecting it and clicking the edit button on the right.
  • Delete one or more data pipelines by clicking the box to the left of the name.
  • Enable or disable synchronization.
  • Click the star icon to add as a favorite.
  • Run now, share, or delete from the three dot menu that displays when you hover on the right side of a row.
  • Sort by creation date in ascending or descending order.