


Create and configure an OpenAI Vector Store
- An active OpenAI account with API access.
Create a Vector Store in OpenAI Platform
- Log in to the OpenAI Assistants portal.
- Select the project from the dropdown menu where you intend to create the vector store.
- In the left navigation pane, navigate to Storage option under DASHBOARD.
- Click on the Vector stores tab.
- Click the Create button to initiate the creation of a new vector store.
- Optionally, you can modify the default vector store name as needed.
Configure the Vector Store ID in the OpenAI Vector Store Snaps
- In the SnapLogic Designer, drag any of the OpenAI Vector Store Snaps: OpenAI Add Vector Store File, OpenAI List Vector Store Files, OpenAI Remove Vector Store File.
- Configure your OpenAI API Key Account.
- Click the Suggestion icon (
 ) in the
Vector store ID field. The newly created vector store ID is
populated.
) in the
Vector store ID field. The newly created vector store ID is
populated.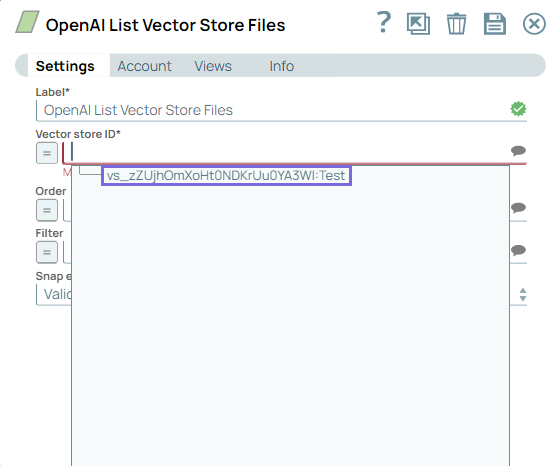
- You can now use the OpenAI Vector Store Snaps: OpenAI Add Vector Store File, OpenAI Remove Vector Store File, OpenAI List Vector Store Files in the SnapLogic platform to list, add, and remove files from your vector store.
- You can also create multiple vector stores to organize and manage your files based on different projects or purposes.