


Use Case: Predict diabetes progression
Overview
This use case demonstrates the application of machine learning in healthcare, specifically predicting diabetes progression in patients based on clinical measurements.
Problem Scenario
The goal is to use machine learning algorithms to predict the progression of diabetes in patients over time. This is critical for providing healthcare professionals with predictive insights to improve patient outcomes.
Description
A study collected baseline measurements such as Age, Sex, BMI, BP, and 6 Serum Measurements (S1, S2, ... S6) for 422 patients. After a year, a measure of diabetes progression was recorded. The objective is to train a machine learning model to predict diabetes progression based on these inputs.
Objectives
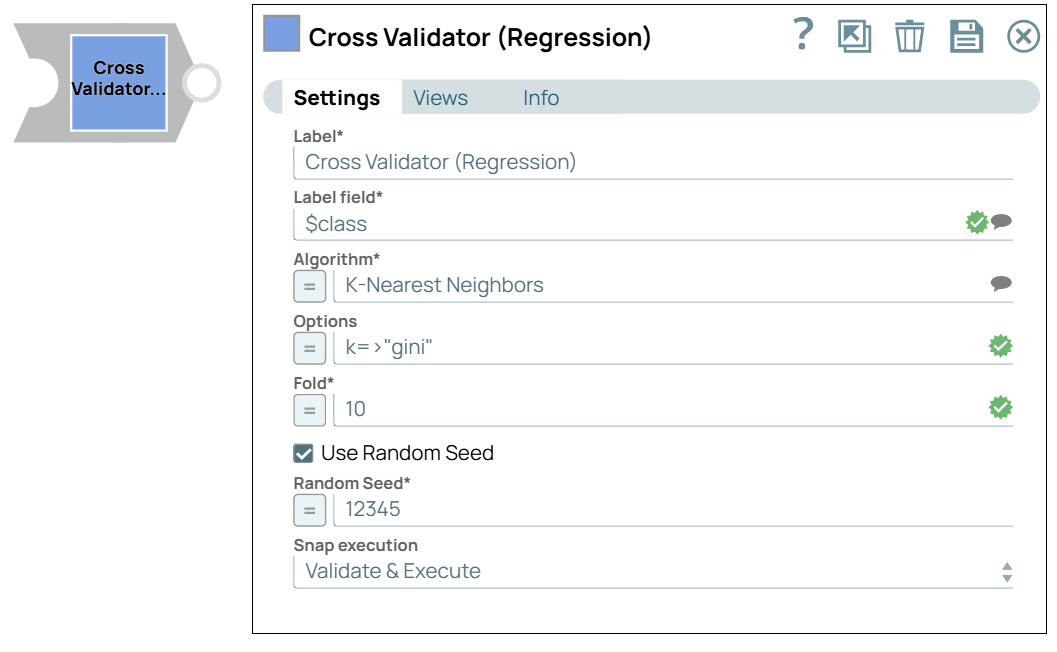
- Cross Validation: Use the Cross Validator (Regression) Snap to perform 10-fold cross-validation with a linear regression algorithm. This method splits the dataset into 10 parts, using 9 parts to train the model and the remaining part to validate it. This process repeats 10 times, and the average error and other performance metrics are calculated..
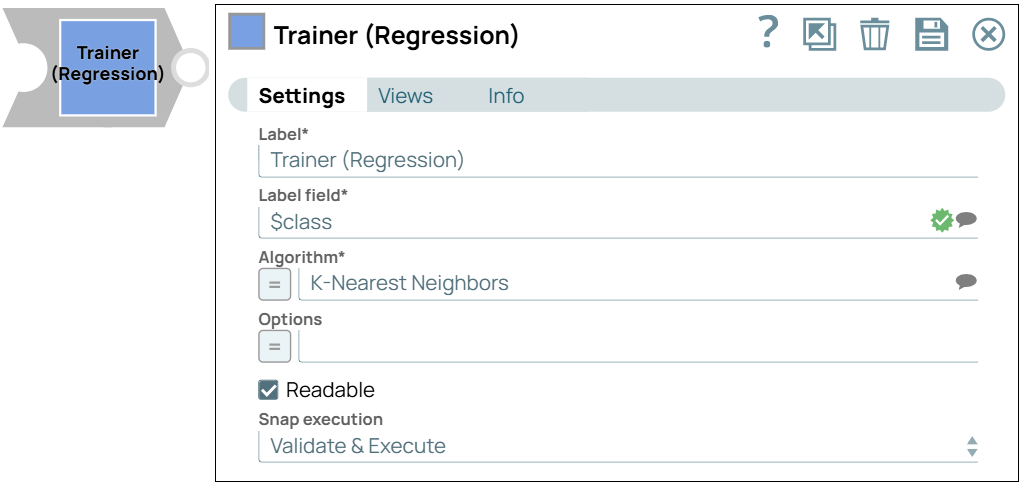
- Model Building: Use the Trainer (Regression) Snap to build a linear regression model on a training set of 392 samples, then serialize and save the model.
- Model Evaluation: Use the Predictor (Regression) Snap to apply the model to a test set of 50 samples and calculate the prediction error.
- Model Hosting: Use the Predictor (Regression) Snap to deploy the model as an API using Ultra Task for external access.
- API Testing: Use the REST Post Snap to send a sample request to the Ultra Task, verifying the API’s functionality.
Cross validation

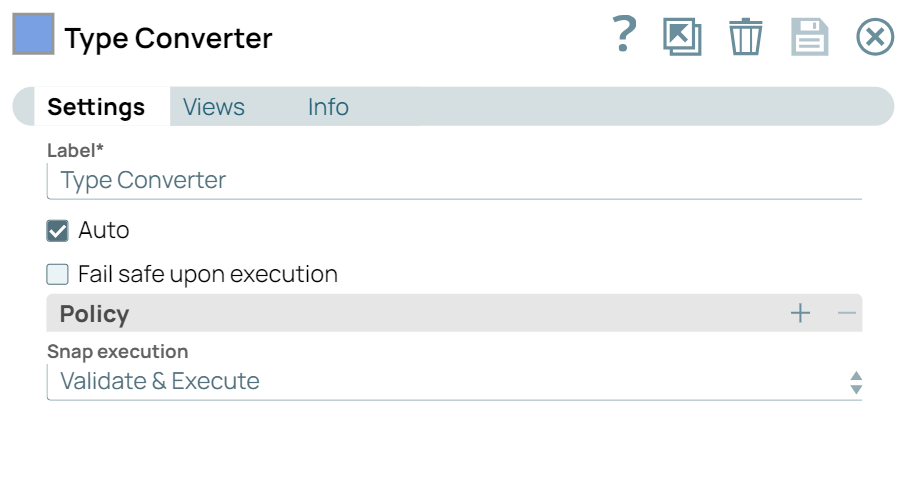
| Type Converter Snap | Cross Validator Snap |
|---|---|
 |
 |
Finally, we use the JSON Formatter Snap and File Writer Snap to save the result on SnapLogic File System (SLFS). The result can be previewed by clicking the document icon next to the File name in the File Writer Snap or downloaded from the Manager page. The screenshot below shows the overall mean absolute error as 44.256. You may try other regression algorithms in the Cross Validator (Regression) Snap to find the best-performing model for this dataset.
Model building
In this pipeline, we use the Cross Validator (Regression) Snap to build a model from the training set using the linear regression algorithm.

The File Reader Snap reads the training set containing 392 samples, and the CSV Parser Snap converts the binary data into documents. Since the CSV Parser Snap’s output is text-based, the Type Converter Snap is used to automatically derive numeric data types. The Trainer (Regression) Snap then trains the model using the linear regression algorithm. The resulting model includes metadata describing the schema (field names and types) and the actual model itself. Both are serialized and saved.
If the Readable option in the Trainer (Regression) Snap is selected, a readable version of the model will be generated. Finally, the model is saved as a JSON file on SLFS using theJSON Formatter Snap and File Writer Snap.
Model evaluation
In this pipeline, the model generated above is evaluated against the test set.
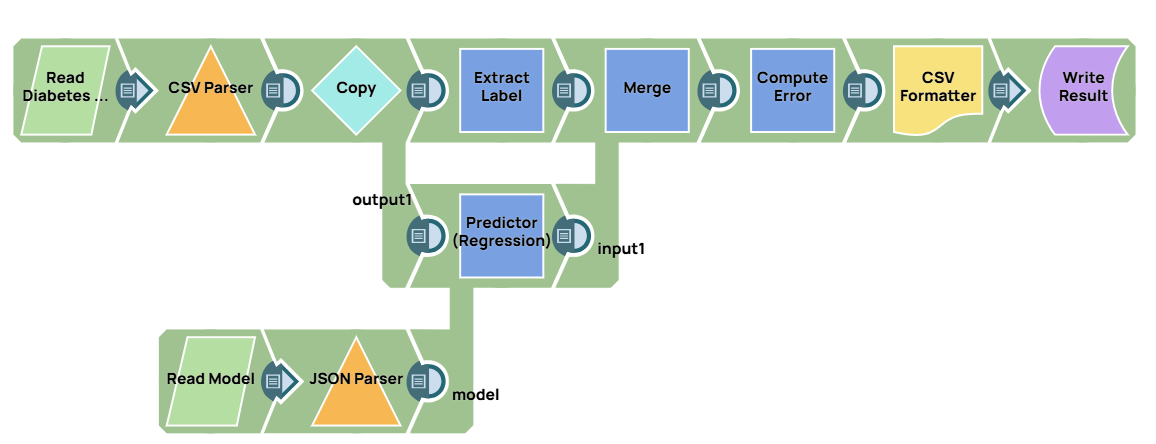
The predictions from the Predictor (Regression) are merged with the actual diabetes progression data from the Mapper, which extracts the $Y field from the test set. After merging, the Aggregate Snap calculates the mean absolute error (32.804) and mean squared error (1793.410). The result is saved using the CSV Formatter Snap and File Writer Snap.

Model hosting
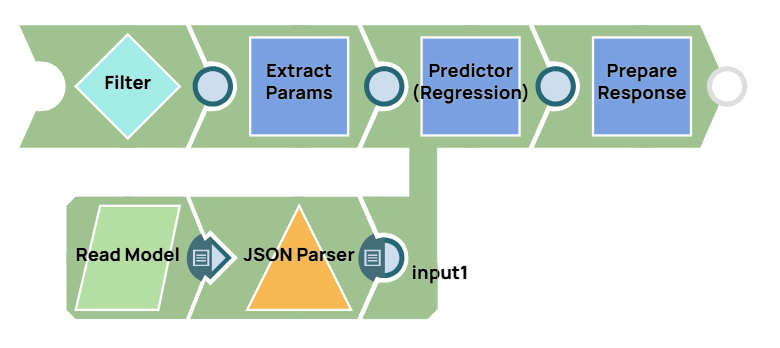
The Filter Snap authenticates the request by verifying the token (which can be changed in pipeline parameters). The Extract Params Snap (Mapper) extracts necessary fields from the request, and the Prepare Response Snap (Mapper) maps the prediction to $content.pred for the response body. This Snap also adds headers for Cross-Origin Resource Sharing (CORS) support.
Building API
To deploy this pipeline as a REST API, click the calendar icon in the toolbar. You can choose either a Triggered Task or an Ultra Task.
Triggered Task is suitable for batch processing, as it starts a new pipeline instance for each request. Ultra Task is better for REST APIs requiring low latency, so it is preferable in this case. A Bearer token is not required here, as the Filter Snap handles authentication within the pipeline.
To obtain the URL, click Show Tasks in this project in Manager in the Create Task window. Click the small triangle next to the task, then click Details. The task detail displays the URL.
API testing
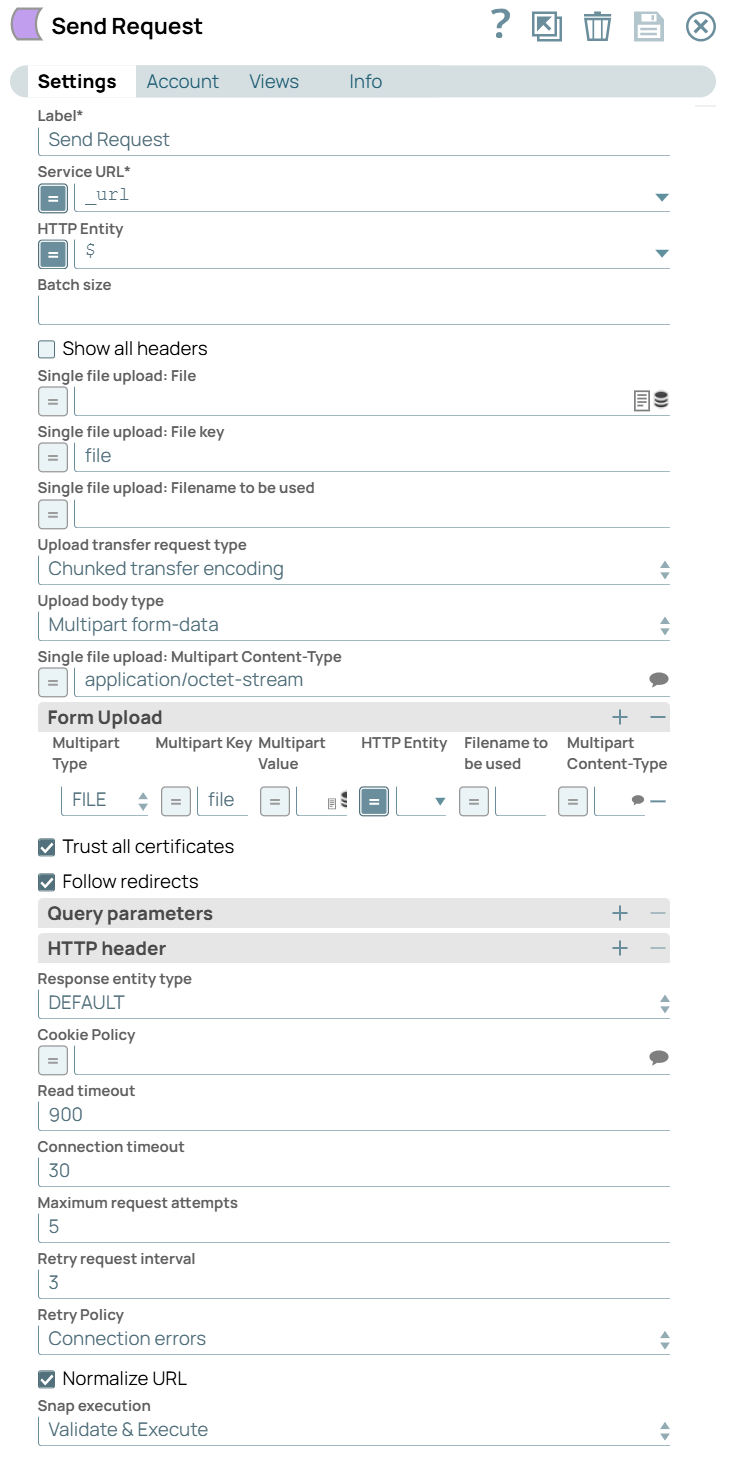
In this pipeline, a sample request is generated using the JSON Generator Snap. The request is sent to the Ultra Task via the REST Post Snap, and the Mapper Snap is used to extract the response located in $response.entity.
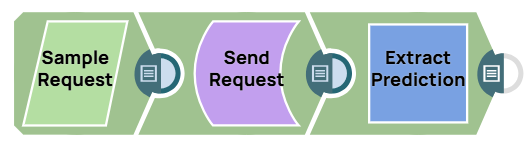
The final Mapper Snap extracts $response.entity from the request, with the predicted diabetes progression result being 199.95.