


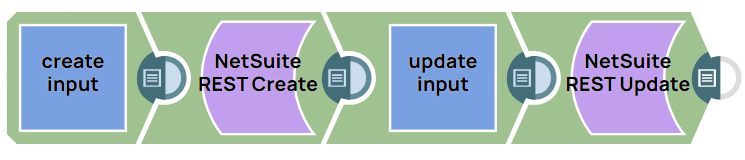
Create and update records on the NetSuite server
This example pipeline demonstrates how to create and update records on the NetSuite server.
Download this pipeline.
-
Configure the Mapper Snap to pass the input data of the customer object that you want to create in NetSuite.
On validation, the Snap displays the desired output to be passed to the NetSuite REST Create Snap.
Mapper Snap configuration Mapper Snap output 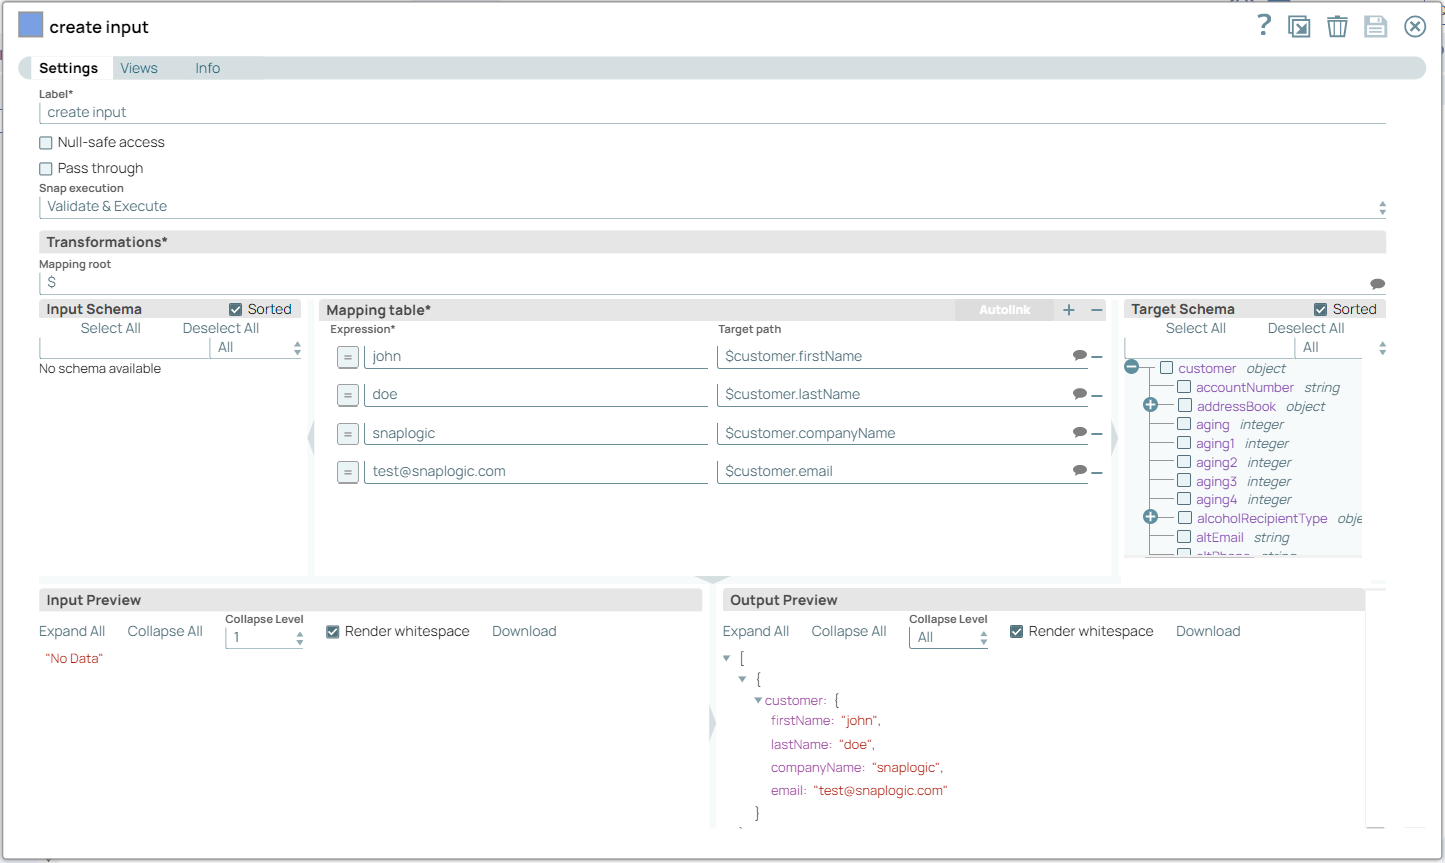

-
Configure the NetSuite REST Create Snap to create the customer record using the data from the upstream Snap.
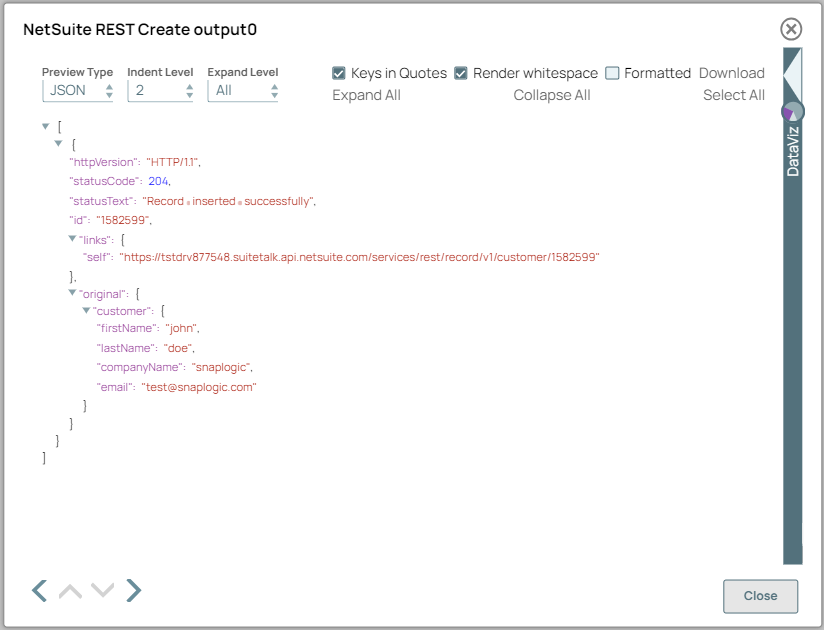
On validation, the Snap displays the success message of the record created and also displays the details of the customer record.
NetSuite REST Create Snap configuration NetSuite REST Create Snap output 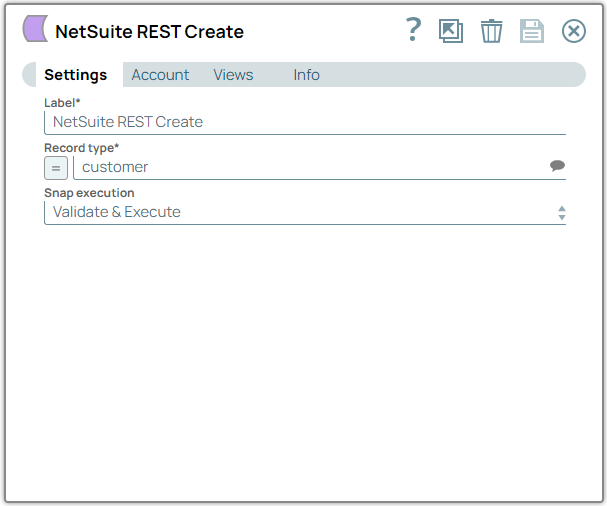
-
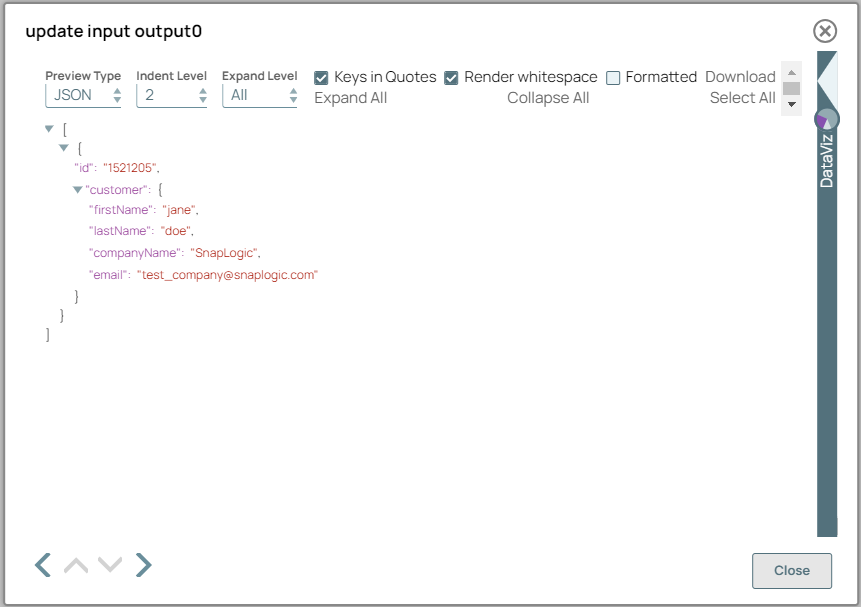
Configure the Mapper Snap to input additional data for further use.
On validation, the Snap displays the output based on the specified mappings.
Mapper Snap configuration Mapper Snap output 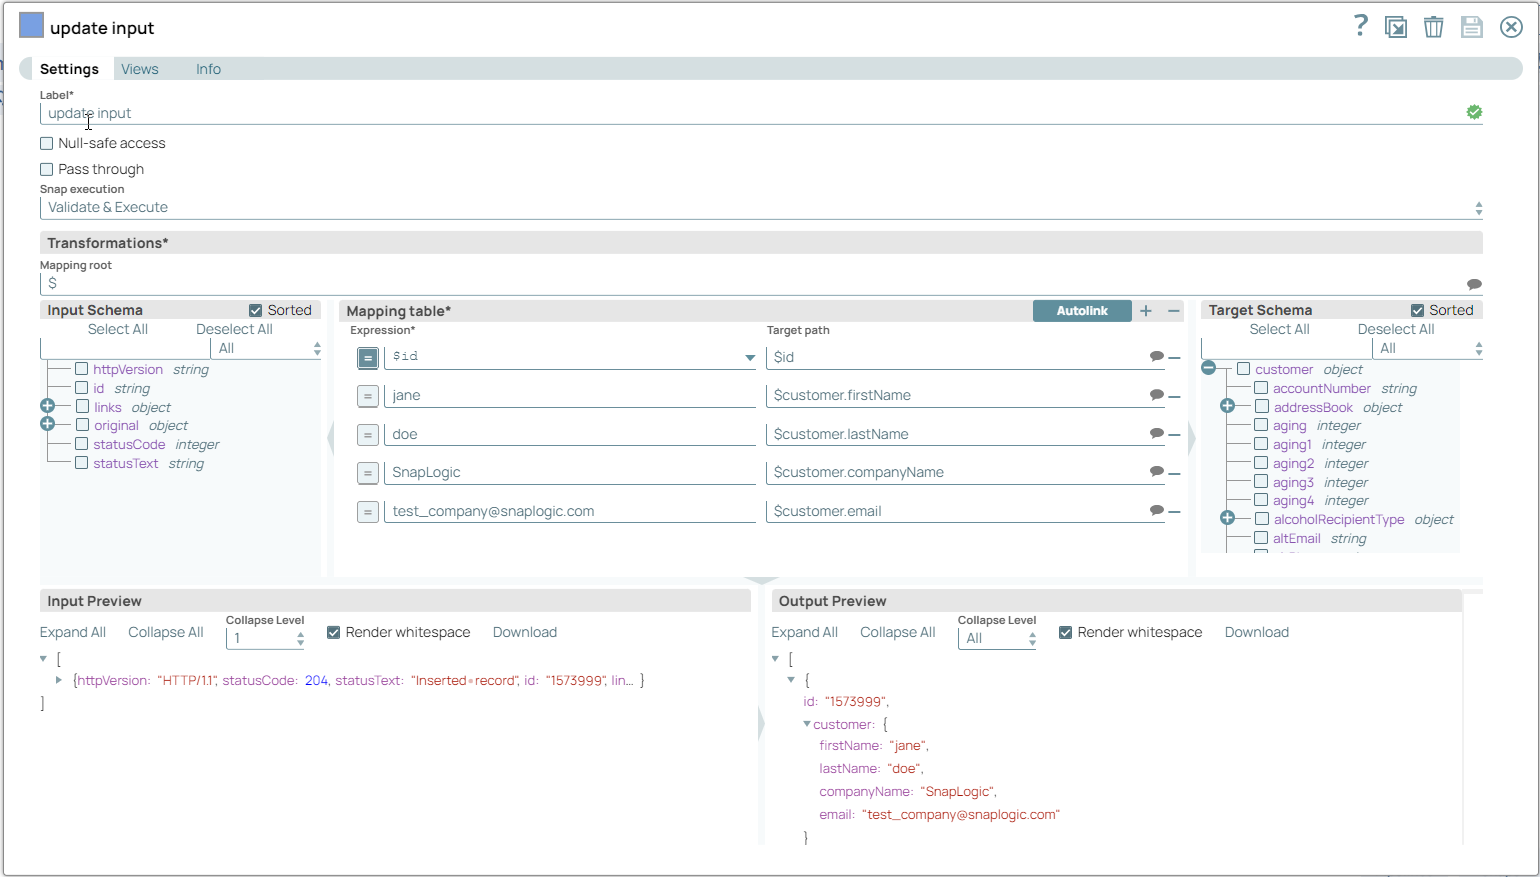
-
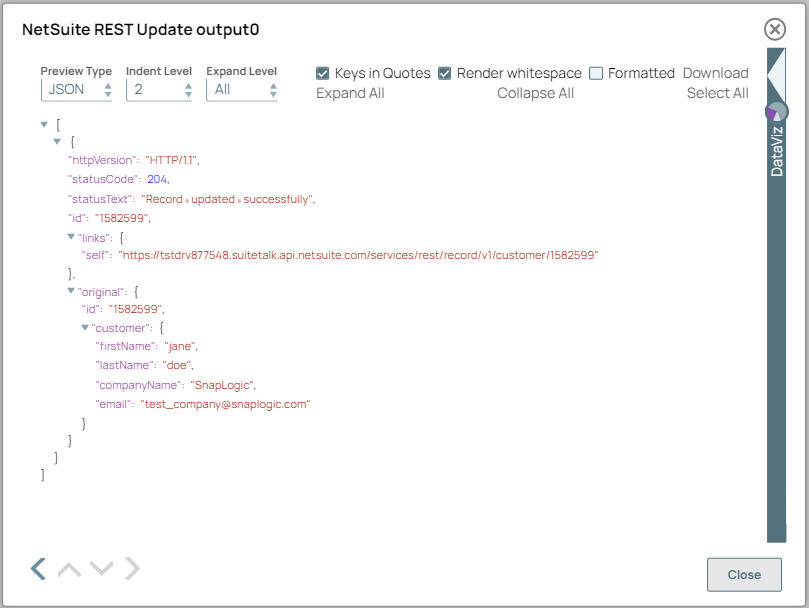
Configure the NetSuite REST Update Snap to update the data from the upstream Snap into the customer record type using the upstream internal ID.
On validation, the Snap displays the success message of the record updated. On running the pipeline, the Snap updates the records associated with the specified Internal ID on NetSuite.
NetSuite REST Update Snap configuration NetSuite REST Update Snap output 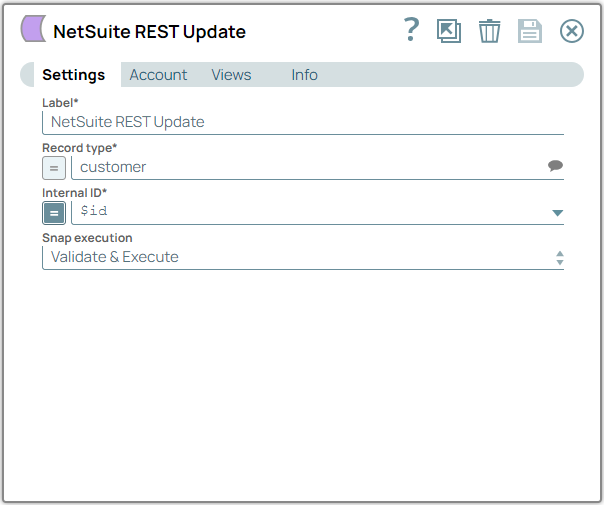
- Download and import the pipeline into SnapLogic.
- Configure Snap accounts as applicable.
- Provide pipeline parameters as applicable.