


Add custom metadata
To add custom fields and metadata, you can:
- Use the
custom-metadataAPI. - Create a CSV file and upload it.
- Download a template, modify it, and upload it.
Create a CSV file
The following steps describe how to add the first custom column and supplemental metadata. If custom columns already exist and you add more, be sure to insert the appropriate number of commas so that the values appear in the correct column.
To add the first custom column:
- Create a CSV file.
- Find the path and
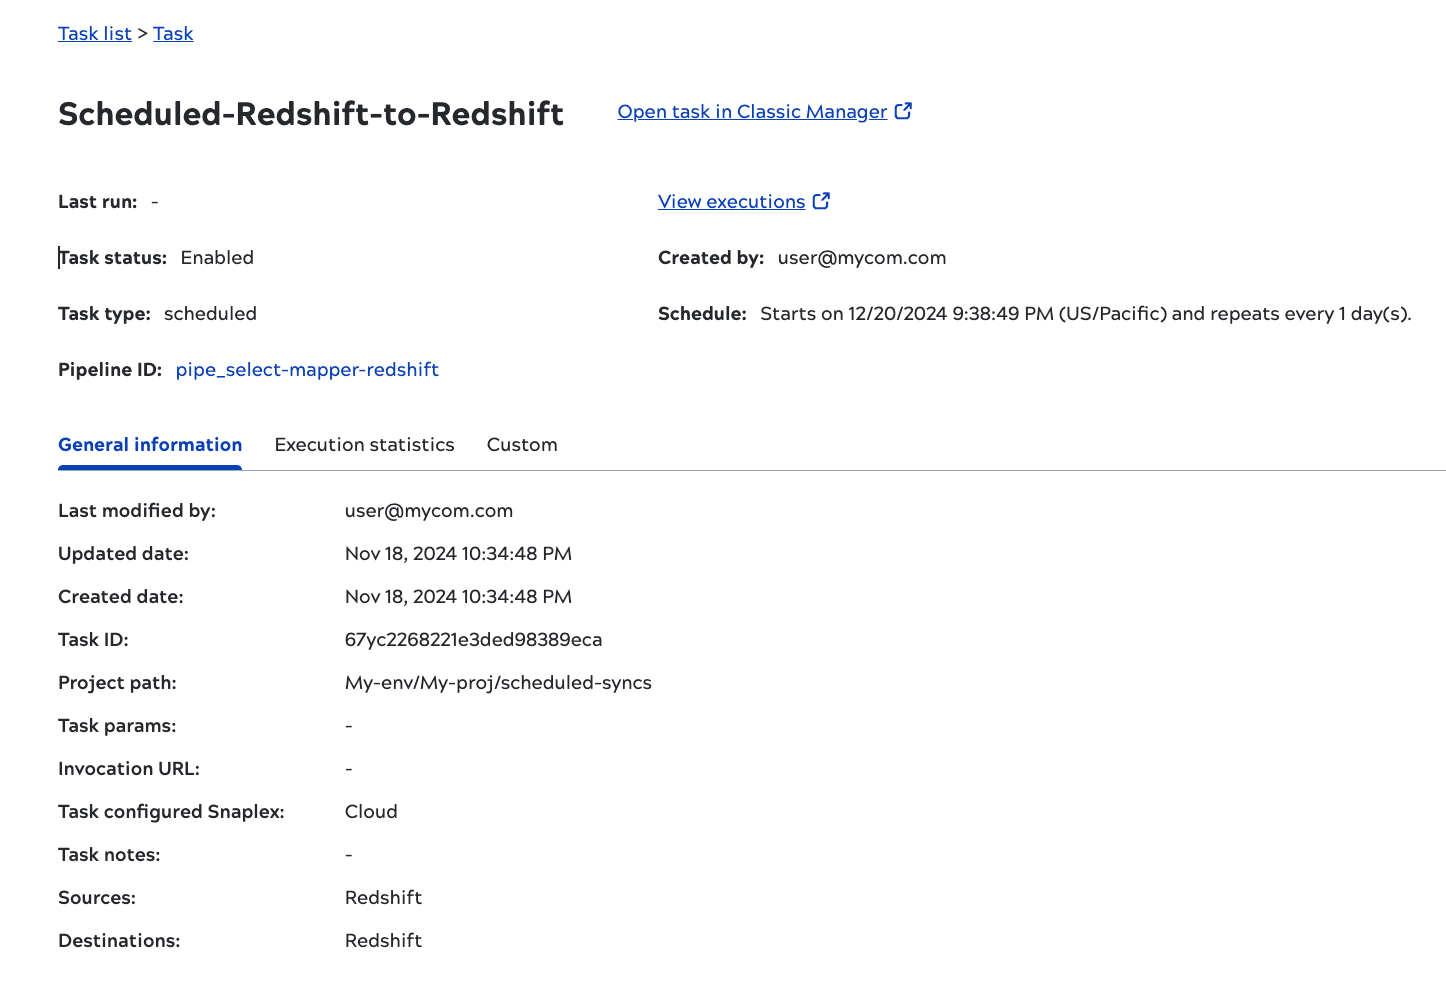
uidof the task:- Click the task to open the details panel:
- Copy the Project Path and paste it in the first row of the CSV file.
- Add a slash (/) after the project path.
- Copy the task Name and append it to the project path. For example:
/MySpace/Projects/My-Project/Multiple_Sources_DestinationsTask2 - Enclose the
uidin quotes. - Add a comma and the custom value. For example:
"/MySpace/Projects/My-Project/Multiple_Sources_DestinationsTask2", 100
- Click the task to open the details panel:
- Save the file.
- On the Asset catalog page, click Manage metadata.
- Click the Upload CSV card.
- Select the CSV file you created and upload it.
- A message confirms the number of successful updates and errors.
- Refresh the Asset catalog to view the custom value.
Use a template to add supplemental metadata
Follow these steps:
- On the Asset catalog page, click Manage metadata.
- Click the Download Template card.
- Open the downloaded CSV file.
- On the first row, add your custom column name.
- In the task rows, add the supplemental values.
- Save the file.
- Click the Upload CSV card and upload it.
- A message confirms the number of successful updates and errors.
- Refresh the Asset catalog screen to view the custom value.