


Working with error pipelines
An error pipeline offers an efficient means to manage errors when executing pipelines.
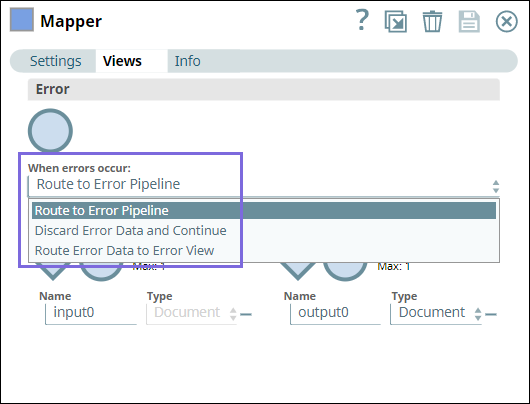
You can create an error pipeline the same way as you create your regular pipeline. However, an error pipeline must have a single unlinked document input view. The error documents from the main pipeline are sent into this view. Within the error pipeline, you can use various Snaps to handle errors as needed.
-
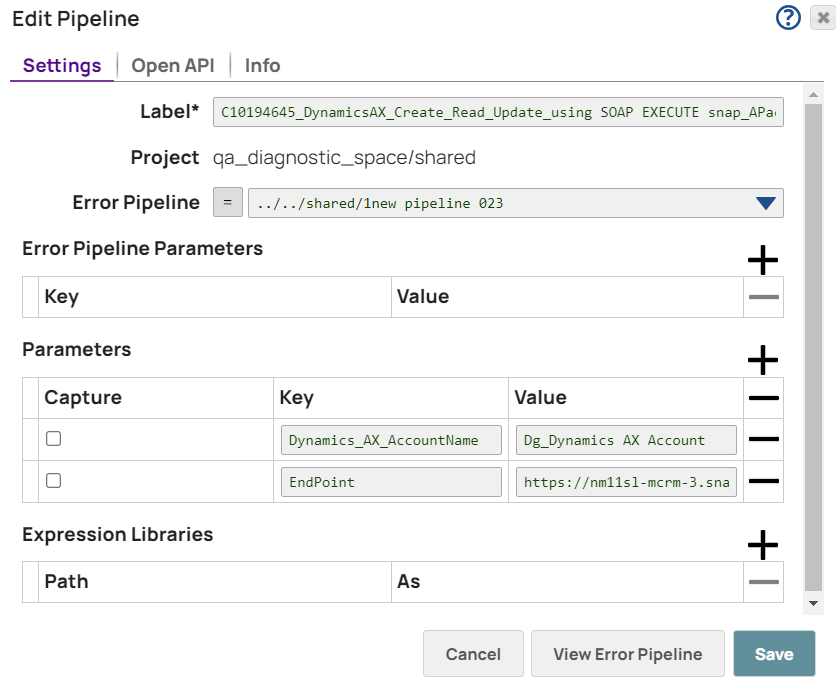
Open the main pipeline and click the Properties
 icon. By
default, the dialog opens the Settings tab.
icon. By
default, the dialog opens the Settings tab.
-
From the Error Pipeline dropdown list, select the error pipeline
to which you want to route the errors.
-
In the main pipeline, enter the Error Pipeline Parameters
(key-value pairs) to evaluate and pass to the error pipeline.
-
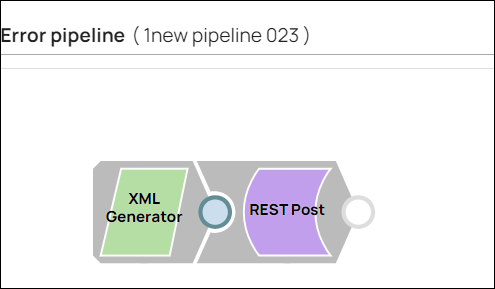
Click View Error Pipeline to view the linked error
pipeline.
-
In the main pipeline, right-click the Snap's context menu, and select Link
Output to Error Pipeline.
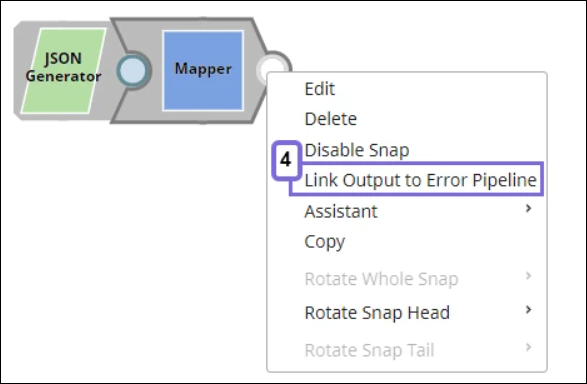
The Snap displays err in the Snap's connector.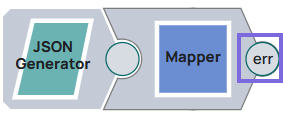 Remember: Configure a single unlinked document input view to allow error documents from the main pipeline to be sent to this view. When you link a Snap output view to the Pipeline Error View, the Integration Assistant is disabled.CAUTION:
If you remove an error pipeline from the main pipeline without replacing it with another one, the main pipeline reverts to the default error behavior.
Refer to the example for better understanding.