


Configuration of Managed Identities in Azure portal
Overview
- System assigned managed identity: A resource created and managed by Azure for an Azure resource, such as a virtual machine or a web app, and is mapped to a single virtual machine.
- User assigned managed identity: Resource created as a standalone Azure resource and is mapped with multiple resources.
The procedure of creating Managed identities for a Resource group in the Azure portal and linking them to a Storage account includes the following key steps:
Step 1: Create a Resource group in the Azure portal
Step 2: Create a Storage Account
Step 3: Create a Container in the Storage Account
Step 4: Create a Managed Identity
Step 5: Create a Virtual Machine
Step 5: Link the User-Assigned Managed Identity with the Virtual Machine and Storage Account
Step 6: Link System-Assigned Managed Identity to Virtual Machine and Storage Account
Prerequisites
- To assign Azure roles, you must have:
-
Microsoft.Authorization/roleAssignments/writepermissions, such as Role Based Access Control Administrator or User Access Administrator. Learn more.
-
Create a Resource group in the Azure portal
-
Log in to the Azure portal.
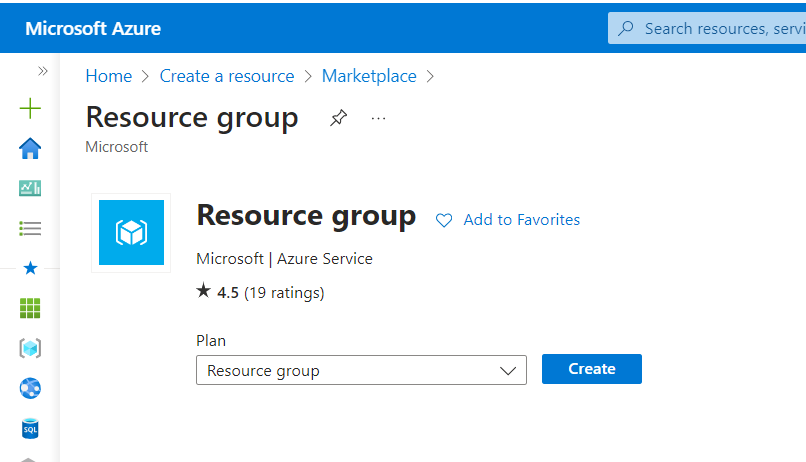
- Search for the Resource group from the search bar.
- Click Create
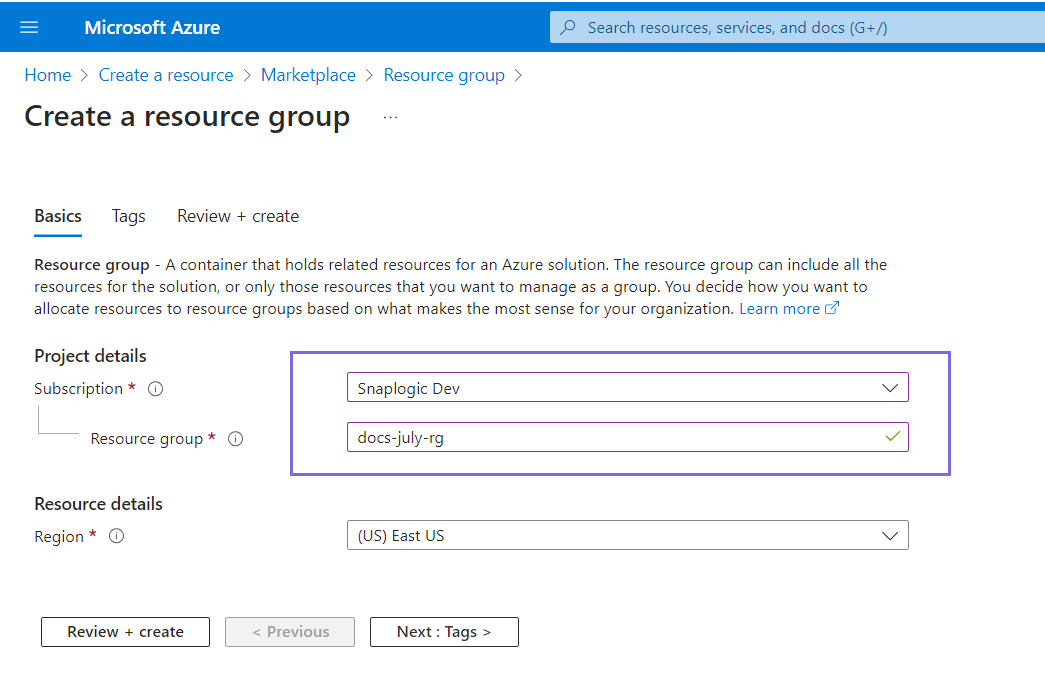
- Specify the Subscription and Resource group and click Next.
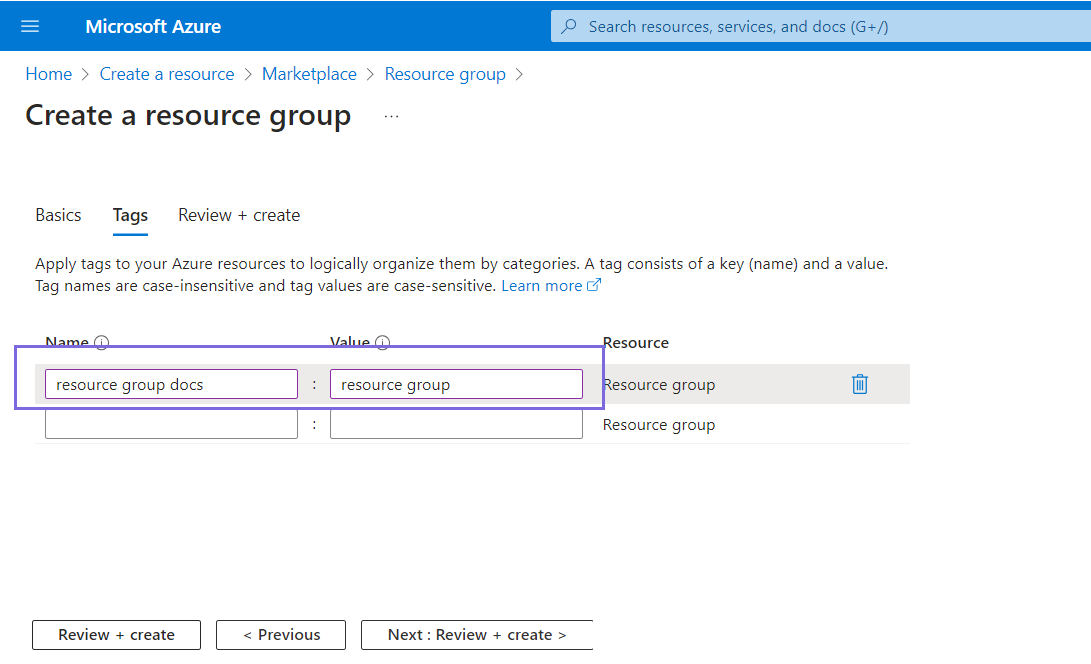
- Specify the Name and Value of the Resource group and click Next.
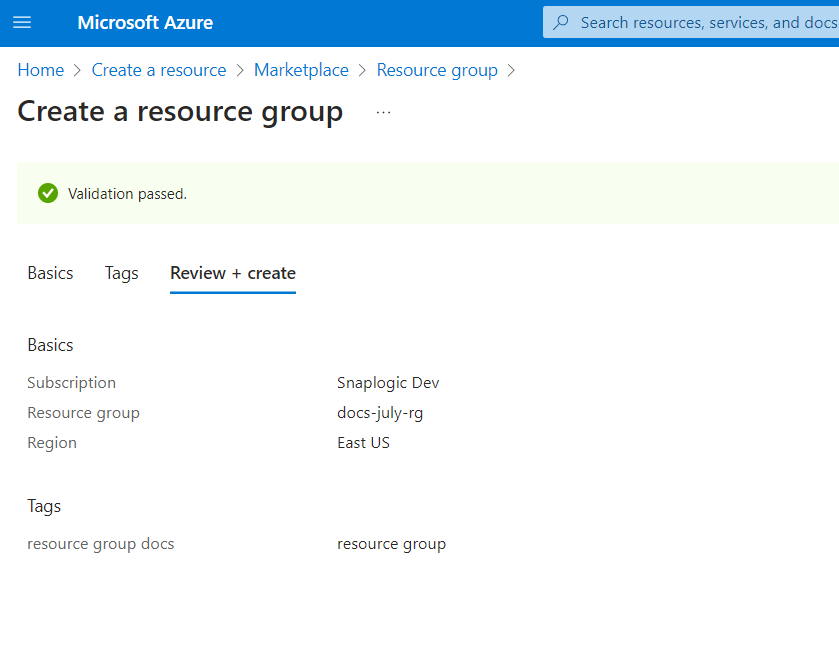
The Resource group is created, and the details of the Resource group display.
Create a Storage Account
- On the Home page of the Azure portal, search for Storage Account in the search bar.
- Click +Create. The Create a storage account page displays. Click
Next.
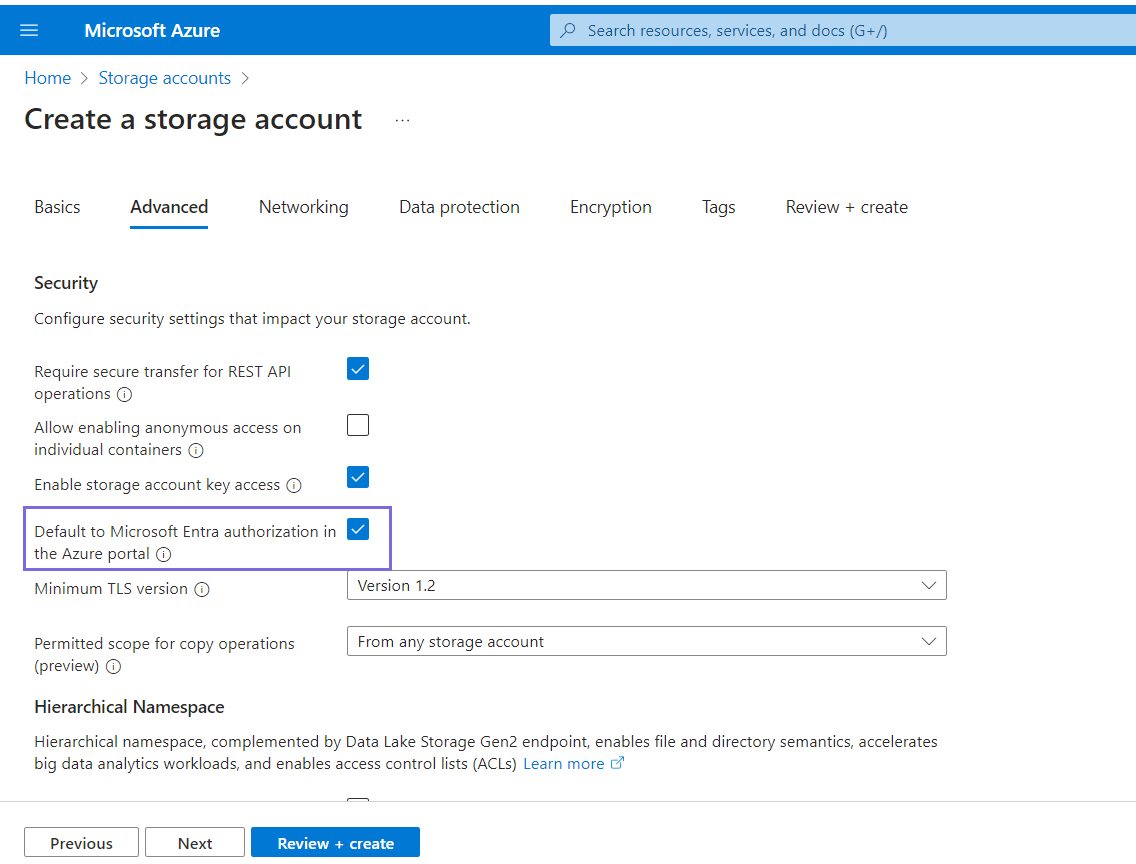
- Select the Default to Microsoft Entra authorization in the Azure portal
checkbox and click Next.
- Continue to click Next with the default settings until the Storage account validates.
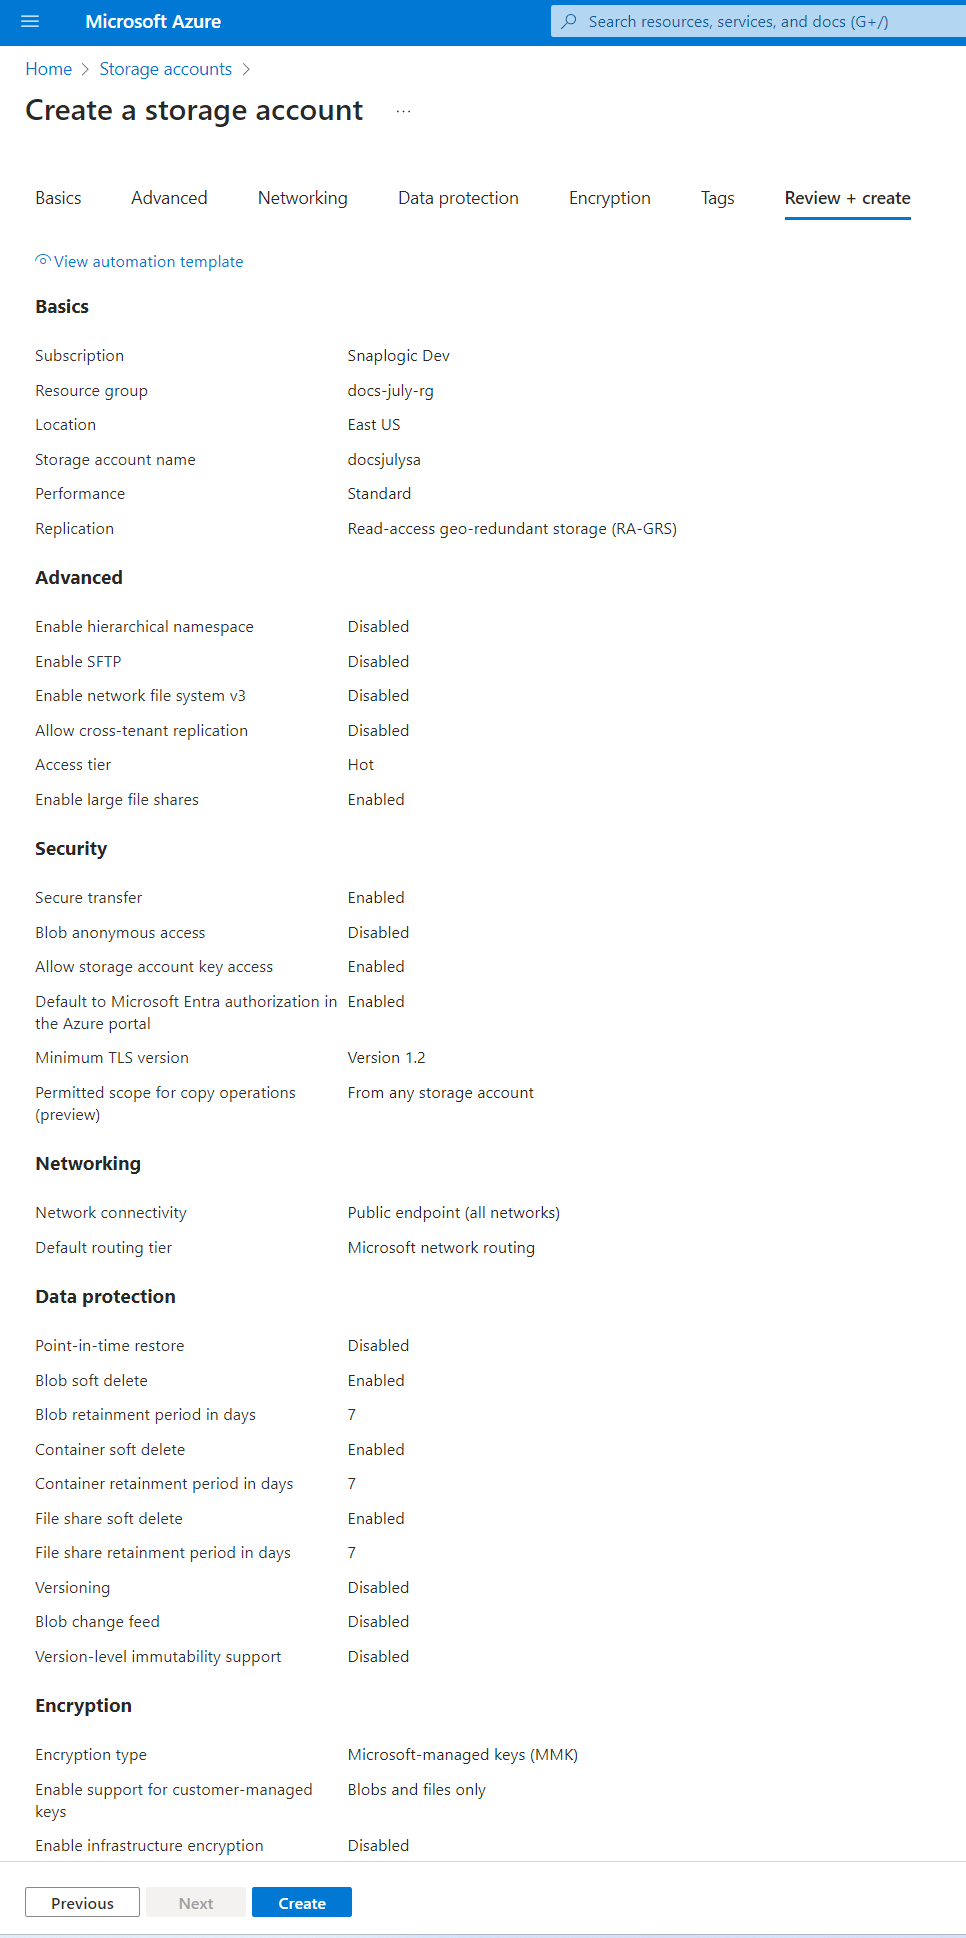
- Click Create. The Storage account deploys successfully.
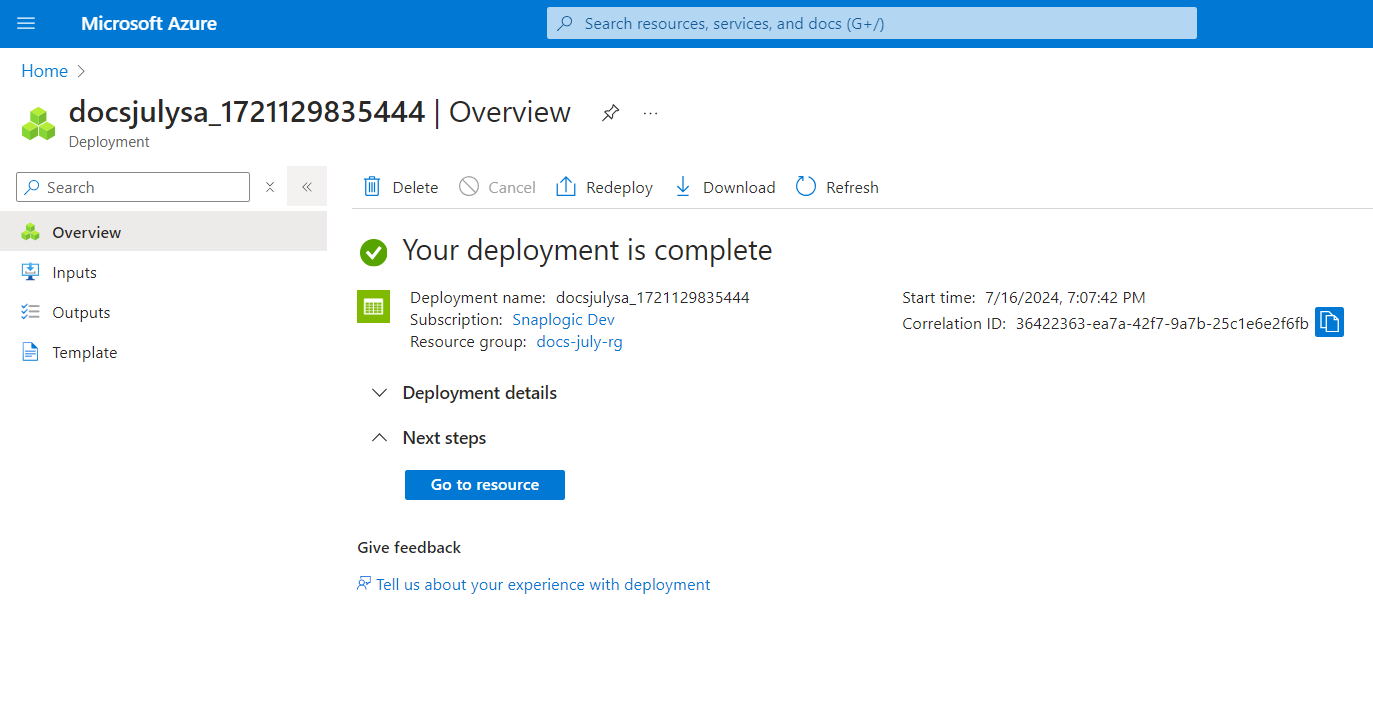
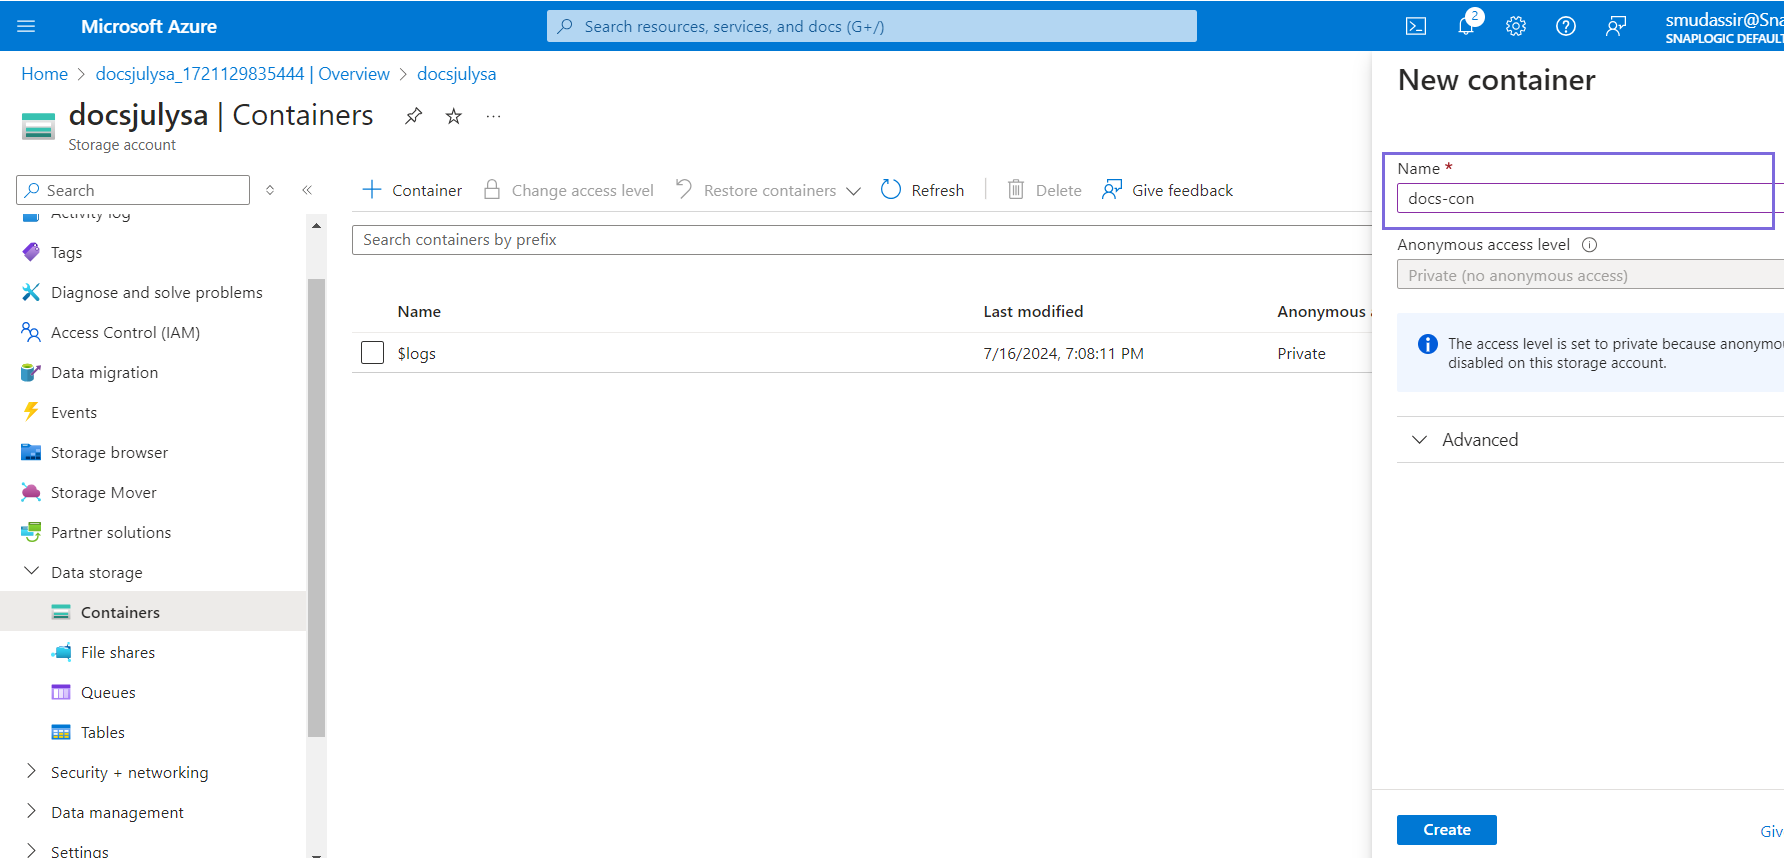
Create a Container in the Storage Account
- Click the Go to resource button on the Deployment completion page.

- Navigate to Containers and click Container.
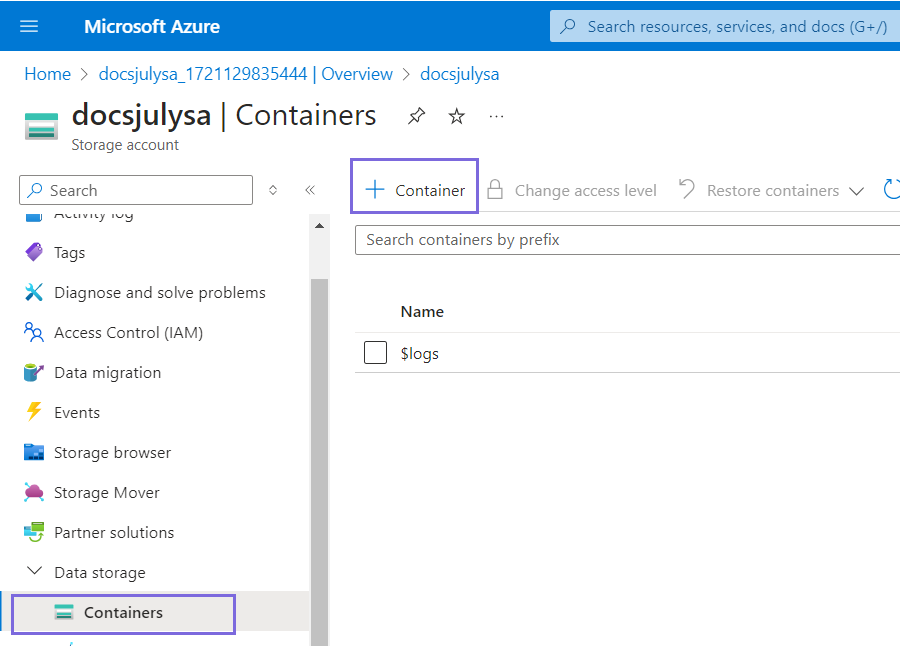
- Specify the container name and click Create.
Create a Managed Identity
User assigned managed identity
-
On the Home page of the Azure portal, search for Managed Identities in the search bar. The Managed Identities page displays the list of existing Managed Identities.
- Click Create.
- Specify the resource group you created earlier in Step 1.
- Specify the name of the User Assigned Managed Identity in the Name field.

- Click Next where TERMS appear.
- Click Create. The User-assigned Managed Identity deploys successfully.
When you Create a Virtual Machine, Azure automatically creates a system-assigned identity associated with the machine.
Create a Virtual Machine
-
On the home page of the Azure portal, search for Virtual Machine from the search bar.
- Click Create.
- Select the Resource group created in Step 1.
- Specify the name of the virtual machine.
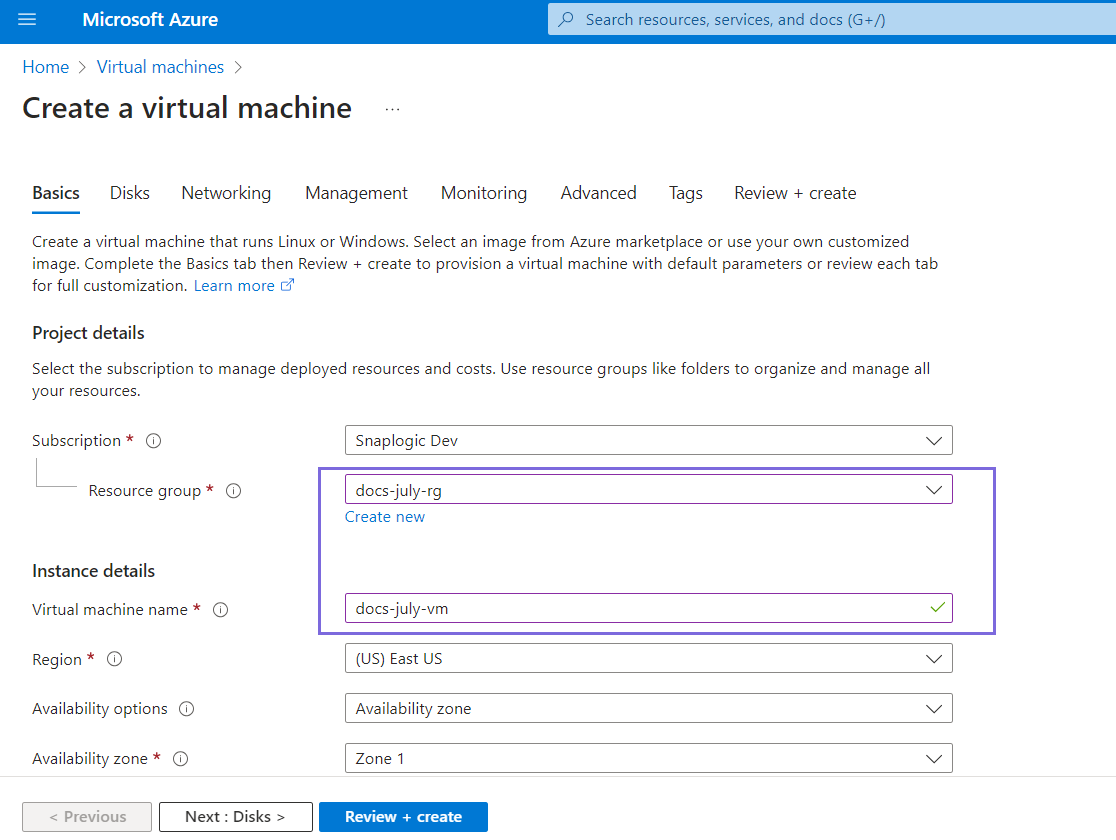
- Continue to click Next:<> until the virtual machine validation passes.
- Click Create. The Generate new key pair pop-up appears.
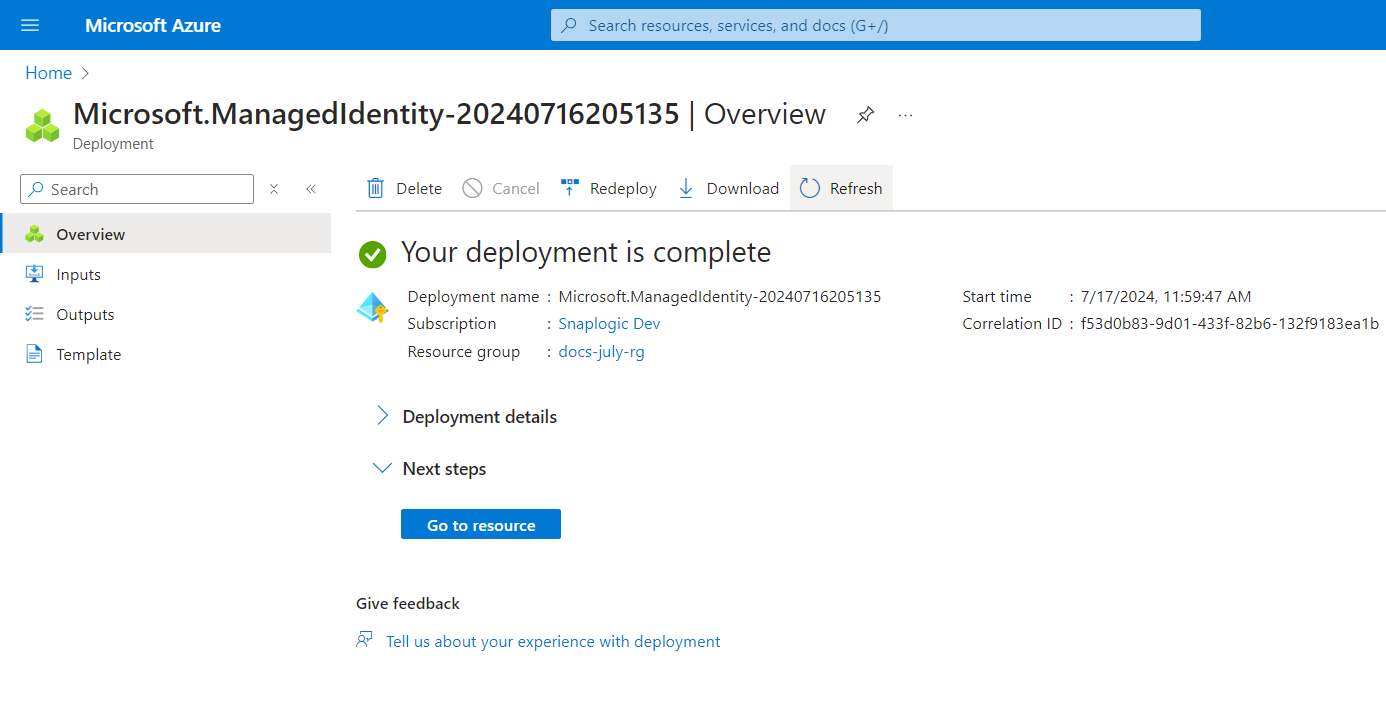
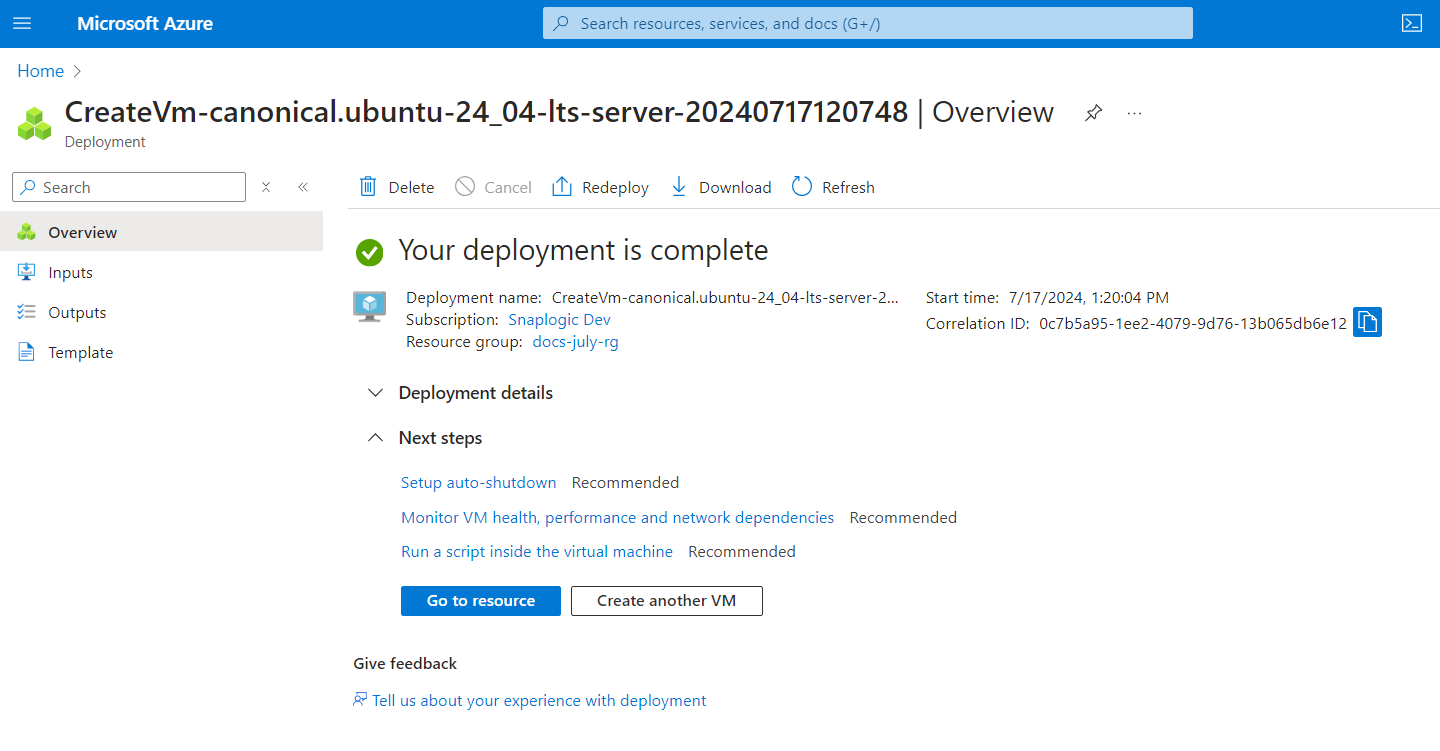
- Click the Download private key and create resource button. The deployment completes.
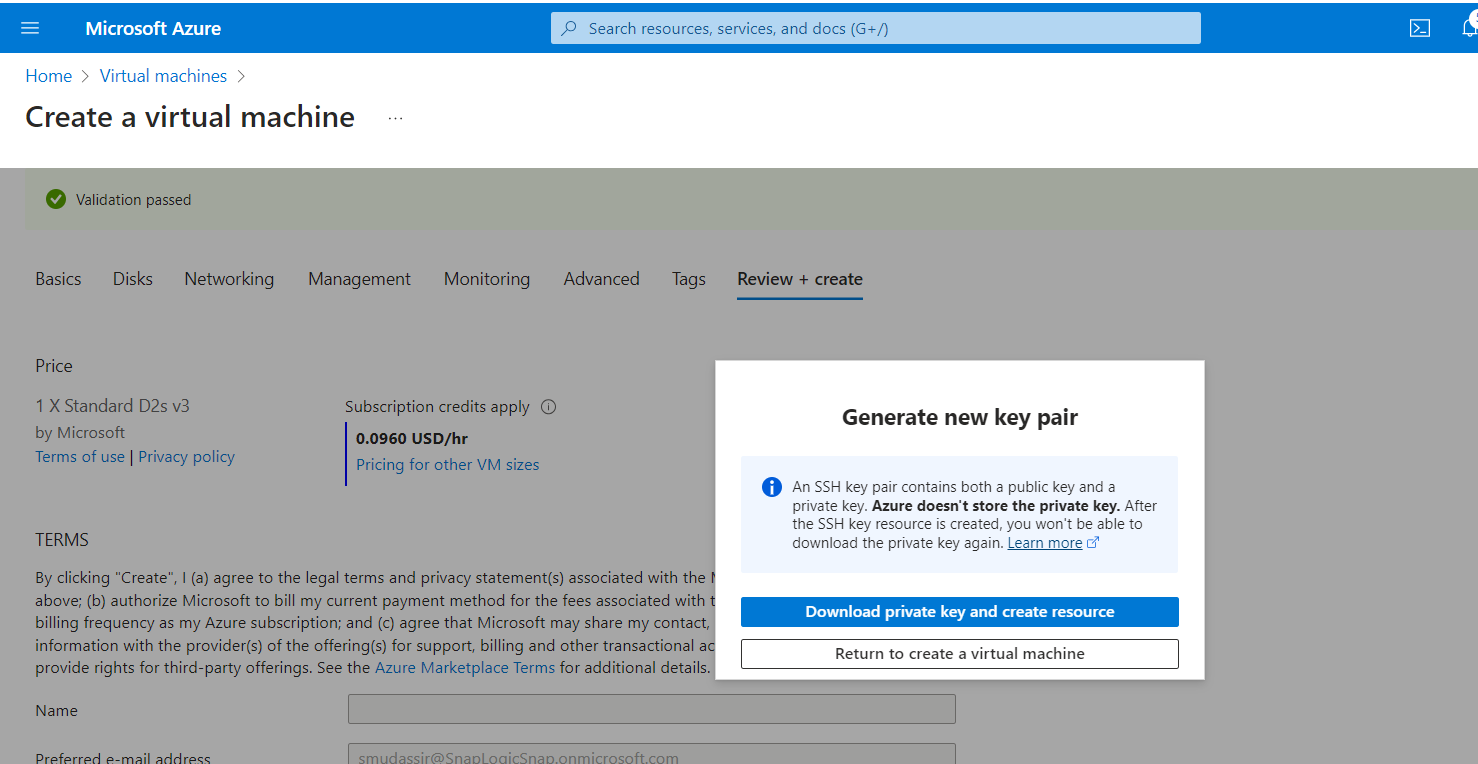
Note: The private key is not stored and cannot be retrieved if you miss to download the private key. - Click Go to resource button.
Link the User-Assigned Managed Identity with the Virtual Machine and Storage Account
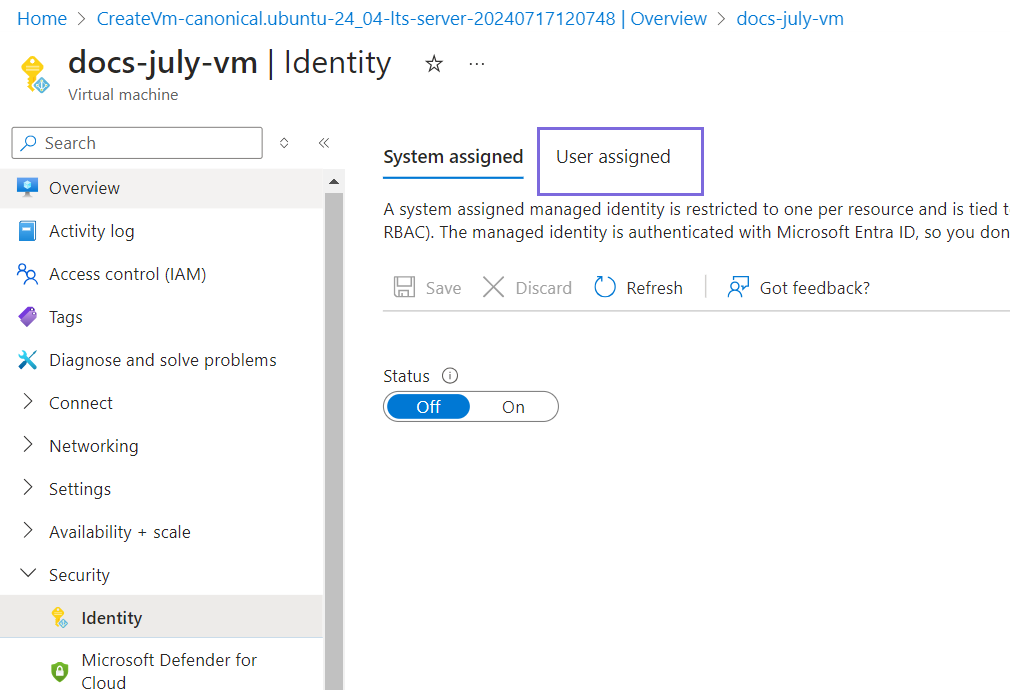
- Navigate to Security > Identity in the left navigation pane.

- Click the User assigned option.
- Click Add.

- Select the Managed identity (that you have created earlier in Step 4) from the User assigned managed
identities list.
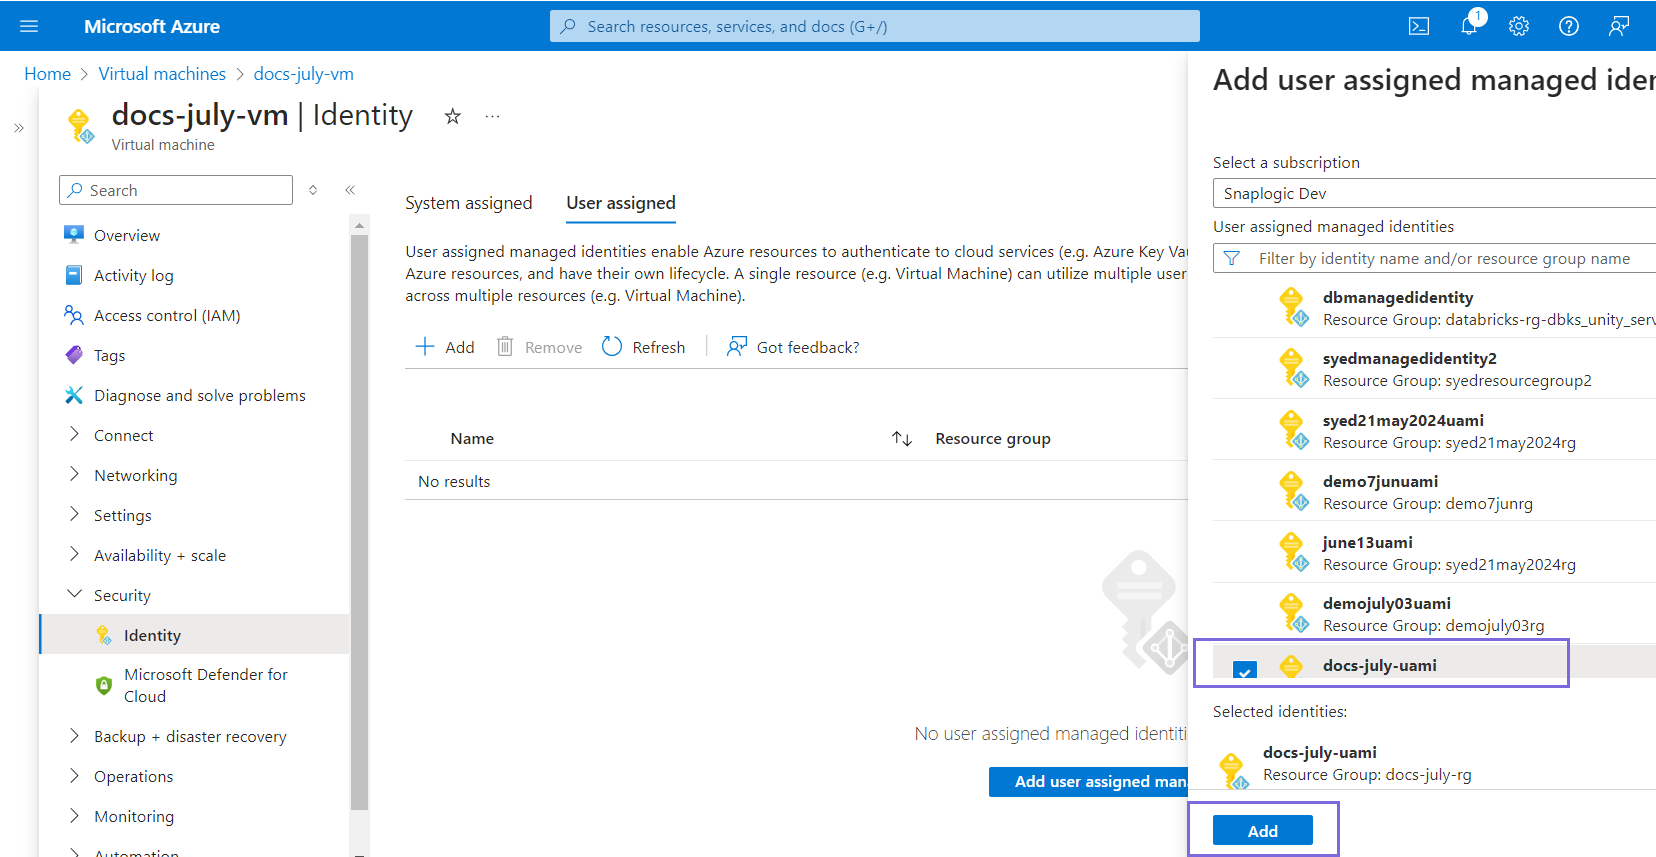
Note: A single virtual machine can have multiple user-assigned managed identities assigned to it. - Click Add. The identity is added to the virtual machine.
- Navigate to Home.
- Select the Storage account created in Step 2.
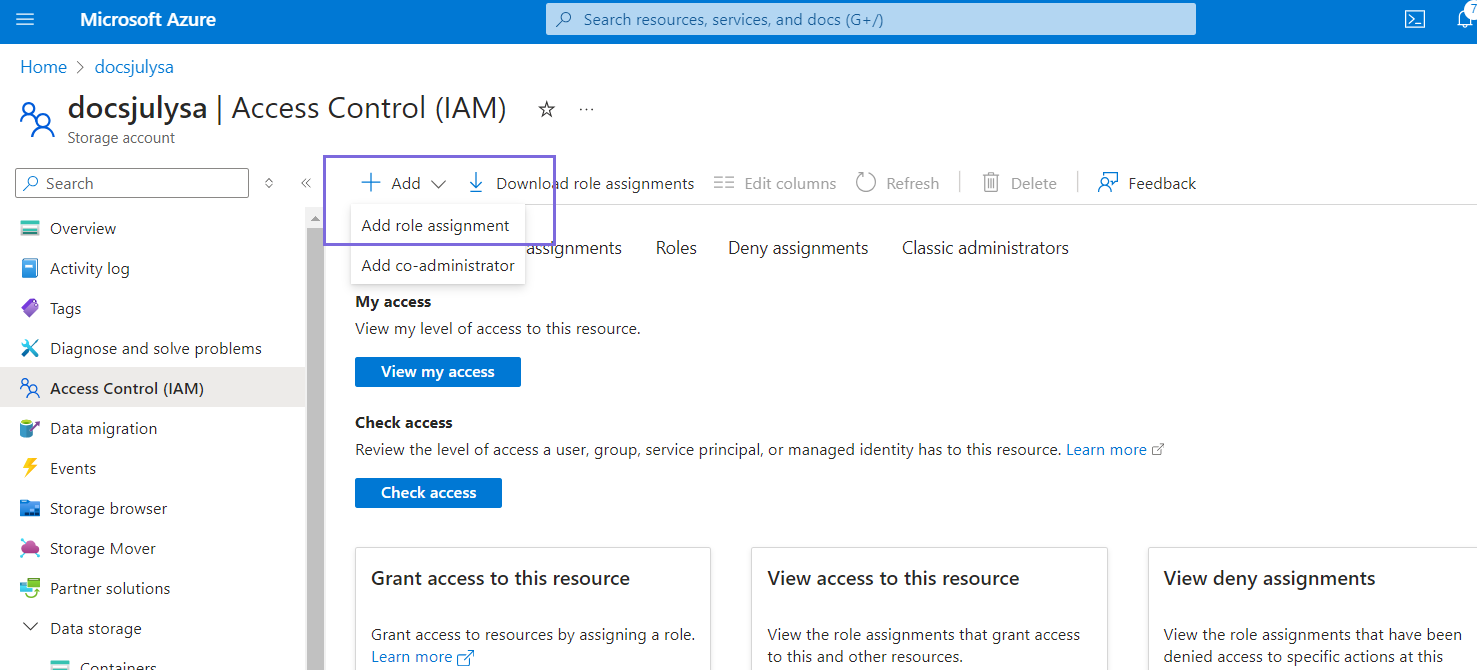
- Click Access Control (IAM) in the left navigation.

- Click Add>Add role assignment.
- Search for the Storage Blob Data Contributor role from the list of roles on the
Add role assignment page.

- Click Next.
- Choose the Managed identity option in the Assign access to field.
- Click Select members in the Members field. The Select managed identities dialog box appears on the left.
- Select the User-assigned managed identity option in the Managed identity field.
- Select the name of the User-assigned managed identity created in Step 4.
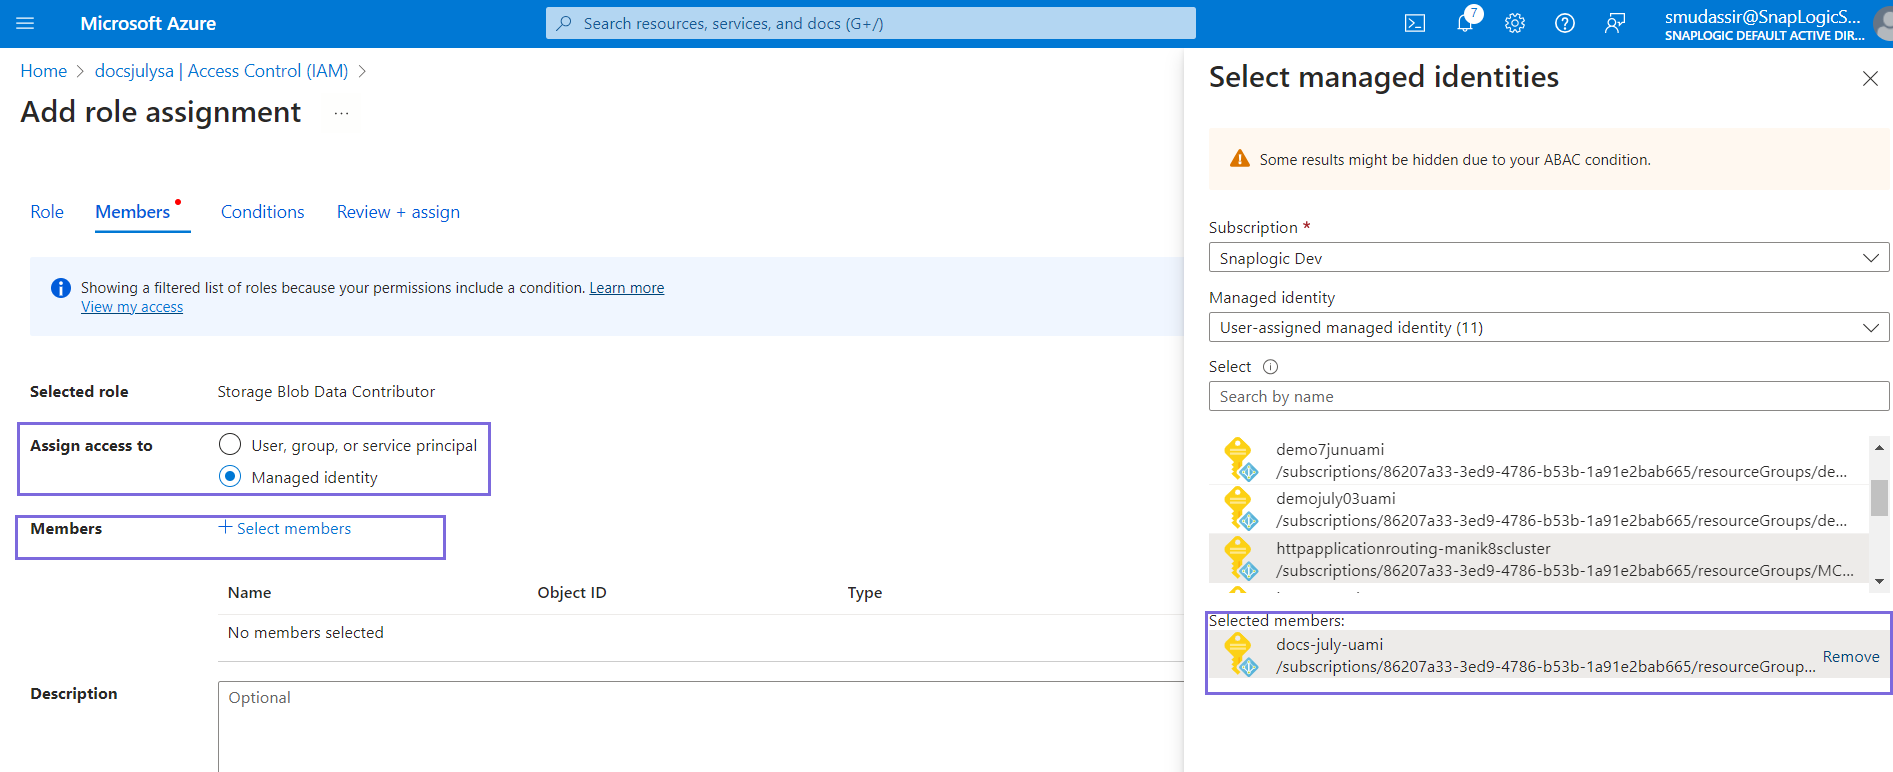
- Click Select. The User-assigned Managed identity is added to the Storage account.
- Click Next until the Scope appears.
- Click Review + assign.Note: The following steps, 19 through 22, are optional. They verify whether the role was assigned as expected.
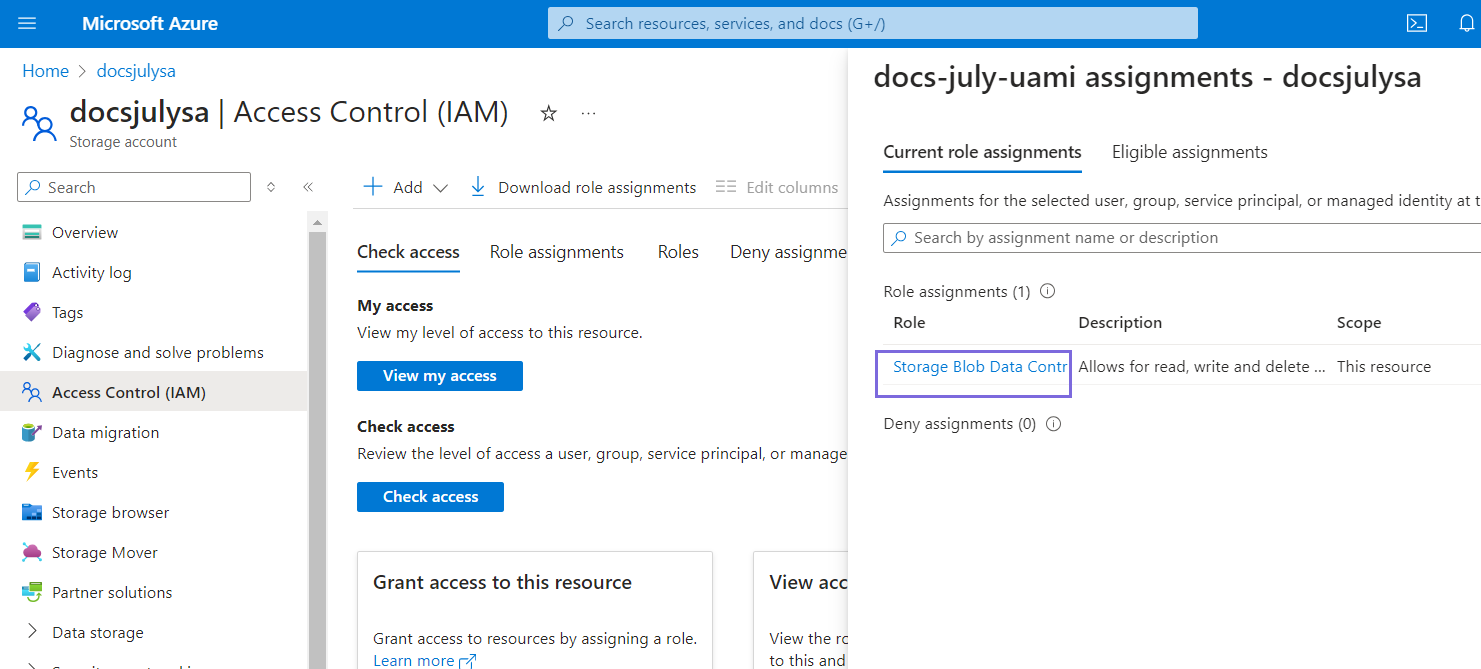
- Click the Check access tab to check the added role.
- Click Managed identity in the Check access box.
- Select the User-assigned managed identity in the Managed identity field.
- Select the name of the user-assigned managed identity. The current role
assignments appear.
- Navigate to the User-assigned managed identity created in Step 4 from the search bar
to obtain the client ID.
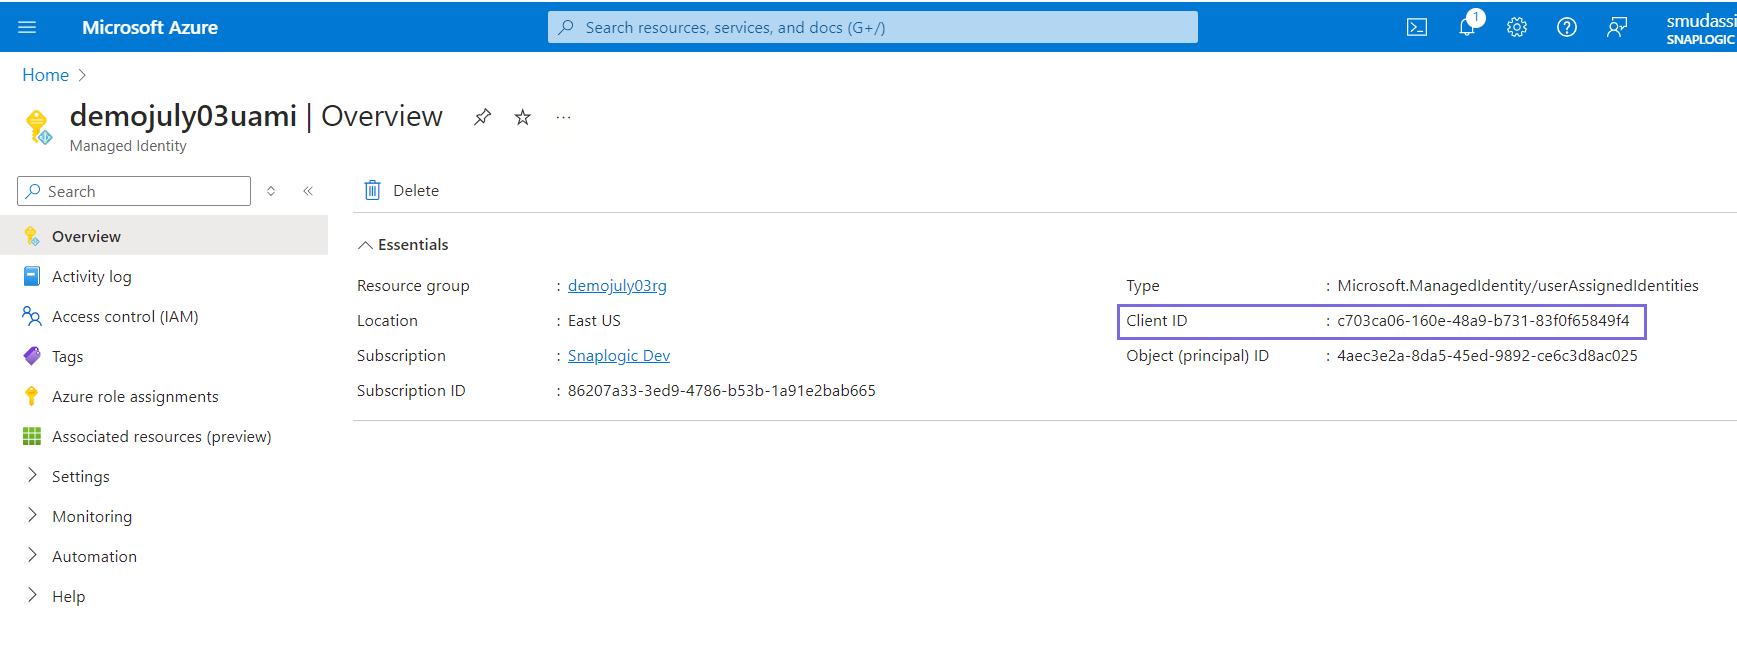
Note: You must use the above client ID in the Azure Storage Account for User assigned managed identity authentication.
Link System-Assigned Managed Identity to Virtual Machine and Storage Account
- Navigate to Home.
- Navigate to Identity under the Security tab on the left navigation.
- Select the System assigned tab on the top.

- Select On for Status.
- Click Save. The Enable system assigned managed identity pop-up appears.
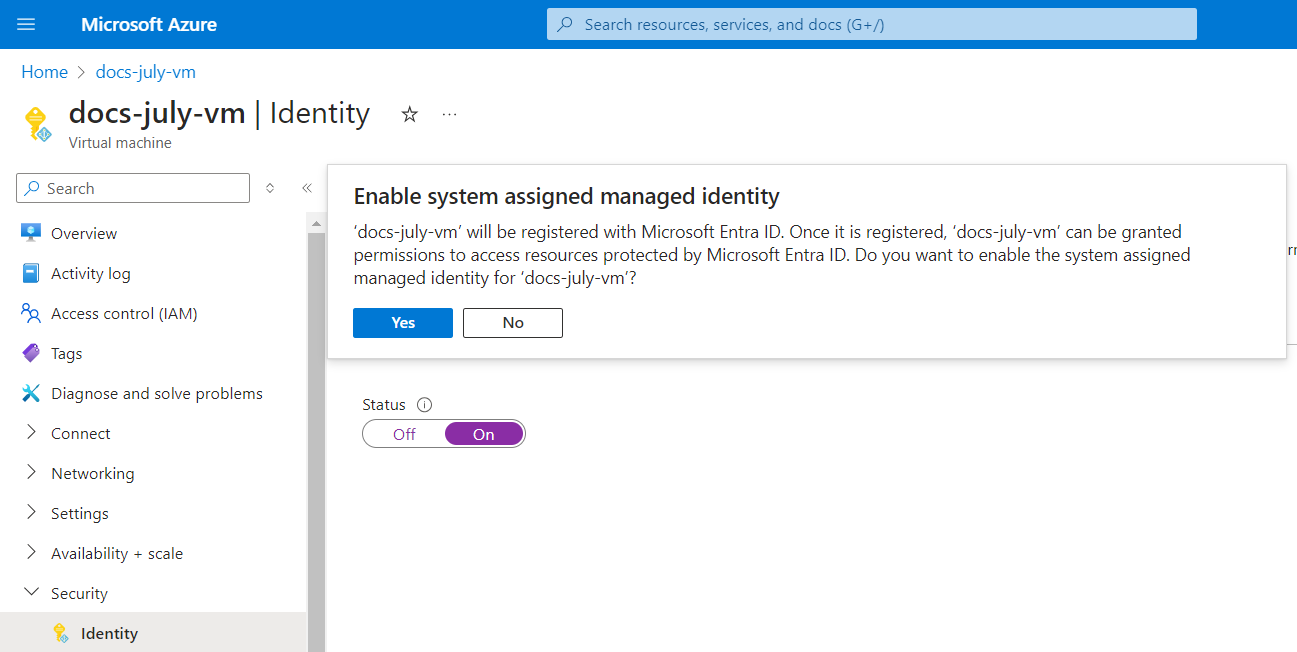
- Click Yes. A system-assigned managed identity is restricted to one per resource and is tied to the lifecycle of this resource.
- Navigate to Home.
- Select the storage account created in Step 2.
- Click Assess control (IAM) in the left navigation.
- Click Add>Add role assignment.
- Search for the Storage Blob Data Contributor role from the list of roles on the
Add role assignment page.
- Click Next.
- Choose the Managed identity option in the Assign access to field.
- Click Select members in the Members field. The Select managed identities box appears on the left.
- Select All system-assigned managed identities in the Managed identity field.

- Select the name of the virtual machine created in Step 5.
- Click Select.
- Click Review + assign.

Configure Azure Storage Account with Managed Identity
| User assigned managed identity | System assigned managed identity |
|---|---|
User assigned managed identity
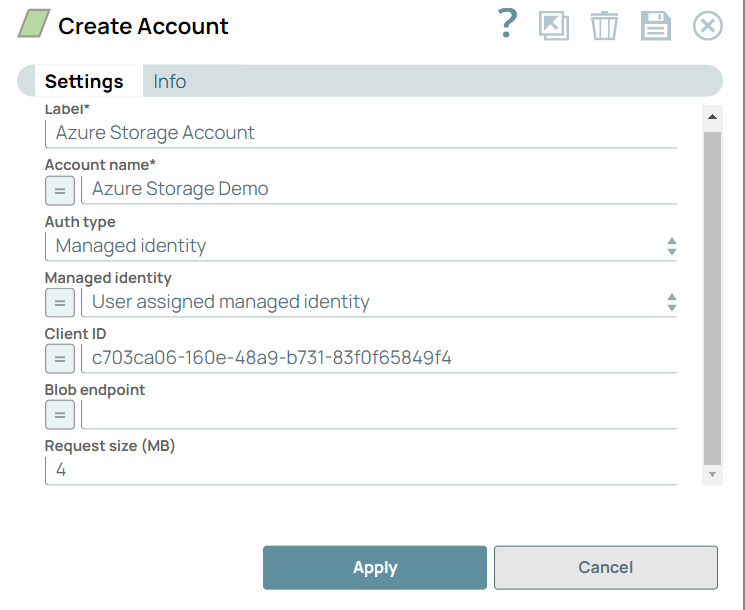 |
System assigned managed identiy
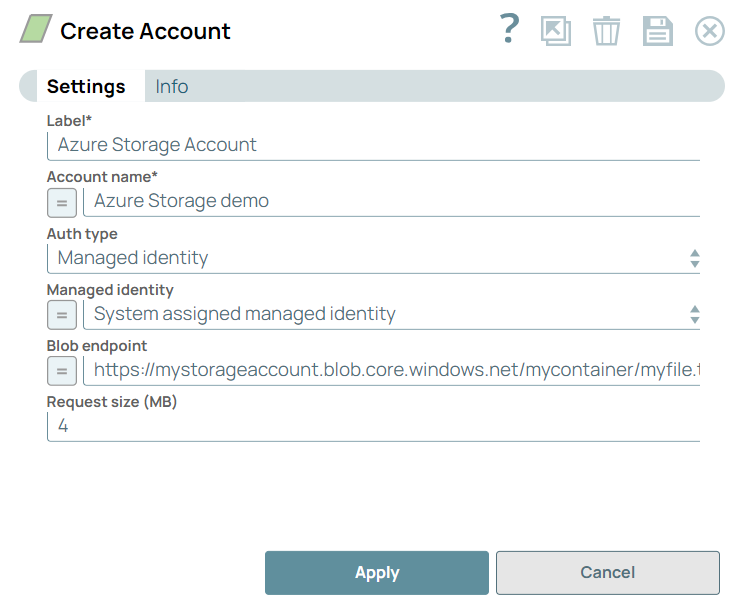 Note: The System assigned managed identity does
not require a Client ID because the resource (virtual machine) is created and
managed by Azure. |
Binary Snaps configured with Azure Storage Account that uses Managed identity must be executed on a Snaplex hosted on the Azure virtual machine.
Videos
- Set up Azure Managed Identity in the Azure Portal
- Configure Azure Storage Account with a Managed Identity in SnapLogic: