Connect Snaps to Build a Pipeline
The key to creating a pipeline in SnapLogic is connecting Snaps. There are a few things to consider when placing Snaps in a pipeline.
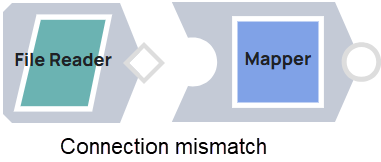
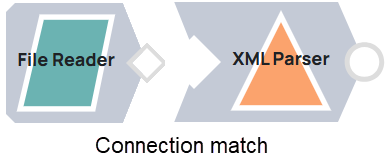
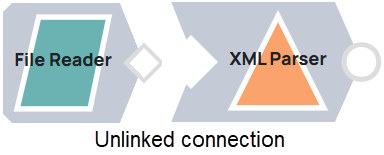
Like puzzle pieces, only Snaps with matching connection pairs (circles or diamonds) can be connected. Circle connections indicate document data while diamond connections indicate binary data.
 |
 |
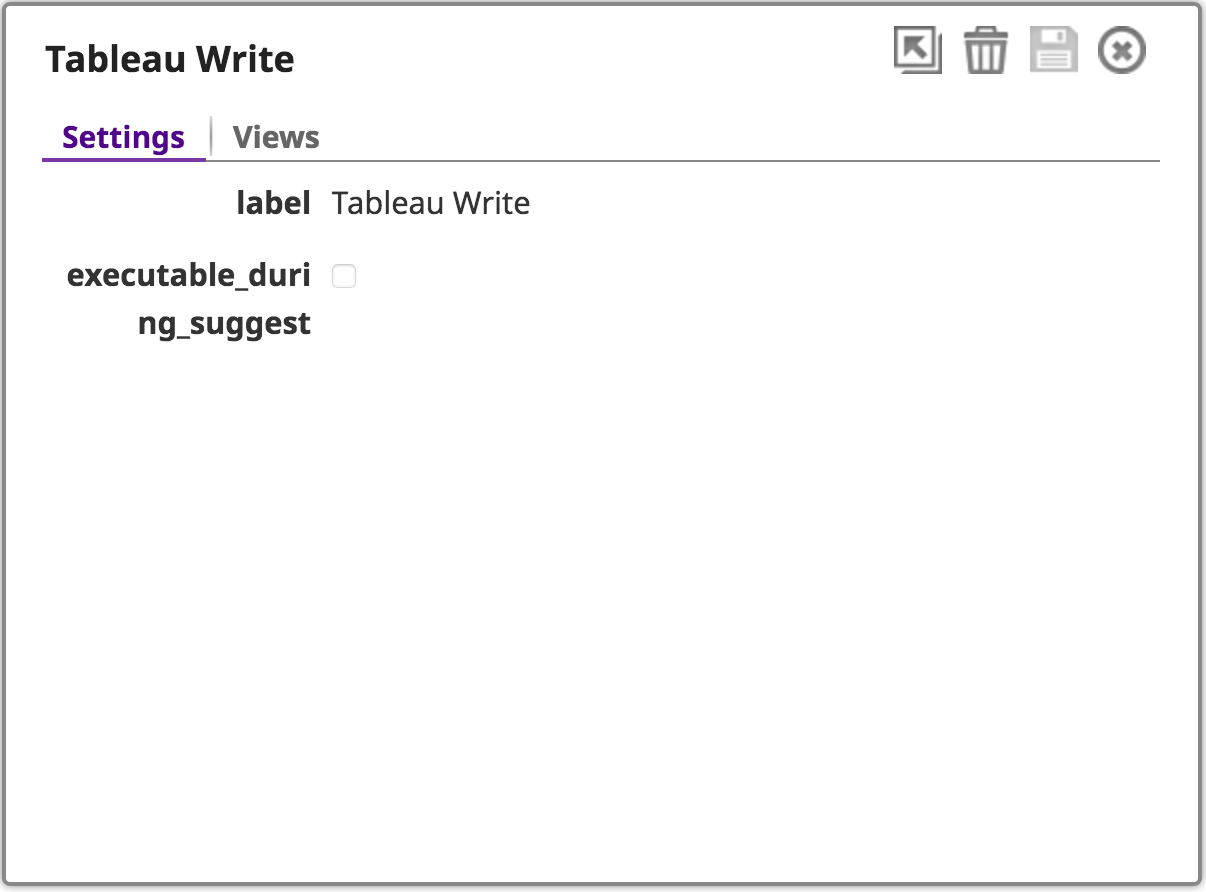
When moved to the pipeline canvas, Snaps may display with an input (the head of the Snap) and output (the tail of the Snap). To modify the input output properties,click on the Snap and select the Views tab. See Snaps Reference for more information on Views.
Disconnect linked Snaps
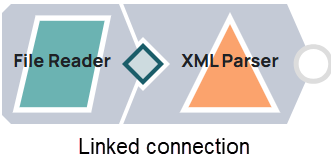
Unlinked Snaps can be moved apart or placed next to each other. Make sure the circle or diamond connector is colored Grey, which indicates that the Snaps are linked.
 |
 |
To disconnect linked Snaps, click on the Grey connector. This clears the color and allows you to rearrange the Snaps.
Remote-connect link Snaps
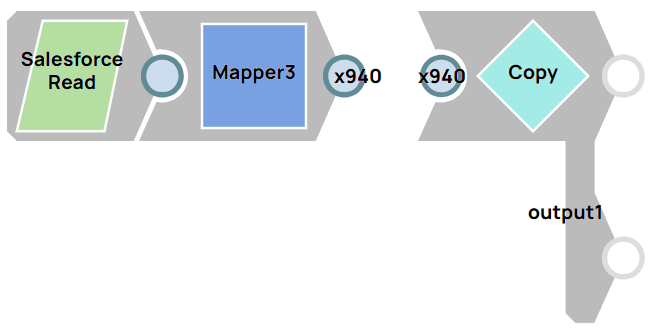
You can also connect to Snaps that are not next to each other by using a Remote-Connect Link.
For example, click and hold on the Mapper Snap connector until it turns Yellow, then drag it to the Copy Snap connector. When both connections turn Grey, release the mouse button. A number is placed in both connectors to let you know they are connected.
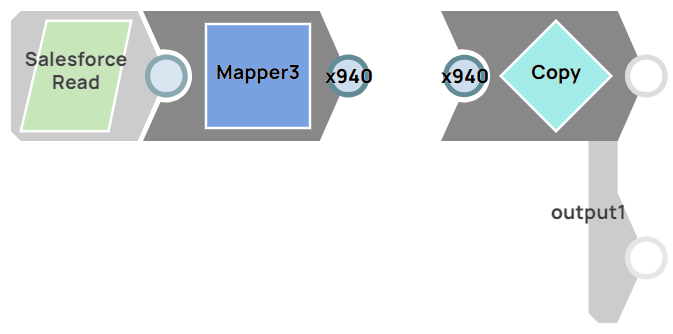
You can also click and hold on one connection and both Snaps connected by this link will darken. This feature is useful for large pipelines where it may not be easy to quickly visualize the connections.
Snap menu options
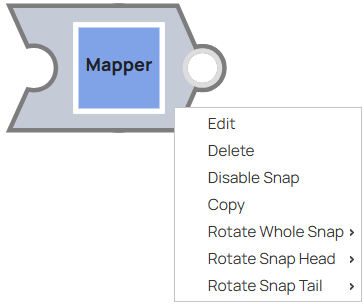
The context-menu of the Snap contains the following options:
| Menu option | Description |
|---|---|
| Get preview data insights in SnapGPT | Analyzes preview data from the Snap and provides insights about data structure, configuration, and optimization opportunities. This option is available only when the Use preview data for contextual metadata setting is enabled in SnapGPT settings and the pipeline has been validated or executed successfully. Learn more about getting preview data insights. |
| Edit | Displays the Snap configuration dialog. |
| Delete | Removes the Snap from the canvas. |
| Disable Snap | Sets the Snap execution mode to disabled. Once set, the option becomes
Enable Snap on the dropdown list. Tip:
Snap Execution Mode Setting When a Snap is disabled, clicking the Enable Snap option returns the Execution Mode to the default setting for that Snap (regardless of the Execution Mode previously set for the Snap before being disabled). |
| Recommend Snap |
|
| Copy | Create a copy of the same Snap. |
| Rotate Whole Snap | Rotates the Snap one quarter in the specified direction. Clicking this option displays the selections Rotate Clockwise (to the right) and Rotate Counterclockwise (to the left). |
| Rotate Snap Head | Rotates the input of the Snap one quarter in the specified direction. Clicking this option displays the selections Rotate Clockwise (to the right) and Rotate Counterclockwise (to the left). |
| Rotate Snap Tail | Rotates the output of the Snap one quarter in the specified direction. Clicking this option displays the selections Rotate Clockwise (to the right) and Rotate Counterclockwise (to the left). |
|
Note: The following rules apply to rotation:
|
|
Missing Snaps
If a pipeline contains a Snap that is no longer available from the catalog, that Snap is shown in the pipeline with the central shape colored red.
Video demonstration
Watch the following video to link two distant Snaps in a complex pipeline.