


Build Agent Pipelines in AgentCreator
These steps summarize the process for creating an Agent pipeline in Designer. The pipeline follows the agent architecture: Prompt Generator Snaps handle prompt construction and context, Function Generator Snaps define the available tools, and the Agent Snap drives the LLM reasoning and tool-calling loop.
- For easy debugging, we recommend that when you start, you already have a few tool pipelines created.
- If you plan to have multiple unconnected pipelines in one canvas, use the Disable Snap setting to turn off pipeline segments from validating and executing.
- Use a JSON Generator Snap in your tool pipelines to mock data input for testing purposes. It can be disconnected and disabled later.
Activities outside of SnapLogic would be:
- Creating an interface for your end users to interact with the agent.
- Using a 3rd-party monitoring tool to assess the quality of responses and LLM costs.
- Plan your agent pipeline design.
- Objective - Define a specific goal for your agent is crucial as a first step.
- Preparation - Collect data and prepare a real-world context for the types of end-user questions the agent is designed to answer.
- Tools - Enumerate the tools required for the agent to respond best to the prompt and determine the layers of pipelines that inform the hierarchy of agents. Refer to Create tool pipelines.
- Data sources - Identify data sources for the agent. This applies to RAG pipelines especially.
-
Make sure your LLM Snap accounts are configured. Refer to the following for LLM configuration details:
- Set up your Snaplex to validate and run your pipelines.
- Configure the Agent Snap.
- For advanced settings, configure the following sections of the Agent Snap form:
These settings control how the Agent Snap executes its iterative reasoning loop and interacts with the LLM and tools.
- Agent execution configuration: Defines how the Agent iterates on the prompt and
responses from the tools. This section includes the Handle errors via
agent setting, which controls what happens when a tool pipeline
fails during execution.
- When enabled (default for new pipelines): Tool execution errors are automatically passed back to the LLM as tool results inside the agent loop. The LLM determines how to respond — for example, by retrying the tool call with different parameters, choosing an alternative tool, or informing the user. The Agent Snap's output is not affected; error handling is internal to the loop. You do not need to build manual error-handling branches (Error Views and Union Snaps) in each tool pipeline.
- When disabled: The Agent Snap fails immediately on any tool pipeline error. This is useful during development when you want errors to surface right away rather than be absorbed by the LLM.
Important: Existing pipelines default to Handle errors via agent disabled. Only newly created pipelines have this setting enabled by default.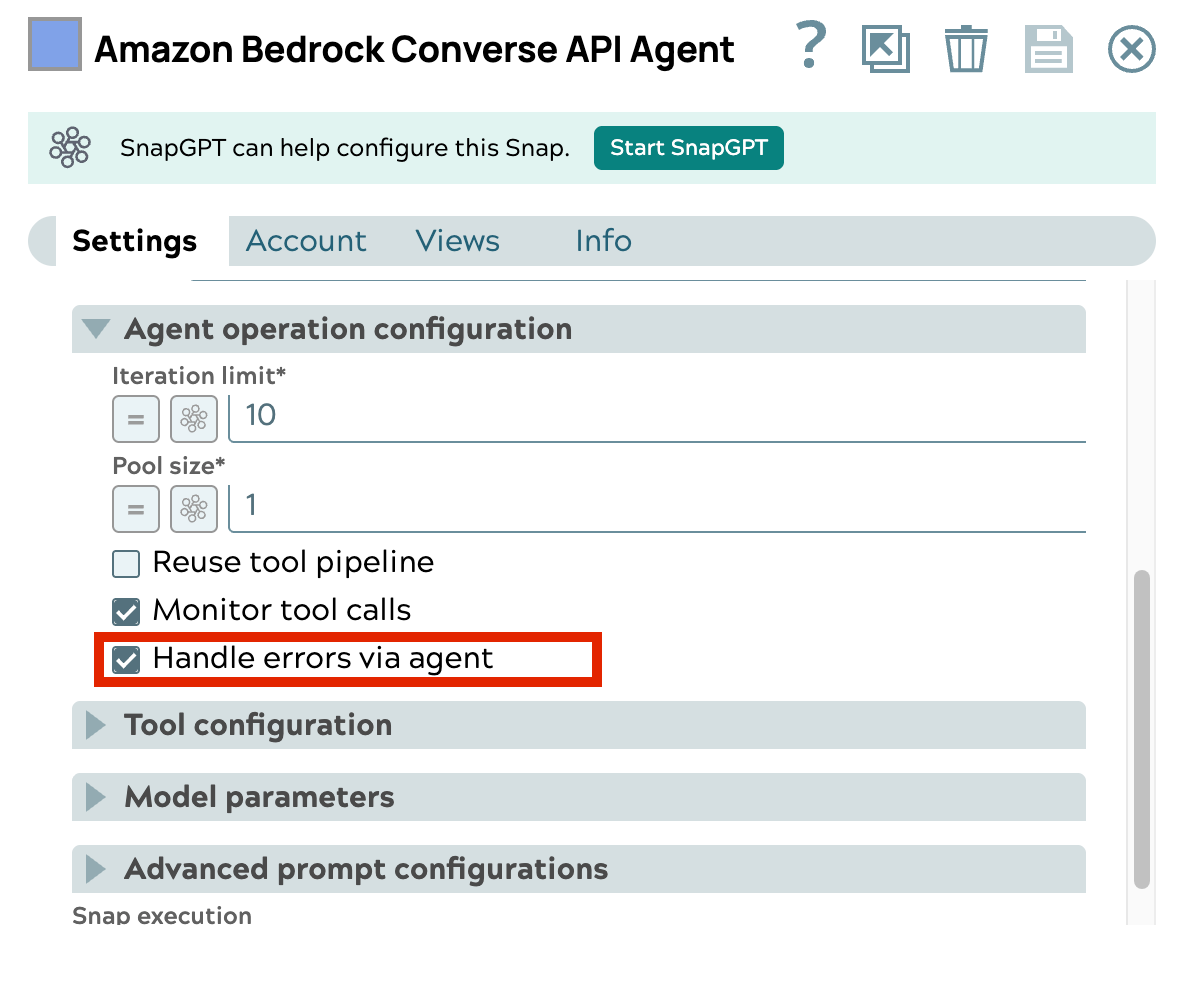
- Model parameters: Specifies the behavior of the model.
- Advanced tool configuration: Defines the tool response.
- Advanced prompt configurations: Provides options for different prompt modes.
- Advanced response configurations: Defines the LLM response.
- Agent execution configuration: Defines how the Agent iterates on the prompt and
responses from the tools. This section includes the Handle errors via
agent setting, which controls what happens when a tool pipeline
fails during execution.
- For advanced settings, configure the following sections of the Agent Snap form:
-
Click
 to open Pipeline Properties dialog:
Note: Adding an Agent Snap to the pipeline automatically tags it as an Agent. No manual tagging is required.
to open Pipeline Properties dialog:
Note: Adding an Agent Snap to the pipeline automatically tags it as an Agent. No manual tagging is required.- Enter the name of the Agent.
- Add additional pipeline parameters if needed.
-
Verify that your Agent pipeline runs successfully.
-
Click
 to validate the pipeline.
-
When validation is completed, open the Agent Snap, and click
Visualize agent flow.
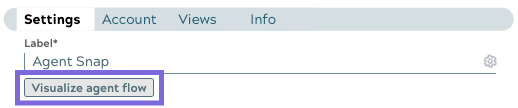
The AgentVisualizer page opens with a graph and log of the input and the Agent response.

-
Click
The following table provides Agent Snap patterns based on LLM vendor.
|
LLM Vendor |
Pattern |
| Amazon Bedrock | AgentCreator Agent - Amazon Bedrock - Personal assistant agent |
| Azure OpenAI | AgentCreator Agent - Azure OpenAI - Personal assistant agent |
| Google Gemini | AgentCreator Agent - Google Gemini - Personal assistant agent |
| OpenAI | AgentCreator Agent - OpenAI - Personal assistant agent |