Configure Snowflake OAuth External Authentication with Okta
Overview
You can use a SAML2 security integration to integrate Snowflake with the Identity Provider (IdP) you use to implement federated authentication. Use the CREATE SECURITY INTEGRATION command to create the security integration for your federated authentication. Learn more: Configuring Snowflake to use Federated Authentication | Snowflake Documentation
Set up SAML Security Integration with Okta
To configure SAML security integration with Okta:
- Log in to Snowflake using the ACCOUNTADMIN role.
- Enter the following command in the Snowflake Console:
For detailed instructions about how to generate the variables, refer to How to Configure SAML 2.0 for Snowflake.CREATE OR REPLACE SECURITY INTEGRATION <name of the integration> TYPE = SAML2 ENABLED = TRUE SAML2_ISSUER = '<Generate this variable from OKTA server side>' SAML2_SSO_URL = '<Generate this variable from OKTA server side>' SAML2_PROVIDER = 'OKTA' SAML2_X509_CERT = '<Generate this variable from OKTA server side>' SAML2_SP_INITIATED_LOGIN_PAGE_LABEL = 'OKTASSO' SAML2_ENABLE_SP_INITIATED = TRUE; - Validate your Snowflake OAuth2 Account for external authentication.
- In the Snowflake OAuth account settings, use the credentials generated in step 2.
- After you have successfully created the Okta integration from step 2, the Sign in using OKTASSO option is displayed on the redirect page above regular logins. If you already have SSO login enabled for Snowflake, Sign in using OKTASSO appears on the login page.
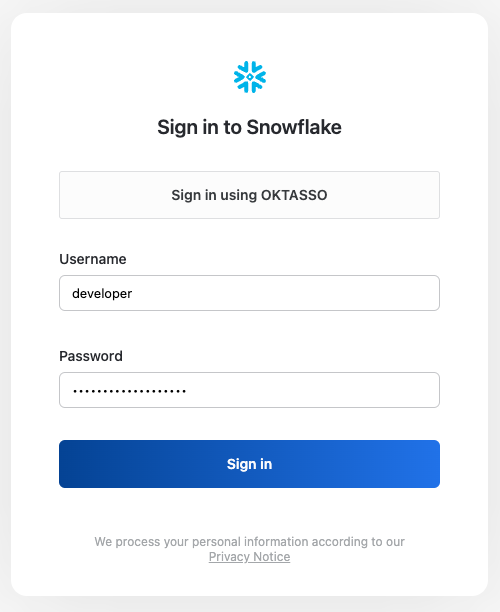
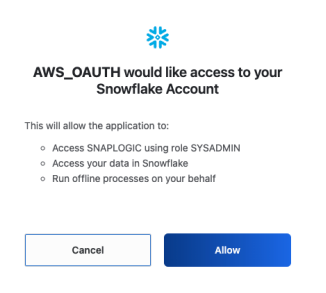
- Click Sign in using OKTASSO, which will trigger a
permission request. Click Allow to complete the
authentication process.
Configure the Snowflake OAuth2 Account
To configure the Snowflake OAuth2 Account, refer to the relevant documentation:
- For the Snowflake S3 OAuth Account, refer to Snowflake S3 OAuth2 Account | Prerequisites.
- For the Snowflake Google Storage OAuth Account, refer to Snowflake Google Storage OAuth2 Account | Prerequisites .
- For the Snowflake Azure OAuth2 Account, refer to Snowflake Azure OAuth2 Account | Prerequisites
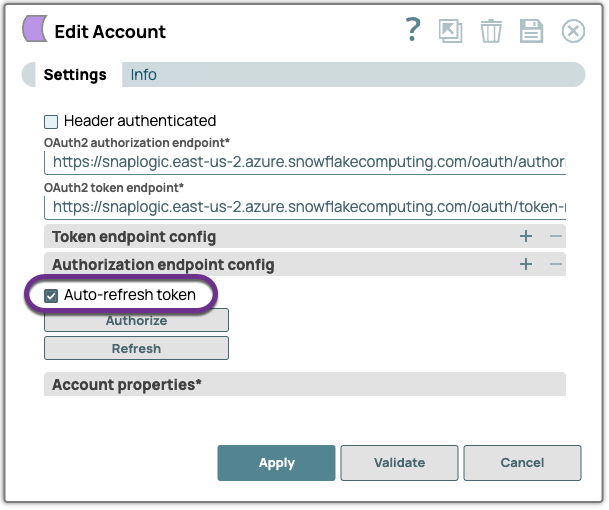
After the authentication is successfully established, you can select the
Auto-refresh tokencheckbox in the Snap Account settings
to refresh tokens automatically. Click Apply to save this
setting into your account.