


Configuring a Generic Hive Database Account for Cloudera Data Platform Knox
Overview
The Hive Snap Pack supports Apache Knox authentication to connect to the Hive service on the Cloudera Data Platform (CDP)'s Data Hub clusters. Using the Workload user's credentials, you can use a Generic Hive Database Account to connect to the Hive database through the Knox reverse proxy. The Cloudera Workload user credentials are used to authenticate with the Knox reverse proxy and subsequently connect to the Hive database. The Knox reverse proxy hides the complex details for managing the authentication and authorization based on the Kerberos protocol.
Prerequisites
- Valid Cloudera Workload user’s credentials.
- Cloudera instance.
Locate Details in the Cloudera Data Platform
-
JDBC URL
- JDBC Driver Class
- Workload User name and password.
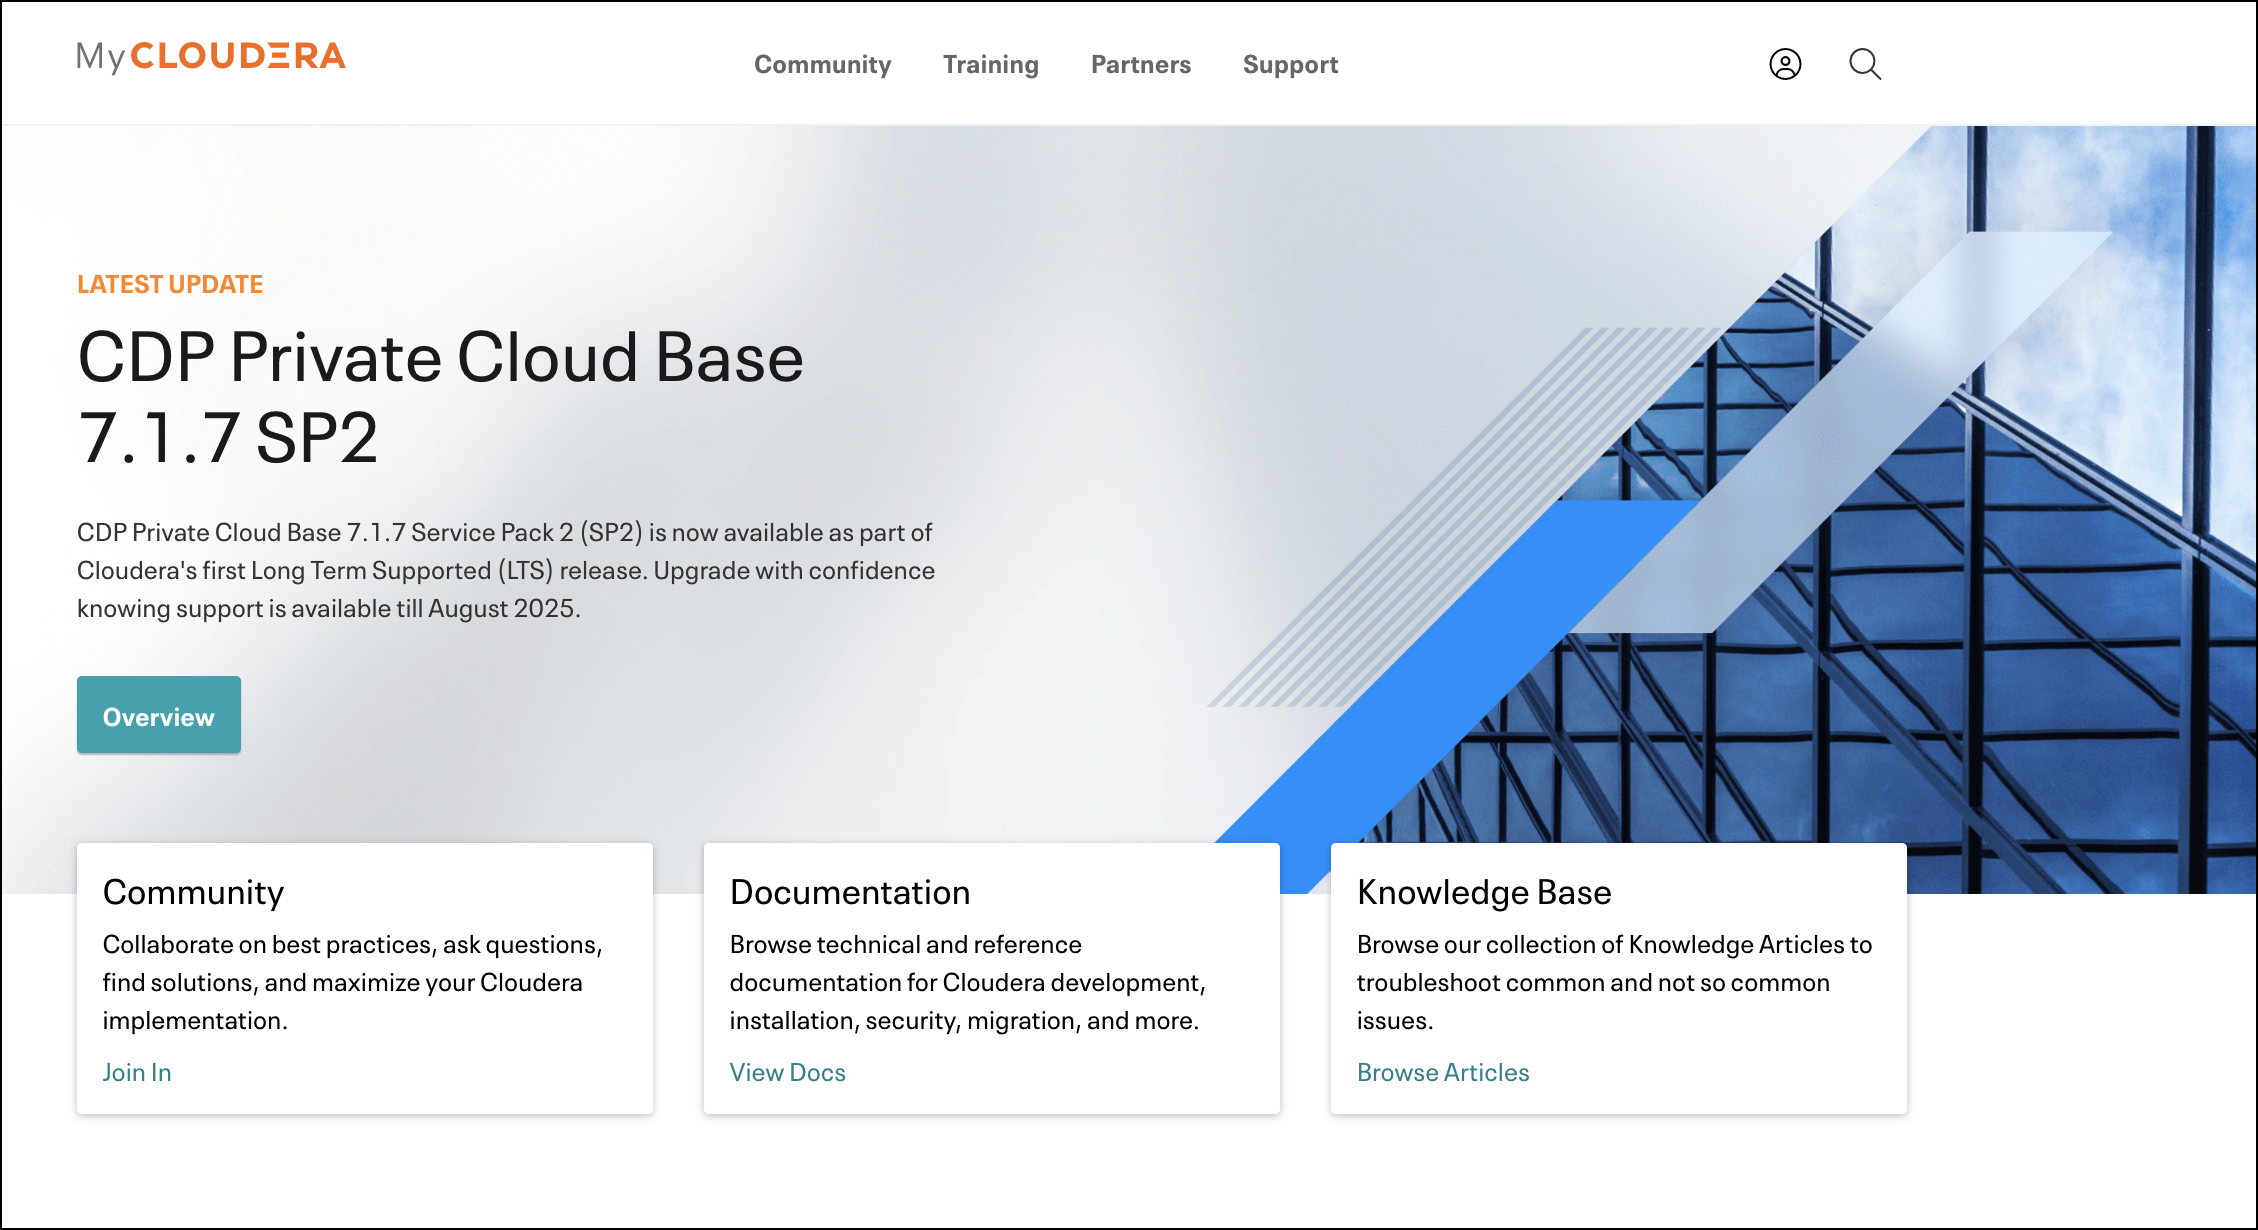
- Log in to the CDP portal (https://sso.cloudera.com) or register yourself if you do not
have an account. The MyCloudera home page opens.
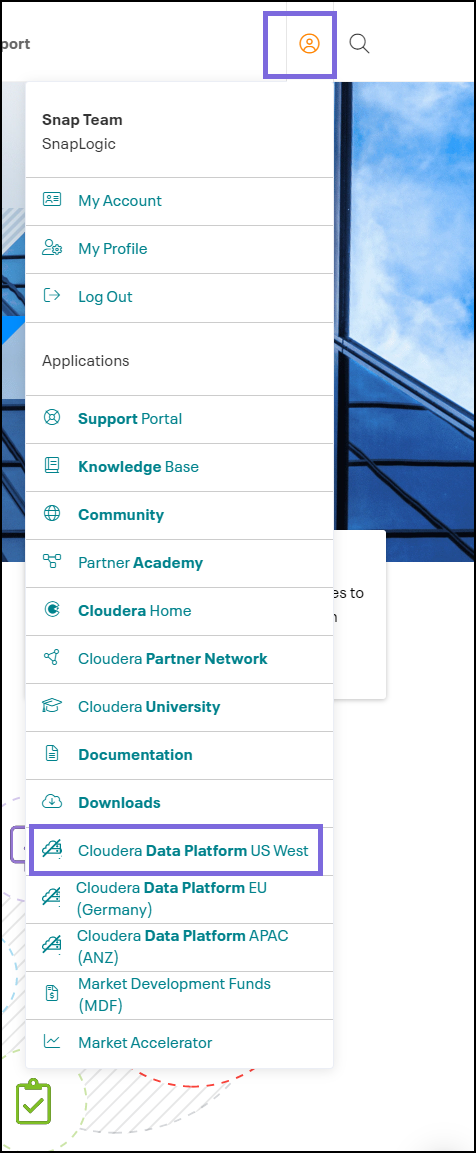
- Click your Profile icon and select the Cloudera Data Platform. For example,
Cloudera Data Platform US West. You are redirected to the Cloudera Data
Platform page.
Note: We are using Cloudera Data Platform US West to demonstrate the procedure of accessing details from the CDP.
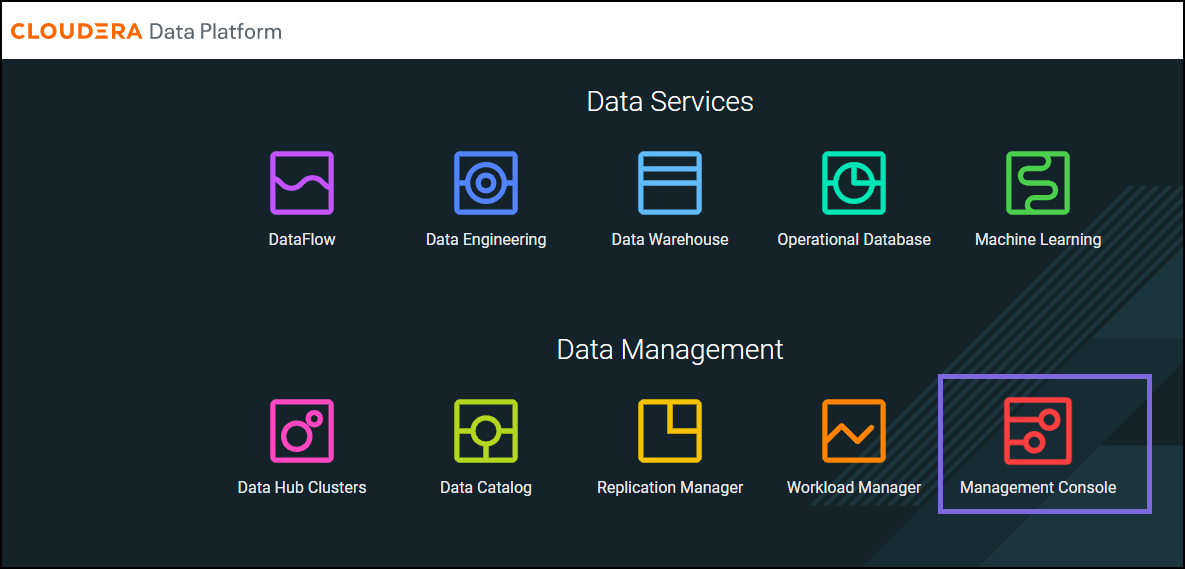
- Under Data Management, click the Management Console card.
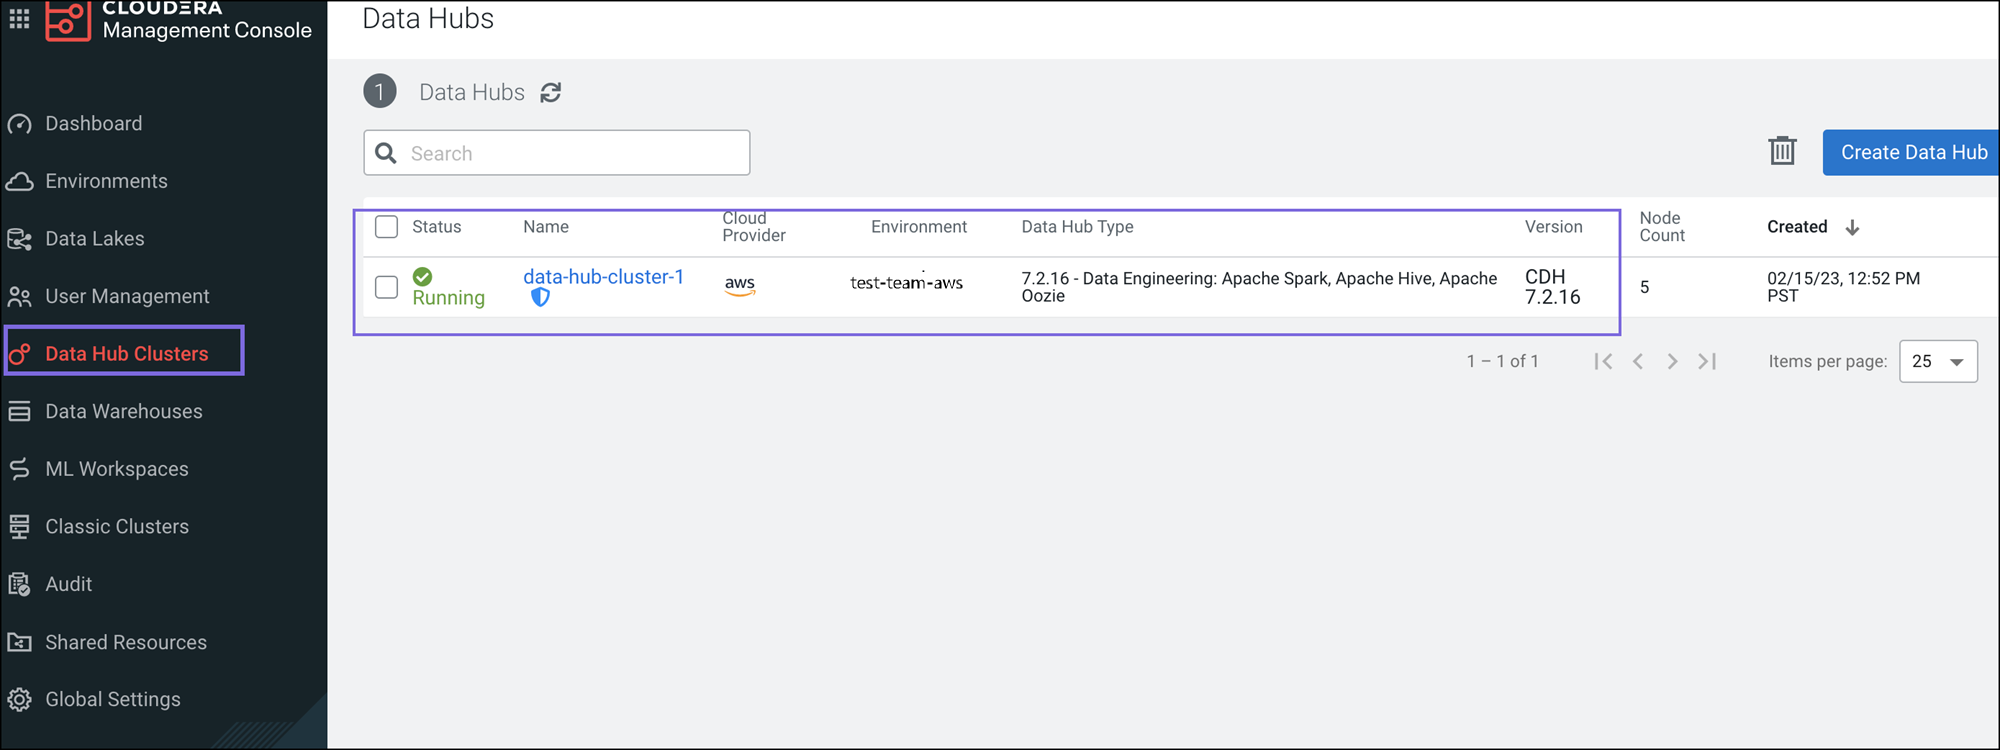
- Click Data Hub Clusters and select the Data Hub Cluster that is active and
running. The list of hub clusters is displayed.
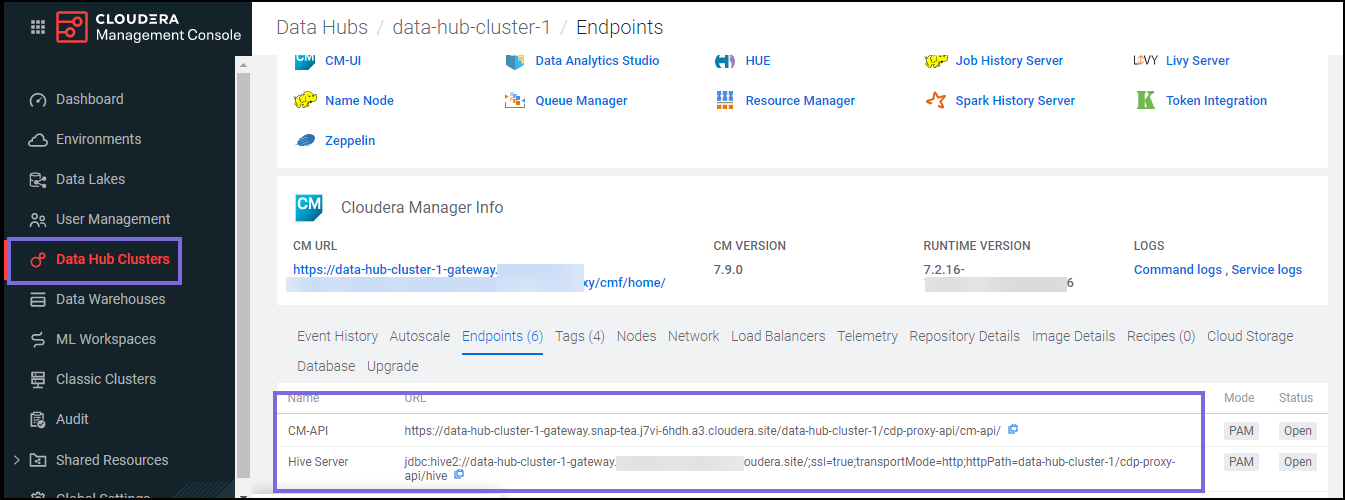
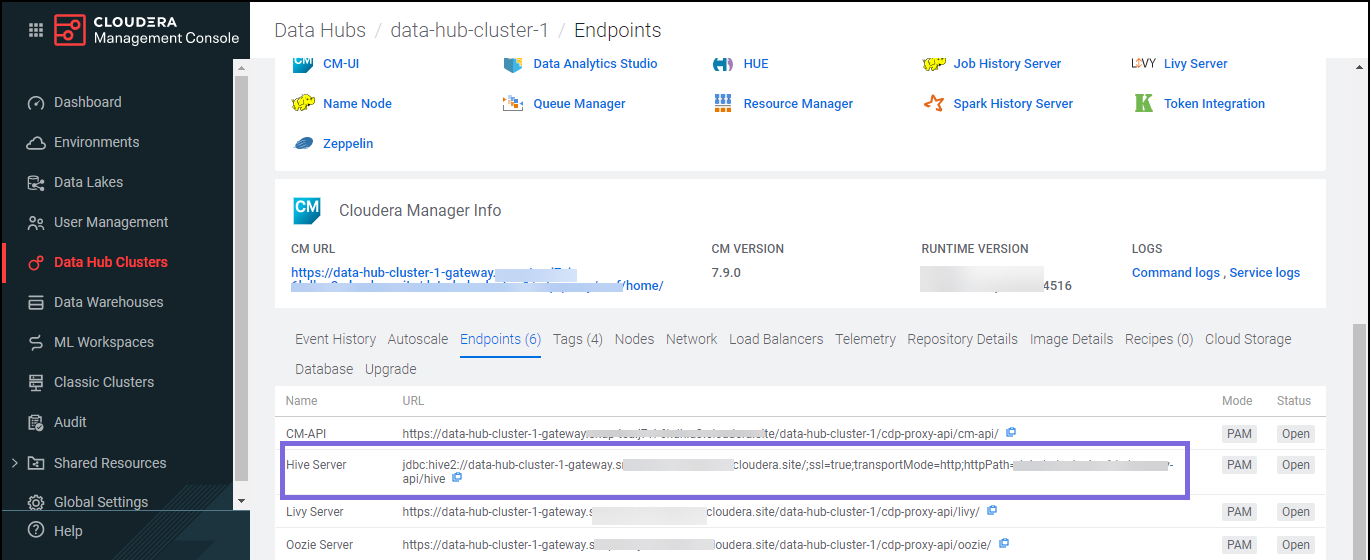
- Under Cloudera Manager Info, click the Endpoints tab. All services that are running on the CDP display.
- Copy or note the JDBC URL of the Hive Server to use it in the Generic
Hive Database Account.
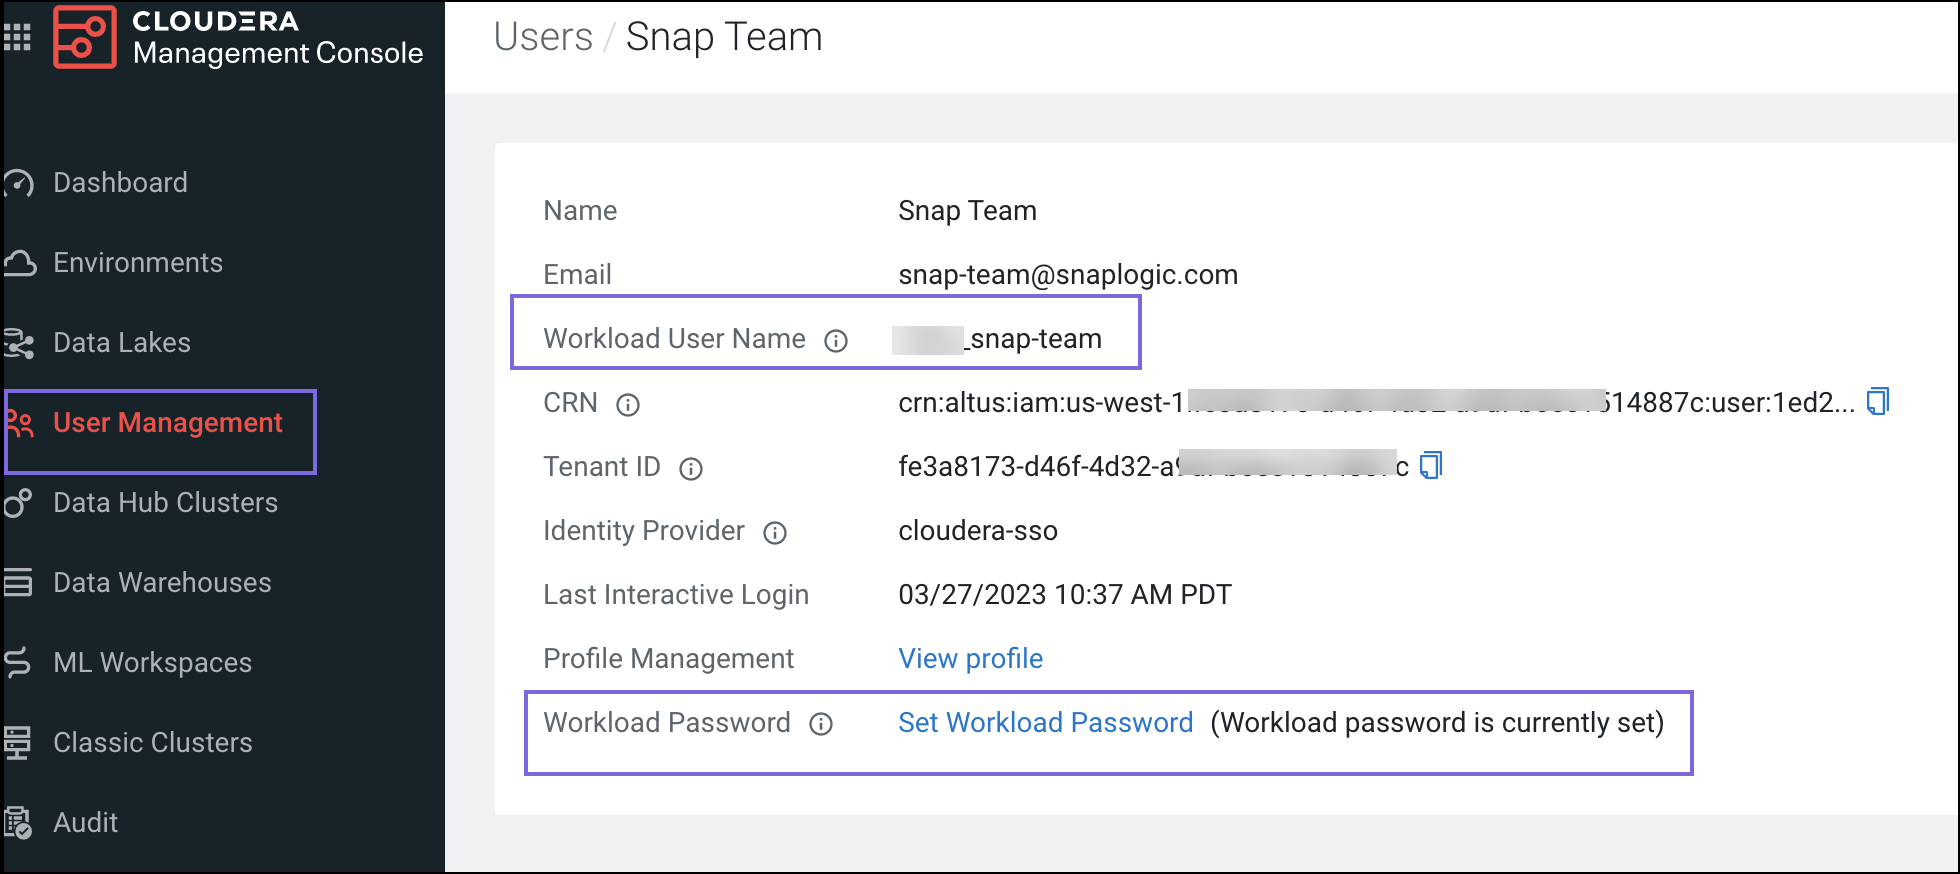
- Navigate to User Management in the left navigation pane, click the <user>,
select Profile, and note the Workload credentials.
Configuring a Generic Hive Database Account with Settings from the CDP
-
Drag the Hive - Execute Snap.
-
Add the Generic JDBC Database Account account to the Snap.
-
Enter the Username and Password of your Cloudera Workload instance. (Refer to Step 7 above.)
- Enter the JDBC URL of the Hive Server.
Note: By default, the raw URL (refer to the Step 6 in the section above for the raw URL format) is obtained from the CDP; you must enter the port number right after the domain and update the SSL value from true to 1, wherein 0 is false and 1 is true.
-
Enter the Site number as 443.
-
If the SSL is enabled on the Hive server, leave SSL as true. If the SSL is not enabled on the server, enter SSL as 0 or 1.
For example,
jdbc:hive2://<cdp-datahub-cluster-host>:443/;ssl=1;transportMode=http;httpPath=data-hub-cluster-1/cdp-proxy-api/hive
-
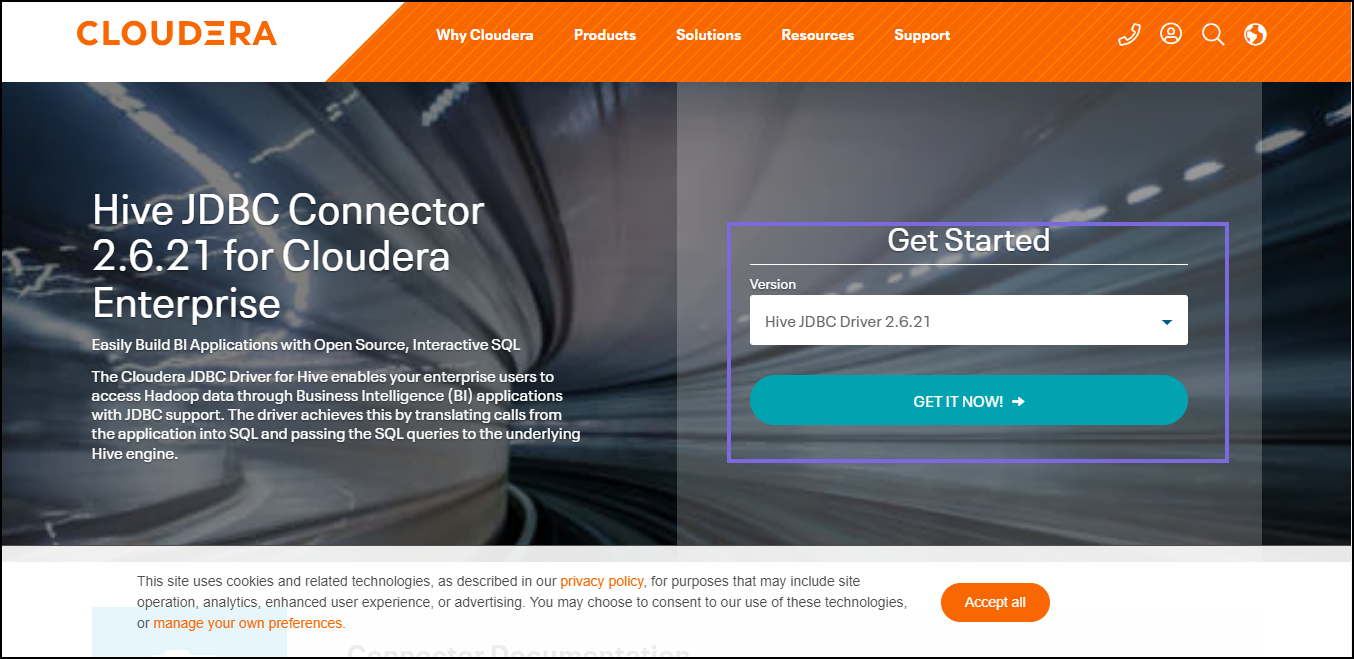
- Upload the Hive driver in the JDBC Driver field. You can download the latest
JDBC Hive driver from here.
- Specify the JDBC Driver Class as
com.cloudera.hive.jdbc.HS2Driver.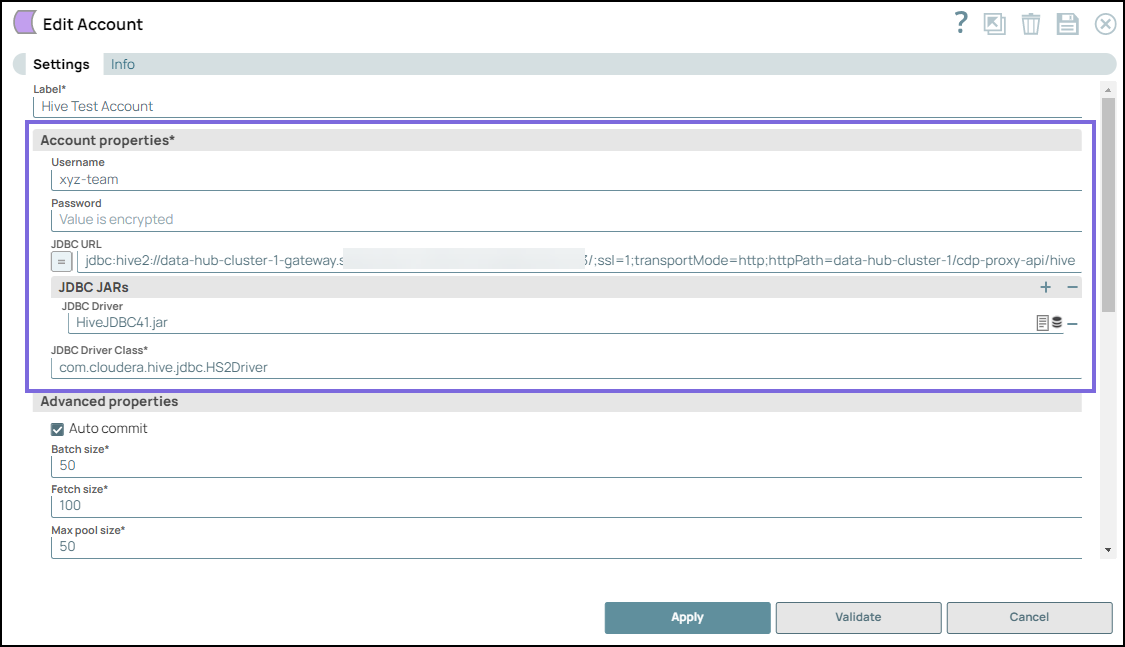
-
Click Validate. Your account should be validated successfully.