


Export and import a pipeline
Export a pipeline to a .slp file, or import a previously exported
pipeline into a project.
Export a pipeline
- In Designer, open the pipeline you want to export.
- In the Designer toolbar, click Export:
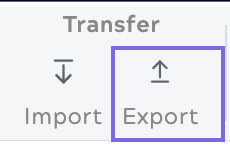
The pipeline is downloaded as a
.slpfile.
Import a pipeline
Importing a pipeline doesn't automatically bring in the assets it references. Before importing, review the following:
- If the pipeline has child pipelines, import them before importing the parent.
- If the pipeline references other pipelines, files, accounts, or tasks:
- Leave references to assets in the global shared folder unchanged.
- For assets in a project other than the destination:
- If the reference to a file is an absolute path, don't change it.
- If the asset is available in the destination project, update the reference after importing.
- If the asset isn't in the destination project but exists in a shared folder, update the reference to that location after importing.
- If the asset has a different label in the destination project, update the reference before importing.
- In the Designer toolbar, click Import:
- Choose the
.slpfile from the file system.The Add New Pipeline dialog opens:
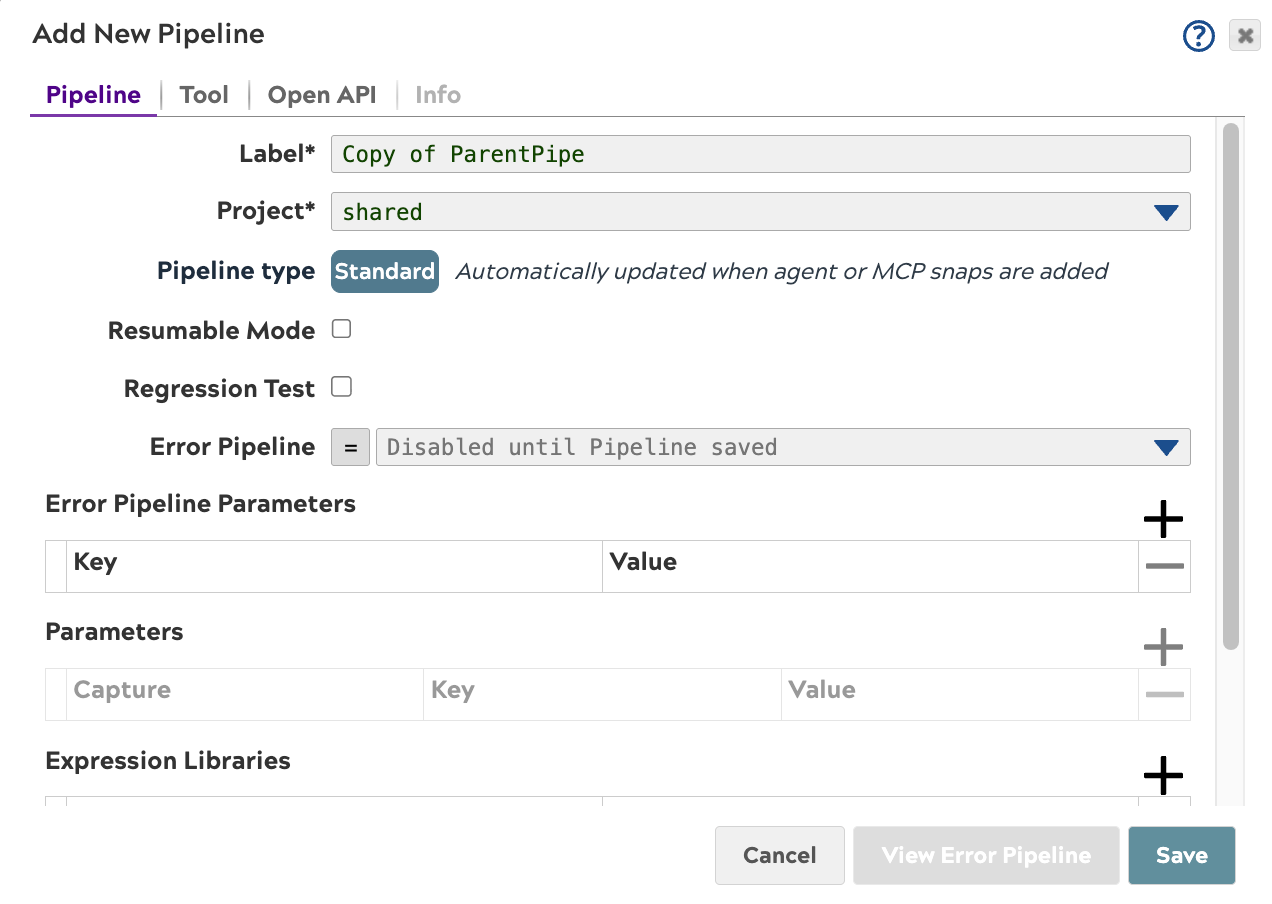
- Fill out the required fields and click Save.
The pipeline opens in Designer. For field descriptions, refer to Create a pipeline and Pipeline properties and configuration. To configure the additional tabs:
- Tool: Tag this pipeline as a tool that can be invoked by an Agent or exposed via an MCP Server. Refer to Create Tools for your Agents.
- Open API: Add data type and description information about pipeline parameters. Refer to Open API.